(I say 1750's-ish because the fabric is a bit inaccurate looking, but only a bit.)
The fabric is, as I talked about in that post, a Nagoya obi that was 30 cm wide and had 2.56 m of brocade and 2 m of plainer basket weave textured silk. Some of the photos show a magenta tinge, but in person it's very red.
While the design on it isn't perfectly accurate for 18th century, it has a similar enough look to some 18th century silks that I think it works nicely. The one thing I don't really like is how the floral parts have an ombre stripe to them.
I'm not sure what the striped material is either! The rest of it is silk, but the striped part is little flat strips similar to the metallic strips a lot of obi have, but they look and feel plastic-y and they burn like cotton. Perhaps some sort of large flat rayon filament? I do not know.
There was just barely enough brocade for the fronts, and I had to cut the pocket flaps on the cross grain.
I cut the back out of the plainer part and there was a little bit of that left over after.
As is plainly visible in the cut out picture, the narrow width meant the fronts needed to be pieced, but the back didn't.
This fabric is very
very thick and stiff and has nice solid selvedges, so I was able to just whipstitch them together.
I then trimmed the excess off the pieced on bits. (It's good to cut them out a bit too big before piecing, just in case.)
It left only a small ridge on the inside, and because the floral pattern doesn't go past the edge it means the seam is well hidden in the textured background.
I originally planned to line it with this peachy orange satin that was the lining from another obi, but it turned out to be a silk/rayon blend that reacted weirdly to water.
I sprayed some water on it while ironing and it shrunk a dramatic amount, and then went back to the original size with some more ironing. After lining one pocket flap with it I decided a lining that behaves that way was a bad idea, so I recut it in plain white silk taffeta from my stash.
 |
| It's not showing up well here but it was very bent. |
I cut the back lining out of thin brown linen, and the pocket bags out of burgundy glazed cotton. (I like the glazed cotton but I can't use this particular one for regular linings because it stains light coloured shirts, as I found out when I used it in a jacket
a few years ago.)
I machine sewed the centre back seams on the back, and the back lining, and pressed the seams open. I also machine sewed the pocket bags.
 |
| I sewed the silk back pieces twice because it's so thick. |
Edit: Ooh nice, I just noticed that
this 1750's-60's coat in the V&A has a very similar basket weave texture!

I tacked some tightly woven cotton obi interlining to the front skirts to help them stand out, and then added the buckram to the front edges. The buckram strip is a bit wider on the left side because the buttonholes will go there.
I folded a small strip of the obi interlining in half for the button stand and added it to the front edge just above the pocket. (But later in the process I was worried the buckram I used might be too weak and the button threads might tear through, which has happened before, so I added more button stand to the rest of that edge.)
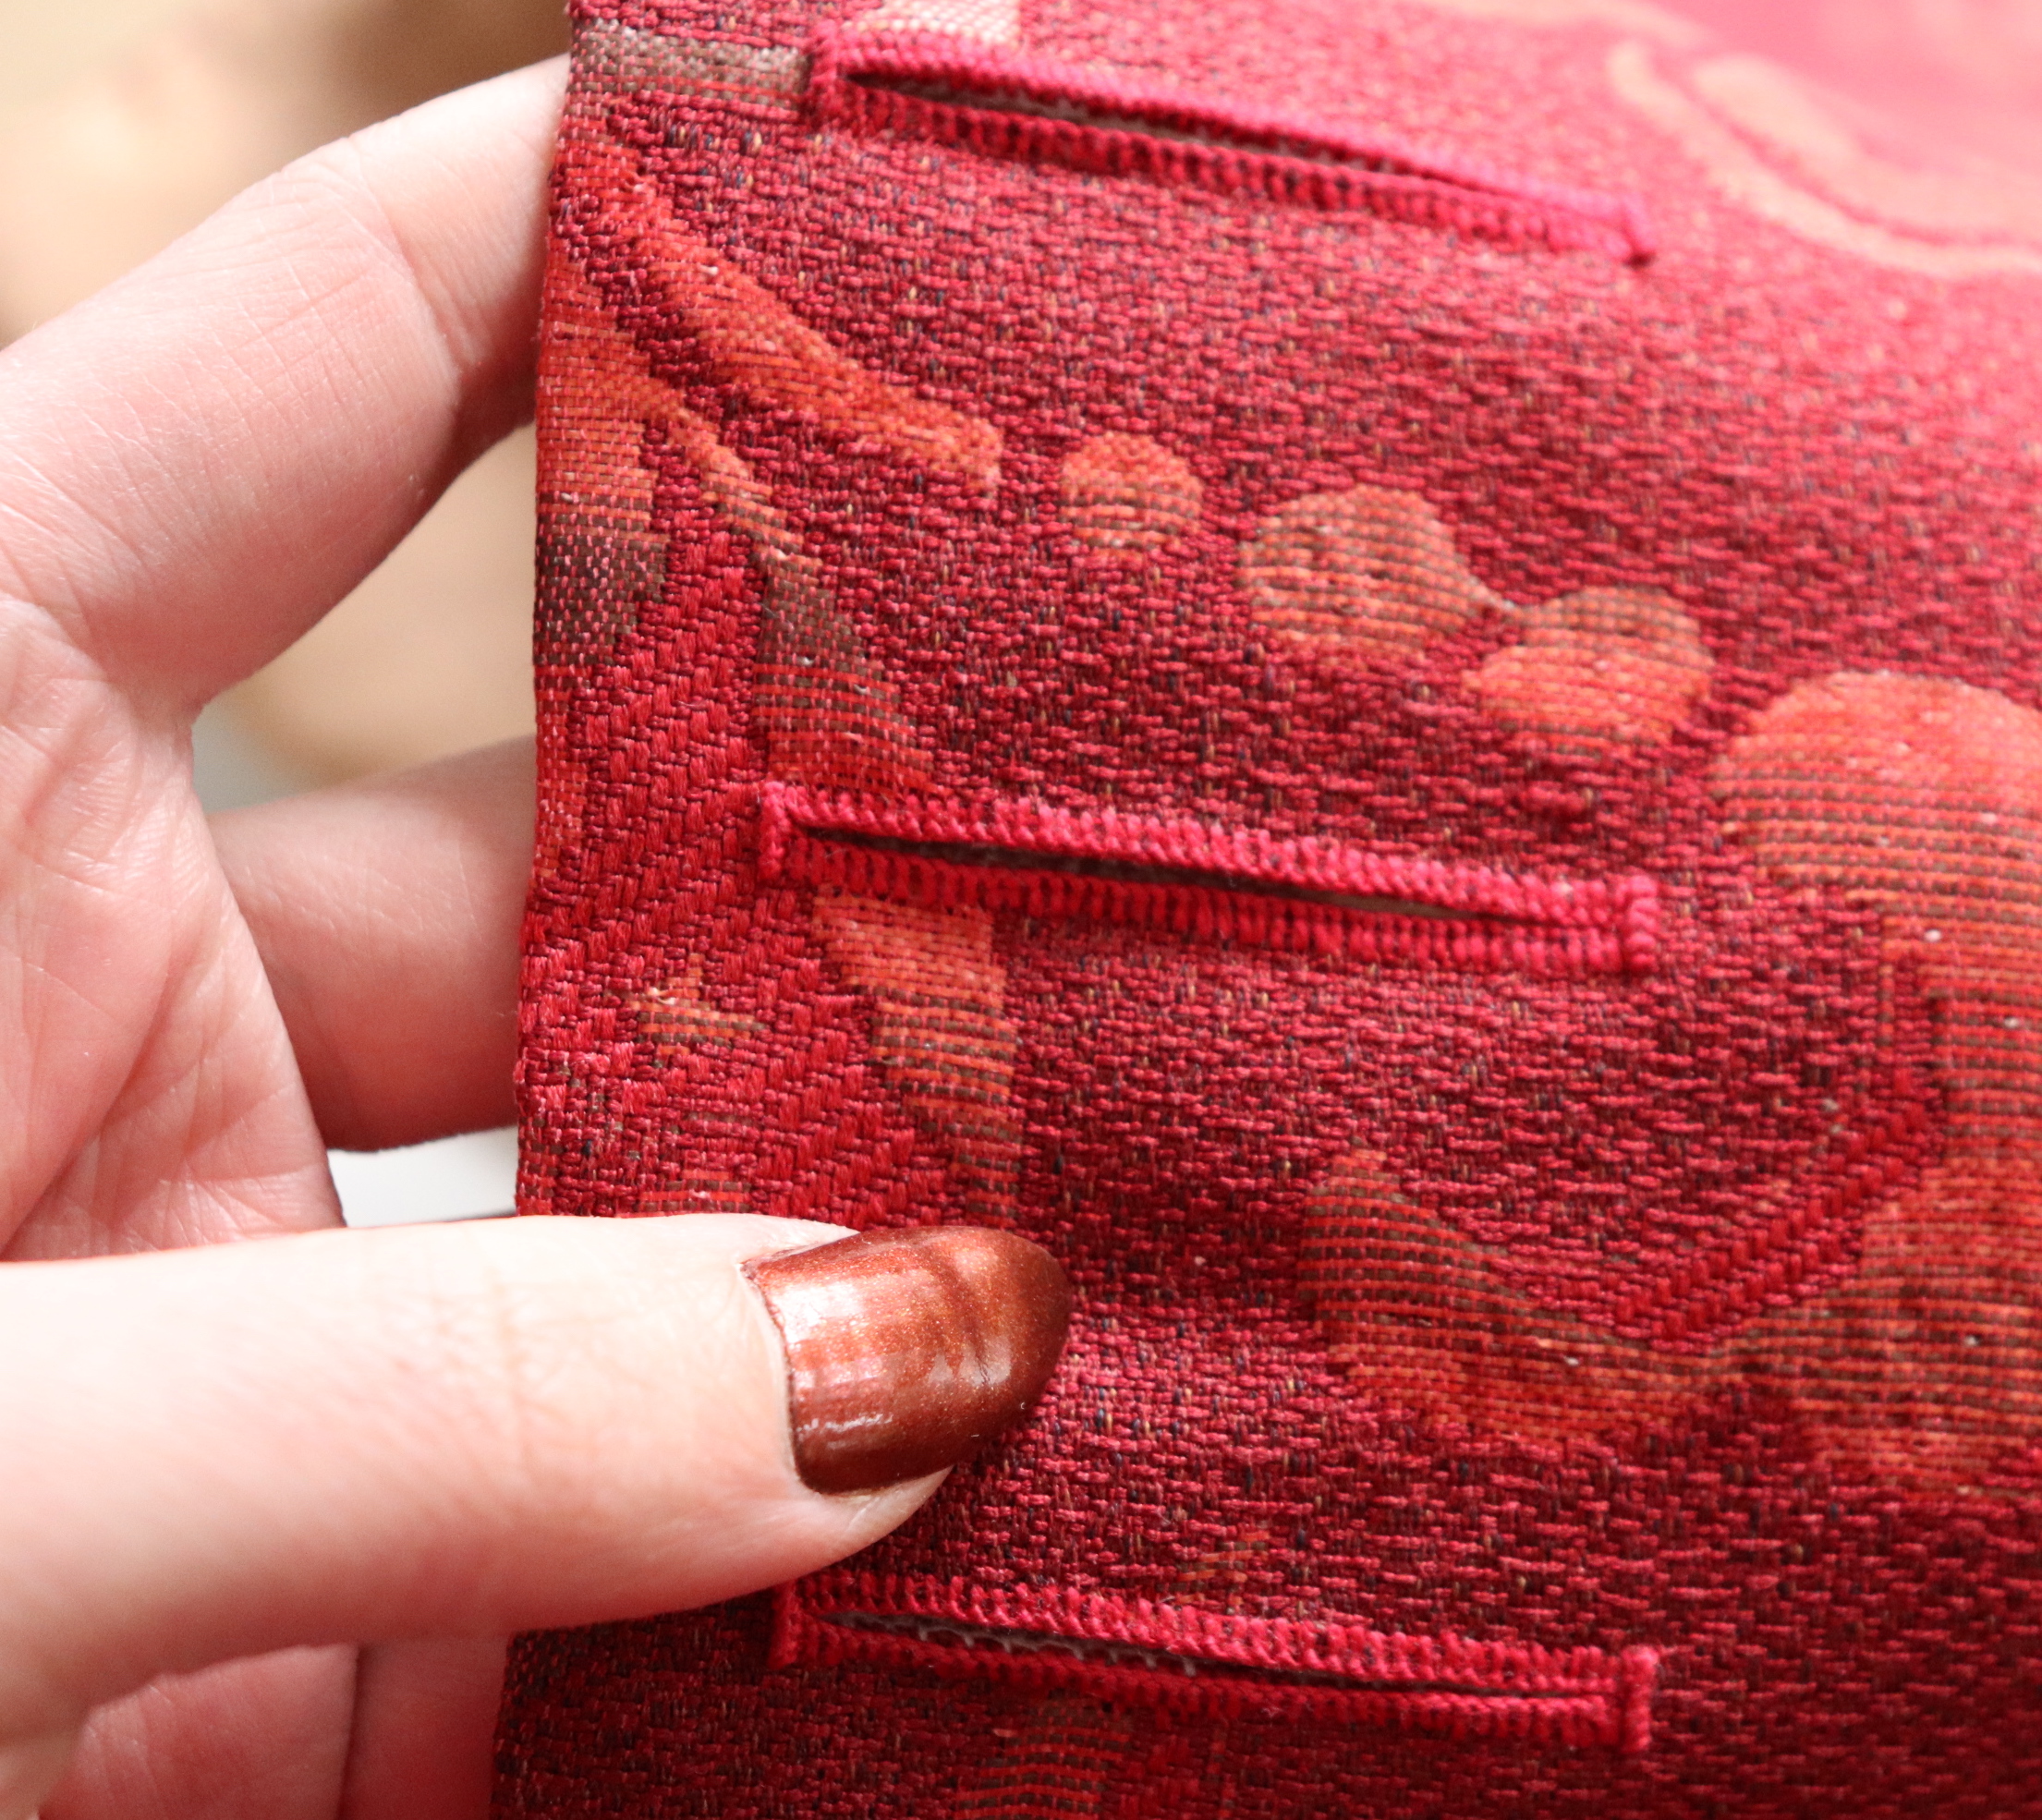
I clipped the inward curves and pressed in the seam allowances on all the edges except for the side and shoulder seams. On the stiffened parts of the fronts I whipstitched those edges down to the interfacing. The pocket holes were also cut open, and the edges pressed and whipstitched.
 |
| (This is from after I sewed the buttons on, and you can see the additional button stand added later.) |
After marking out the 11 buttonholes I sewed around them with a straight stitch by machine. I often do that step by hand, but I wanted to save a bit of time on this one. I cut them open with a chisel and overcast them by hand with a whipstitch using red cotton thread.
I have
a buttonhole tutorial where I cover it all in much more detail, so I don't need to talk too much about it in this post.
I used cotton perle for the buttonhole stitches because I didn't have any red silk twist.
The buckram got warped from all the handling, so I pressed it after the buttonholes were done.
Always good to press things between steps!
I clipped down into one side of the pocket bag so I could fold the edges back to match the pocket opening.
And lined it up, pinned it, and whipstitched it on. I had to stab stitch the ends.
I seem to have forgotten to photograph anything to do with the pocket flaps, but they had buckram tacked onto them just like the fronts, and the edges clipped and pressed in, and then the lining felled down.
I mark the corners of the pocket flap on the outside of the front, line it up and pin it, then baste it in place, and then carefully stab stitch the edge down to the front. The stitching goes a couple cm lower than the top corners of the pocket flap so it stays flat against the waistcoat.
I did death's head buttons, which I hadn't made in quite a long time. I was considering using this linen yarn, but it's too pink so I used the red perle again, which matches quite well.
 |
The colours aren't coming across well in the photo but the linen
matches even less in person. |
I have
a video about making death's head buttons, so I shan't go into detail on that either.
The button moulds I'm using are wooden spacer beads from aliexpress,
because it turns out those are a lot better quality than the much more expensive reproduction ones I've bought in the past.
I sewed them on the same way you sew on all 18th century cloth or thread covered buttons - by stabbing through the lump on the back and sewing it down slightly loosely to the garment, and then wrapping thread around those threads to form a shank.
With the buttons & buttonholes all done it was time to line the fronts.
I laid the lining wrong side up on the table and lined up the waistcoat front on top of it. I pinned it in place and basted it on, making sure to leave a couple of cm open around the edges.
And making sure none of the basting got in the way of the buttonholes.
I trimmed the seam allowance (except on the side and shoulder seams) down to a little under a cm and clipped all the inward curves.
And folded it under and felled it down.
I then basted around the buttonholes individually, so as to keep the lining from shifting during the next steps.
I poked through the buttonholes from the outside with large pin to mark the ends on the lining side
and then cut through the lining along the length of the holes with my bird snips.
I whipstitched the cut edges down to the edges of the buttonhole.
(I show this method in my
buttonhole video, as well as a fancier piecing method that provides a cleaner finish.)
At this point in the construction process I always lay my pattern piece back down on the fronts to re-trace the side and shoulder seam lines, because they're covered up by the lining and because the shape of the fronts often warps a bit from all the handling it's had.
 |
| Fronts both lined, button attachment stitching all nicely covered up. |
I basted the fronts to the back, tried it on to make sure it fit, and sewed them again with a smaller stitch length.
I often do that step by hand, but I did the sides and shoulders by machine because I wanted to make this waistcoat go slightly more quickly so I could get back to other stuff.
Then it was time to add the back lining.
I always line up the centre back first, and then smooth out the halves one at a time. I clip the inward curves, fold the edges in, and pin them down.
I baste down all the edges so I can more easily sew the lining in without pins in the way, and also so I can try it on one last time before felling the edges.
It fit just fine, so I proceeded to fell down the lining edges. I used off white silk on the side and shoulder seams, and red cotton on the other edges.
Quite unnecessary to match the thread to the lining when the two halves of the lining don't even match and it's not going to be seen on the outside, but for some reason I just felt like matching it.
Then all that was left was to take out the basting and add bar tacks to the tops of all 3 vents.
Like the bar tacks on
buttonholes, they're just a few long stitches taken across the surface, and then buttonhole stitches done over top.
 |
| Finished! |
There are a couple of little goo spots on the back hem that I must not have noticed when cutting out, because I did have enough of the plainer fabric to have avoided that.
Must have been tape or labels there. I'll try taking it off with goo-gone at some point.
Overall I'm very pleased with this waistcoat. It came together fairly quickly, I'm happy with the construction, and the fabric is fabulous.
However, it does fit quite loosely in the back, and I'm not sure if that'll be a problem yet because I don't currently have any coats that go with it. The fabric is so so stiff all around that the back wouldn't fold and rumple up in back if it were to be worn under a slightly too tight coat, it would bulge out weirdly in front.
So I'll wait and see, but if necessary I may open the centre back seam most of the way up, trim the edges down a little to fit the curve of my back better, and leave it open with lacing. (
A perfectly accurate and fairly common option.)
 |
Those shoe clips are not 18th century at all,
but I had them and they matched and I'd never worn them before so I figured I may as well. |
I love making waistcoats, but my goodness I really need to make more coats.
The two wool coats I made
in 2019 no longer fit me and I have not yet attempted to let them out, and I haven't made... any new ones since then, aside from the
navy wool one which was very tight to begin with and also no longer fits.
I've made a dressing gown and a jacket, but no coats, just a lot of waistcoats with nothing to go over them. (Though to be fair a lot of those waistcoats were previously unfinished things from The Pile.)
Well, that's all for now. I will update this post if I do eventually add lacing to the back.