Pages

Showing posts with label beading. Show all posts

Wednesday, 6 July 2016

Sequined Black & Blue Sleeved Waistcoat

Photo by Seamus Lee Hayes.

I have finished another project! I'm trying to tackle my Unfinished Things pile and I'm actually getting stuff done!
My sketch, which looks better in person because the scan doesn't capture the silvery ink.
I started this thing about a year and a half ago, back when I was far more prone to making bad fabric choices. I have a LOT of complaints about it, but it still looks nice.
Terribly washed out photo of the sequins.
And an excellent view of the not at all lined up sleeve-end.
I based the pattern off sleeved early to mid 18th century waistcoats, even though this thing isn't remotely historically accurate. That's okay though, it's not meant to be.
I cut the front & back out of black silk dupioni, which I have a lot of. I did most of the construction a year ago, and the interfacing is synthetic and rather terrible. As far as I can remember I was trying to get rid of some of my not very nice materials, which explains the lining and pockets...

Yellow cotton sateen pockets. Ick. Why.
At least they're out of sight.
I did most of the sewing by machine.
Pocket flaps sewn up and the top edges hand stitched closed.
I have a jar of various sequins, which I sorted through to get all the dark blue ones. I also found some black ones, and a bunch of dark, shimmery, not any one colour in particular ones.
All the sequins are hand stitched on with a black seed bead in the middle. I put 2 stitches with a single thread through each bead.

The lining is awful. Originally the sleeves were lined in the same sateen I used for the pocket bags, but when I picked this up and started working on it again I ripped them out and replaced them with silver-grey bemberg. The rest is lined in plain weave cotton, and I have no clue why I put the dark blue sections on the bottom edge when they should be on the edge by the neckhole where the lining is more likely to actually show.
No. That is not how to do a facing.
I cut the back in 2 sections so there would be a waist seam, and in that waist seam I caught a rectangle of black cotton mesh. I also tacked a square of mesh to each side of the centre back slit.
All of this is the part that was sewn over a year ago.
When I tried it on a few weeks ago I realized the crap choice of lining made the back tails ride up, and I was in a hurry to get this done for an event so I sewed 4 big washers to the corners to weigh them down. Someday I might put a good lining in the rest of the waistcoat.
Ugly, but it's on the inside and it keeps it from bunching up.
The sleeves are a blue dupioni that I screen printed with silver octopi a few years ago. I think my reasoning for the weird sleeves and the mesh tail was that none of it would show when this is worn under a coat, which makes sense. I don't know why I didn't measure the black things I stuck on the ends of the sleeves though.
I think the right pocket is a tiny bit higher than the left one.
I put the sequins on after most of the construction was done, but I had to open up the hem to sew the ones on the bottom edge without going through the pocket.
It's a bit of a pain to button up with all the sequins in the way, but I like it. I think it'll look nice under a coat once I make one of the right silhouette.
The left sleeve end is lined up, but not the right one. Boo.

I wore it to the Fredericton Gender Minorities second annual Pride Prom (where I was helping set up and chaperon) but I don't have any pictures from there yet.
Edit: I forgot to mention cuff buttons! Most of the extant waistcoats have them, but I neglected to add them to mine. I probably will eventually though.

Thursday, 13 February 2014

Black Beaded Capelet

I apologize for my absence.
I have been busy with school things again and am behind on my own sewing projects.
I am not off to a very good start on the HSF '14. The first project was late, I missed the second one, and there is no way I will finish the third one on time. As I am frequently informed that school is the higher priority, I will not be able to complete as many of the challenges as I would like. I am, however, hoping to have a linen shirt finished in time for #4.

Now, since I have no posts on actual sewing, here is another thing from the Old Stuff Collection. I found this capelet in a trunk in my Grandparent's attic.
Isn't it marvelous? It would have looked very nice with the reticule that was in the same trunk.
I'm not sure what date it's from, but it looks like either very late 19th century, or very early 20th century. There were tiered capelets around at that time, but I haven't seen any others with inward curves and beads, nor with this kind of spacing. I am not particularly knowledgeable about this era. Can any of you help narrow down the date?
Madame Demorest's Illustrated Portfolio of the Fashions For 1880.  (Source)

The Ladies Home Journal, March, 1898. (source)
The large piece is about 3/4 of a circle. The two smaller ones are a bit longer. All three tiers are seamed in the centre back. The major seams are all machine sewn.
There is one hook & eye closure at the base of the collar.
I'm not exactly sure what the fabric is, but judging from the rough texture I think it might be a very fine wool.

The beads are a pre-made trim that has been couched on. It has 3 different kinds of glass (or maybe jet?) beads. Many of the large ones have fallen off.
The stitching holding the trim on is uneven and shows on the wrong side in a few places, especially under the collar. It's attached with brown thread.
You can see the couching in this picture.
The third point on the top tier is tacked to the middle tier, but only on the right side. The left side was probably tacked at one point.
The middle tier is tacked to the front edge of the bottom tier, just past the trim.
It's attached on both sides.
There is quite a bit of wear on the back, under the collar. Other than that, and the missing beads, it's in pretty good condition.
The lining is a very shiny cotton twill. The hems of the top two tiers are very nicely finished with wide bias strips of the same materials.
The hem of the bottom tier is simply turned up once and finished with a cross stitch.
The collar is almost perfectly rectangular, and doesn't feel like it has much stiffening in it at all.
You can see the hook in this picture, attached with a big snarl of brown thread.
There are two darts at the shoulders. They are sewn through both the lining and the outer fabric, slashed open, and whip-stitched to the inside.
It looks as though whoever made this capelet ran out of black thread before they were finished.
This dart is finished partly in black thread, and partly in brown.
I don't know what sewing project I will be finishing next. I just drafted a frock coat pattern and I'm super exited about it, so I would really like to make a frock coat. Perhaps the grey one with the zig zags.

Tuesday, 18 June 2013

Early 20th century beaded black reticule.

Once again I find myself behind on posting. This is not good. It has occurred to me that it would be a good idea to build up a backlog of unpublished posts, that way I could avoid this sort of thing and post exactly once a week instead of approximately once a week.
Since I don't have any posts on sewing ready today, I'm sharing another pretty thing from my Old Stuff Collection. There were more than just photo albums in my Grandparent's attic. I also found some very nice old bits of costume, including this fantastic reticule.

 I'm not sure if I'm remembering this correctly, but I think my Grandfather said his aunt brought it back when she visited Europe, which was some time around 1920. I think it could easily be a few decades older than that though.

The reticule is made of fine black leather, with the rough side out. It has two pockets, one on each side.
 They both close with metal snaps.
You can see the smooth side of the leather inside the pocket flap.
 They are tacked on only at the corners.
They aren't attached very securely.
The main body of the reticule is made of four identical pieces. When it is lying flat you can see the two on the front and back, while the two on the sides are folded in between.
The one with the purple back is the outside piece, and the ones that are all black are the two side pieces that are folded in.
 There are two loops of cord that are strung through 8 grommets at the top. The cord has a synthetic feel to it and has become sort of fuzzy from wear. The ends of the cords are encased in little covers made from more of the same leather. They might have a bit of stuffing in them, as they are sort of puffy and pillow-like.
 For some reason, the smooth side of the two outside pieces is a deep purple, while the other two are completely black. The purple backed leather is also slightly thinner. Odd, isn't it? I would have put the pockets on the thicker pieces.
Here is a better shot of how it folds. One of the cords goes through one way and one goes the other way.
 While the reticule is in pretty good condition for it's age, there is a bit of damage. One of the grommets has popped out and there is a bit of tearing above one of the pockets.
The soft fuzzy side of the leather also sheds black dust, you can see the large grey smudge it left on the sheet in several of these pictures.
The tearing and the popped out grommet.
 There is also a part of the loopy beaded fringe that is seriously messed up. It appears that part of the fringe broke at some point, and somebody did a super crappy repair job.
What a mess!
 It's worse than it looks in that picture. While the two lines of fringe  on the other side are separate.....
 .......the shoddy repair has tied the other two edges together!
Who did this? What were they thinking?
 The repairs are also done in brown thread, while the rest of the thread is black. I plan on properly repairing the fringe someday, I'm not sure when that will be, but I will update this post when I do.

Here is a picture of the unaltered fringe. It's all the exact same pattern. The fringe is on the bottom edge of the bag and the bottoms of the pockets. The narrow beading is on all other edges except the two that are covered by the pocket flaps.
The beading is done with black seed beads and colourless seed beads, the fringe also has black bugle beads. The black beads are faceted, the clear ones are not. At each point where the beads attach there is a single stitch holding them on. This is the only stitching holding the edges together!

That's all for now. Hopefully I shall be back in less than a week with some actual sewing.

Monday, 6 May 2013

The wasp hat is done!

For the first time ever, a sewing project took less time to finish than I expected.
I stripped all the cotton padding off the legs and covered them again with just the velvet.
The finished wasp. No more tarantula legs.
 I took a whole bunch of pictures of the wasp against a white background. Alas, though they looked fine on the little camera screen, they all turned out blurry. It didn't photograph outside very well either.
Here is the inspiration hat.
Velvet dinner toque, ca. 1912. The Met.
And here is the one I made.
Part of the Met's description says:

"Although the velvet appears to be draped in a casual and carefree way, it is in fact painstakingly manipulated over a complicated wired foundation to create a specific form."

I made the base for my hat out of the base from the grey fur hat that I used in my striped muff.
It's made of a fishing line like filament.
I pulled it into shape using wires and and cotton yarn.
Hat skeleton.
It didn't look quite crumpled enough after I covered it, so I pulled the folds in closer with more yarn.
It doesn't look as casually draped as the original, but it's close enough.
The fin-like projections on top have wires in them too. It was really hard to get them to stand upright.
They weren't very stable on the bottoms and kept flopping over when I was sewing them on. It would have been better if I had made the bases wider.
I lined it in a dark pink satin. I'm trying to use up my least favorite materials in places where they won't be seen. This is the same lining construction that I saw in both fur hats.
It is not quite this pink.
I like this hat. I like the way it looks, and I like the fact that it adds 7 inches to my height(I'm not short, I just like tall hats).

The wasp didn't look quite right sitting up there all alone, so I filled out the space with a tuft of almost black fur, which also counts as Fauna.
My only major complaint is that the mesh structure was a bit more fragile than I expected. Some of the little filaments broke and were poking through the fabric. Little prickles in velvet are not nice. I think I've trimmed them all off, but more of them could still break.

List Of Facts

The Challenge: #9, Flora and Fauna

Fabric: A large portion of the front of the bodice of an ugly synthetic velvet dress and a small piece of synthetic pink satin.

Pattern: No pattern. Just draping. Except the fins, which I drew with chalk.

Notions: Approximately 26" of nylon bias tape, a mesh form from a fur hat, an unknown length of  wire, some green cotton yarn, a few small scraps of cotton quilt batting, a small piece of extremely fluffy fur from another hat and about half a teaspoon of very tiny seed beads.

Year: The Met says 1912, but after looking at a lot of fashion illustrations I think it might be a bit later. The hats seem to be bigger and floofier at the beginning of the 1910's and get smaller and more simple towards the second half of the decade.

How historically accurate is it? Not too bad. The general silhouette of the hat is correct and the look of the fabrics is accurate, although most of the materials are synthetic, which is not so good. I don't have any documentation for wire wasps, but there were certainly bugs in Edwardian fashion. I have seen many antique clothing articles that included bits of wire wrapped around and around with thread(Hooks and eyes, for example) and a wasp like this one could have easily been made from the materials available in 1912.

Hours to complete: Unknown. I did most of the work on the wasp over a year ago and I didn't keep track of the hours. I just remember that the wings were horribly tedious because I formed them before I covered them, so I had to pull an enormous length of thread through the wing with every single wrap.

First worn:  Today.(Monday, may 6th, 2013)

Total cost: $0. Every single material was from my stash. A lot of it was left over, or recycled, from something else.

I apologize for not having any good pictures of the finished wasp. In every picture I took the beads turned into fuzzy spots of light, this thing just doesn't photograph well.
My eyes are squinting because there is too much sunshine. I must obtain a parasol.
Now I'll have to sew some more Edwardian stuff, yay!
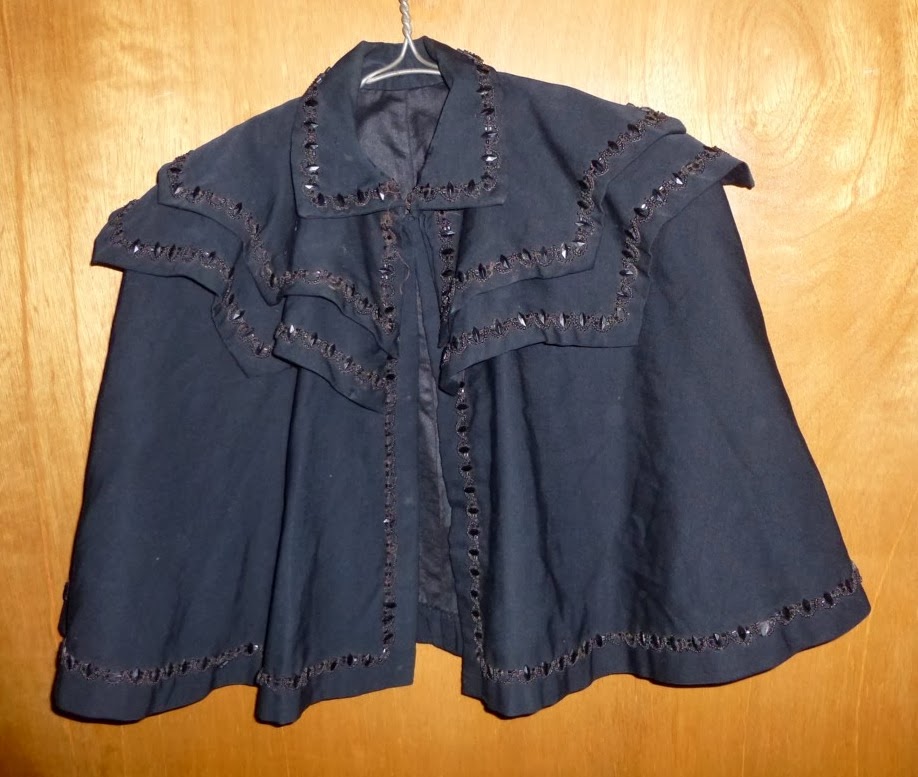
I have got a black, beaded, tiered cape that I'm planning on reproducing someday. I think it's from around the same era. I shall have to do a post on it.