Pages

Showing posts with label hats. Show all posts

Saturday, 29 April 2017

A few smallish things

I haven't got any newly completed garments at the moment, but I have some other things that I haven't blogged about. A few days ago I finished this box. 

I started it a couple years ago in bookbinding class, and now I've finally gotten around to covering it and gluing it together. I think I had originally intended it to be a sewing box with a more elaborate interior, but I just wanted to get it off the Unfinished Things pile, so the inside is plain striped quilting cotton. The outside is covered in black cotton twill.
I didn't cut my pieces as accurately as I should have, but the lid fits pretty well.
Not sure what I'll use it for. It still could be a sewing box.
I made this green hat in felt class, shortly before I made my tricorn. I didn't make my pattern big enough so it came out really, really small, and barely fits this foam head.
I think it's still at school, and I don't have any use for it.
I carved a linoleum block a couple days ago! It was a commission for a heart & stroke event.
Speaking of commissions, two people are going to buy these shitty dinosaur prints from me, and I am amazed.
Two humans got me to print these and will pay me real actual money for them.

I posted about the fish I block printed, but I never posted this other block I did for class, so here are some pictures of it.
I did some prints on a piece of paper.
And some on fabric.
I haven't done anything with these 3 bits of cotton yet, but they were fun to print. Though I wish the edges hadn't printed darker than the middle of the block.
It's a half drop repeat, with swirliboops based on the ones I embroidered on my waistcoat.
I will hopefully have some finished sewing things soon!

Tuesday, 14 March 2017

1780's-90's Cocked Hat

I have made a hat!
I like my hat very much.
I was aiming for the general look of the hat in this fashion plate.
Young Officer in a Zebra Coat, calling someone to give an account of his services. Galerie des Modes, 1789. Source.
As far as I can tell, the one in the fashion plate is this shape, with the edge folded up in back being much longer than the front two. (I have some more extant hats in the same style on this pinterest board.)
Military cocked hat, late 18th century. Source.
(The one I made isn't meant to be a military hat, so I hope the trim isn't too similar.)
Mine is wet felted merino fleece, and I made it for a hat assignment in felting class.
One side laid down. I don't know why I couldn't get a clear photo of this.

Pattern separating the layers, and the second side partly laid down.
The pattern is quite large (about 2 feet across, I think) to account for shrinkage.

Hat partly felted, with the brim cut open and the pattern removed.
The crown is sitting on an upside down ice cream container here so I can felt the sides more easily.
Once the hat was sufficiently felted I dyed it with acid dye.
Here it is being dyed for the second time, because the first time it didn't come out black enough.
I had failed to remember while I was felting that the tops of all the extant hats are flat, and so I had to do some reshaping. I dampened the hat and pulled it over a coffee can, and managed to mash the domed top down into a nicely flat one. I also had to stretch the band part over a paint can, because it had shrunk in the dye pot and was now slightly too small.
The hat after dyeing and before blocking.
(Can I still call it blocking if it's a large can and not a bock?)
I stiffened the whole hat with watered down fabric stiffener. I'm not sure what the historically accurate method would be, but this worked quite well.
Almost done!
I did it in 3 steps to make sure things would dry in the right place.
(First the crown, then the back, then the front.)
I used fabric stiffener for the trim too. I dyed a piece of white silk twill, and then painted it with slightly thinned stiffener and let it dry. I'd never used fabric stiffener before this project, and I was quite pleased with the results. The silk went crisp and papery.
I pinked the edge, and then snipped out half the zig zags because the pinking was too small.

My box pleats came out a bit wonky and I blame the moisture from my hands.
I pleated it up, folded another strip of the material for the bit that goes on top, and added a mother of  pearl button from my stash. The hat in the fashion plate has what appears to be a diamond shaped steel button, and this was the closest thing I had.


It's done! I finally have a hat!! It still needs a lining, but I can add that later.
It's not perfect, nor entirely symmetrical, but for a first attempt I think it turned out very good and I am proud of it!


All the photos here of me wearing the hat were taken by Denise Richard, who is my felting teacher.
I quite enjoyed making this and I want to make more hats!

Monday, 6 May 2013

The wasp hat is done!

For the first time ever, a sewing project took less time to finish than I expected.
I stripped all the cotton padding off the legs and covered them again with just the velvet.
The finished wasp. No more tarantula legs.
 I took a whole bunch of pictures of the wasp against a white background. Alas, though they looked fine on the little camera screen, they all turned out blurry. It didn't photograph outside very well either.
Here is the inspiration hat.
Velvet dinner toque, ca. 1912. The Met.
And here is the one I made.
Part of the Met's description says:

"Although the velvet appears to be draped in a casual and carefree way, it is in fact painstakingly manipulated over a complicated wired foundation to create a specific form."

I made the base for my hat out of the base from the grey fur hat that I used in my striped muff.
It's made of a fishing line like filament.
I pulled it into shape using wires and and cotton yarn.
Hat skeleton.
It didn't look quite crumpled enough after I covered it, so I pulled the folds in closer with more yarn.
It doesn't look as casually draped as the original, but it's close enough.
The fin-like projections on top have wires in them too. It was really hard to get them to stand upright.
They weren't very stable on the bottoms and kept flopping over when I was sewing them on. It would have been better if I had made the bases wider.
I lined it in a dark pink satin. I'm trying to use up my least favorite materials in places where they won't be seen. This is the same lining construction that I saw in both fur hats.
It is not quite this pink.
I like this hat. I like the way it looks, and I like the fact that it adds 7 inches to my height(I'm not short, I just like tall hats).

The wasp didn't look quite right sitting up there all alone, so I filled out the space with a tuft of almost black fur, which also counts as Fauna.
My only major complaint is that the mesh structure was a bit more fragile than I expected. Some of the little filaments broke and were poking through the fabric. Little prickles in velvet are not nice. I think I've trimmed them all off, but more of them could still break.

List Of Facts

The Challenge: #9, Flora and Fauna

Fabric: A large portion of the front of the bodice of an ugly synthetic velvet dress and a small piece of synthetic pink satin.

Pattern: No pattern. Just draping. Except the fins, which I drew with chalk.

Notions: Approximately 26" of nylon bias tape, a mesh form from a fur hat, an unknown length of  wire, some green cotton yarn, a few small scraps of cotton quilt batting, a small piece of extremely fluffy fur from another hat and about half a teaspoon of very tiny seed beads.

Year: The Met says 1912, but after looking at a lot of fashion illustrations I think it might be a bit later. The hats seem to be bigger and floofier at the beginning of the 1910's and get smaller and more simple towards the second half of the decade.

How historically accurate is it? Not too bad. The general silhouette of the hat is correct and the look of the fabrics is accurate, although most of the materials are synthetic, which is not so good. I don't have any documentation for wire wasps, but there were certainly bugs in Edwardian fashion. I have seen many antique clothing articles that included bits of wire wrapped around and around with thread(Hooks and eyes, for example) and a wasp like this one could have easily been made from the materials available in 1912.

Hours to complete: Unknown. I did most of the work on the wasp over a year ago and I didn't keep track of the hours. I just remember that the wings were horribly tedious because I formed them before I covered them, so I had to pull an enormous length of thread through the wing with every single wrap.

First worn:  Today.(Monday, may 6th, 2013)

Total cost: $0. Every single material was from my stash. A lot of it was left over, or recycled, from something else.

I apologize for not having any good pictures of the finished wasp. In every picture I took the beads turned into fuzzy spots of light, this thing just doesn't photograph well.
My eyes are squinting because there is too much sunshine. I must obtain a parasol.
Now I'll have to sew some more Edwardian stuff, yay!
I have got a black, beaded, tiered cape that I'm planning on reproducing someday. I think it's from around the same era. I shall have to do a post on it.

Sunday, 21 April 2013

The rest of the silly hat construction

I accidentally hit the "enter" key after I typed in the title, so I apologize to anyone who may have seen a post with nothing in it.

Here is how the rest of the hat went together.
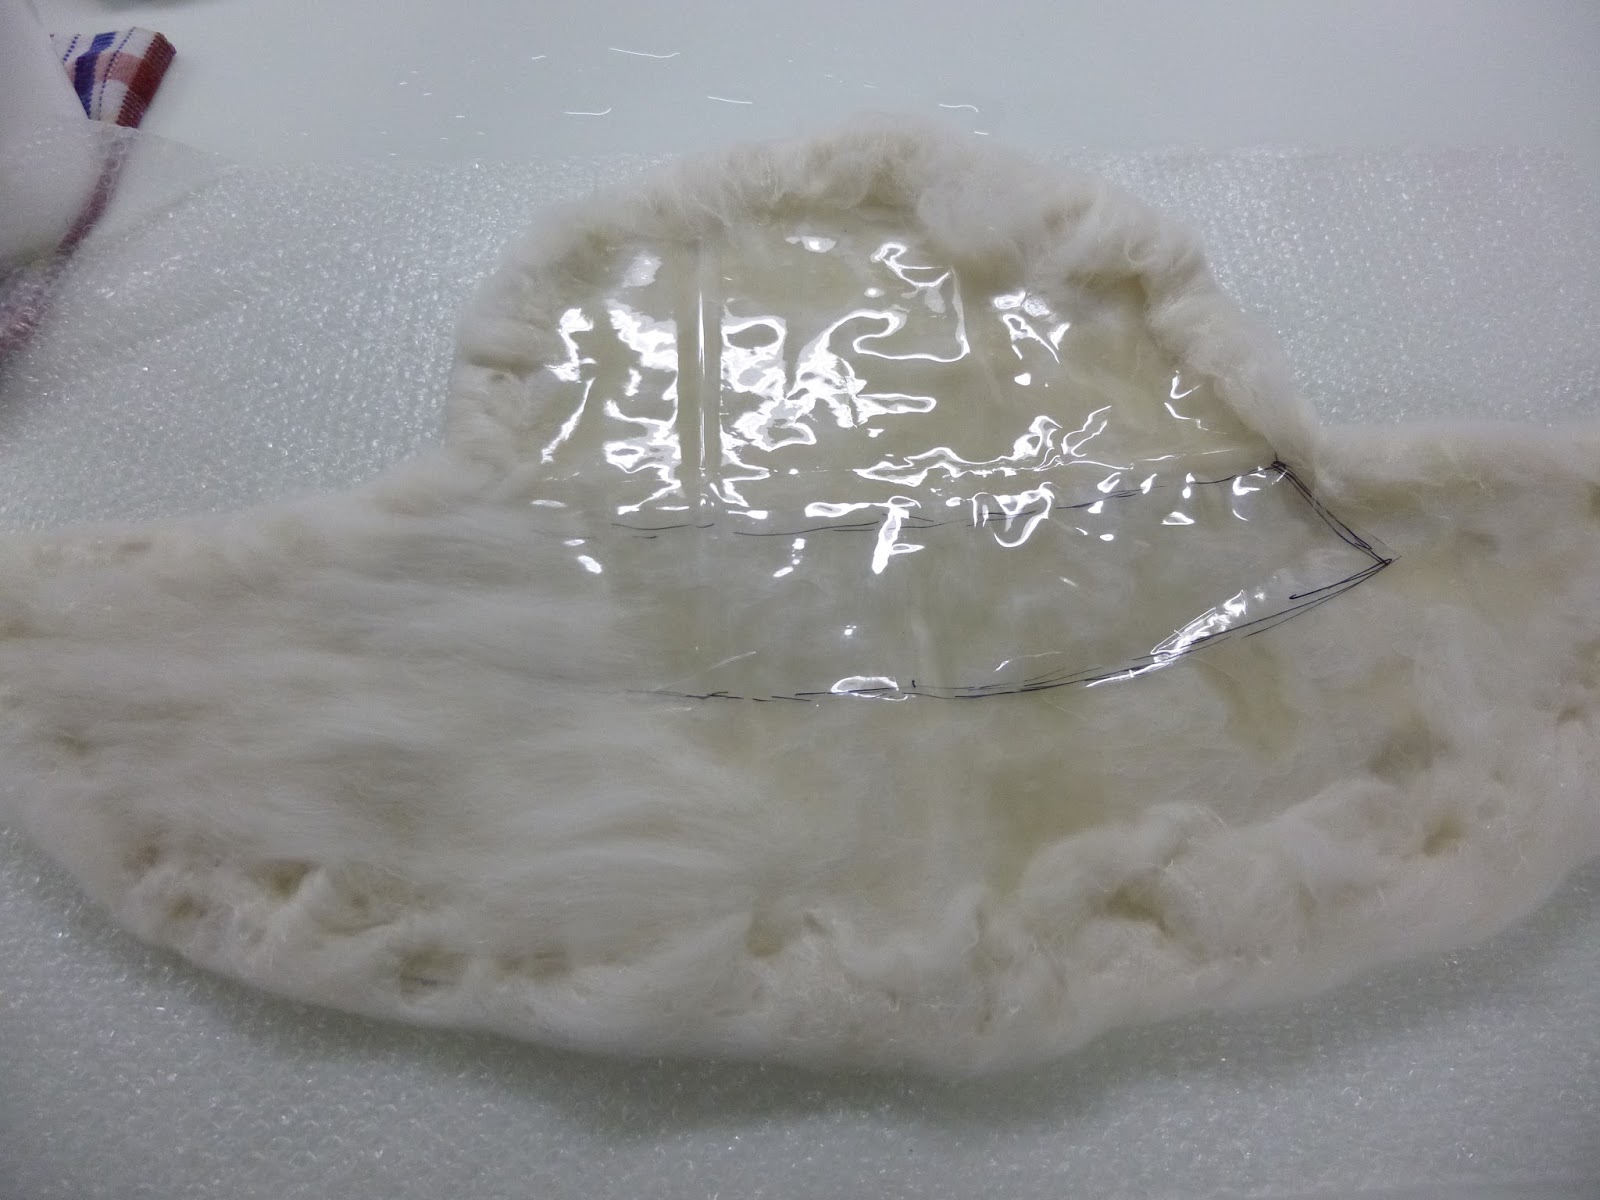
I found a strip of what I think is buckram in the bag of interfacing that came with Grandma's sewing stuff. I cut a strip of it and sewed it around the top of the brim. I doubled my thread and used stitches that were sort of big. It was hard to get the buckram to stand up straight all the way around.

The thicker piece in front is where the buckram overlaps.
All those ruffles on the inside were getting in the way, so I sewed them to the inside of the brim about halfway up. I don't have a picture of this.
I then cut two circles for the top. One in sheet, one in cross stitch material(the only thing Fabricville had that was stiff enough). Each one was 75 cm across.

The cross stitch stuff is on the left, and the sheet is on the right.
I pinned the edges of the cross stitch material circle into pleats until it looked about the same circumference as the buckram band.
There. That looks like it should fit.
Somehow, it fit perfectly. I sewed it to the inside of the buckram band with the line of stitching exactly halfway up. Then I put the sheet circle on top, gathered up the edges and tucked them in between the buckram and the cross stitch stuff. This is why I put the stitching for the cross stitch stuff halfway up.
Here it is, with the top stiffener and the sheet installed.
If you click on that image for a larger view you can see a row of stitching across the middle of the band, and a row of stitching across the top. The one across the middle is the one holding the top stiffener on. The one across the top is holding the sheet in place, which is sandwiched in between the buckram and the cross stitch material.
I hope that made sense.
To cover the band, I cut out a piece of white silk that was a bit wider than it, and a bit longer than the distance around it. I ironed the edges in, wrapped it around the hat (with the folded down edges facing in, of course), and sewed the ends together.
The bottom of the silk band I attached with a long, inconspicuous stitch that I don't know the name of. I didn't do one on the top because the gathers on the top are softer and it would have been more conspicuous there. There also wasn't much need for one. The hat band is in no danger of being peeled off and the roses help keep it in place.

For those gravity defying bow like loops in the inspiration picture, I cut out three more strips of the same silk and sewed narrow hems on all of them. I tried to take pictures of them, but they all turned out horrendously blurry. The hems are about 6 mm wide.

Then I put thin wires in them.
This picture is blurry too, but you can see that the wires make it stand up. I twisted the pairs of wire ends together so that the ends of the strip would line up.
I curled the ends of the wires into little loops and sewed the loops to the hat band.
The 3 loops attached.
The loops covered up the seam of the hat band but the wire ends and the raw edges of the loop ends were still visible. Fortunately, the inspiration picture has a tail thing that solves all of this.
Journal de Luxus, 1789 (source)
From the general shape of it, I'd say it's a square that's been gathered up on the diagonal. Or maybe a triangle that's been gathered up along one edge. Or maybe neither of those things. I can't be sure, but it looks like a square to me. Fortunately, on the same day that I decided to abandon my design and go with the inspiration picture, my mother brought home an enormous loom and a bunch of sewing and weaving stuff that she had inherited from a friend. There was a bag of fabric that she gave to me, because she doesn't sew. In the bag of fabric there was a big, soft, square, white, silk scarf. It had a hand sewn rolled hem, so the hat still counts as 100% hand sewn. I gathered the scarf up on the diagonal and stitched it down around the ends of the wired loops.
The two corners are joined at the top.
In the bag of fabric, there was also a big piece of thin, crispy, pale pink silk. What incredible luck!
I made roses out of it using The Laced Angel's marvelous tutorial. They held their shape very well.

I also improved the manner in which I made the leaf sprigs. The first one I made was wrapped in a huge amount of thread and sealed with beeswax. I realized that this was unnecessary and made the rest of them with less thread and no wax.
Time efficient leaves.
There are eleven roses and they go all the way around the hat.
And that's it.
The finished hat.
Now there's just the problem of storage. Where on earth am I going to keep a hat that's 45 cm across and 30 cm high? (And that's not including the loops that stick out further on one side.)
My room is pretty small and already packed with sewing stuff. So far I've just been moving it back and forth between the ironing board and the bed, but I can't keep doing that forever. I should probably get some cardboard and build a colossal hatbox.
Any other ideas?
Update: I found a place for it. It fits perfectly in this old computer box.