Pages

Showing posts with label neckwear. Show all posts

Saturday, 18 June 2016

Loki Stuttgart Scarf

Shockingly, I recently sewed something for someone else that's not a commission!
My friend Naxius (who commissioned the AOA Loki Bullshit Bodice and the Balem robe) had a birthday recently. And so I made him a scarf that turned out to be WAY more frustrating than I anticipated.
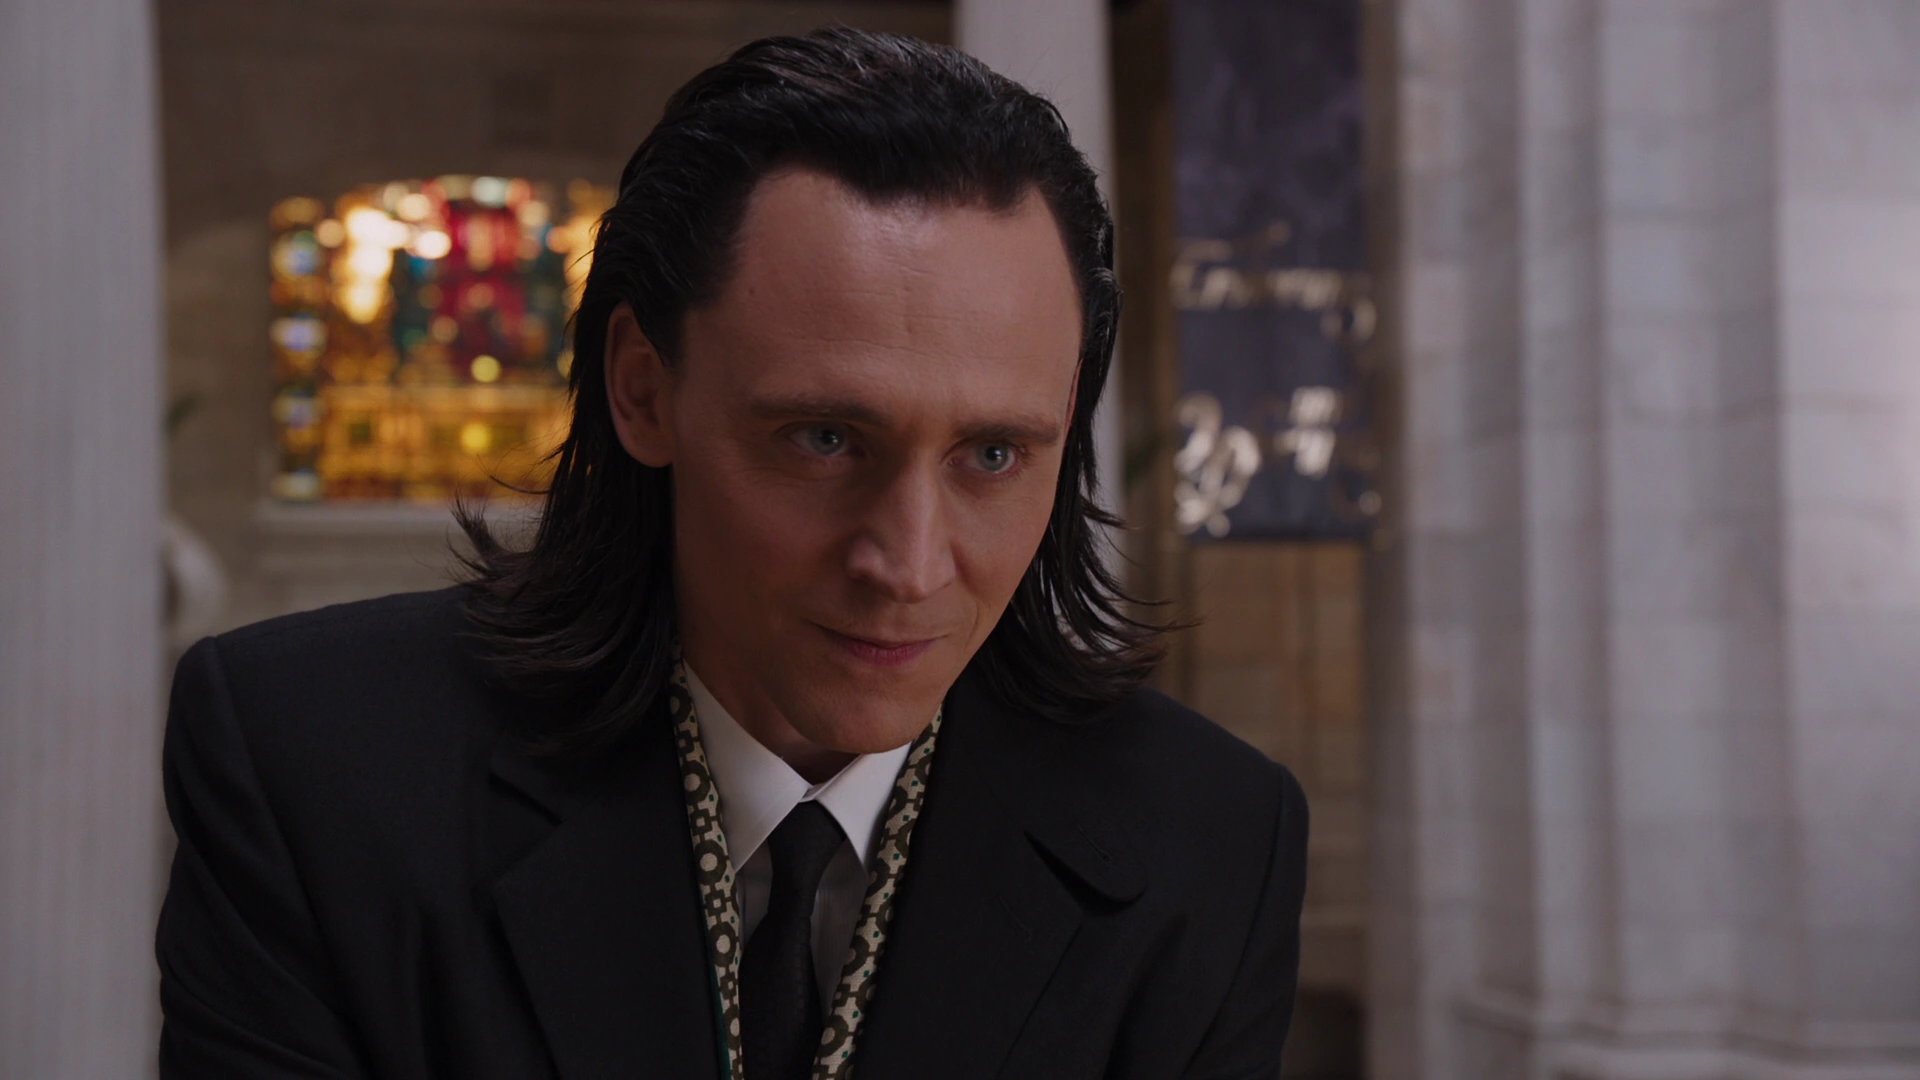
 It's a scarf worn by Loki in a scene from The Avengers where he shows up at a fancy art gallery event in Stuttgart, Germany. It was only on screen for about a minute, but has been copied plenty of times by Loki cosplayers and I figured it would be a perfect birthday present for Nax.
Such a fabulous scarf!
Unfortunately I can't seem to find the source for this picture.
 The scarf in the movie is made from a pale yellowish fabric with a woven dark brown geometric pattern and tiny green squares.
The tiny squares look brown in some pictures, but here they are clearly dark green.
(Source)
 I decided to replicate the pattern as closely as I could with a screen print, since I go to a school where I'm learning fabric printing and can use the equipment.
I spent a very long time making the pattern on Adobe Illustrator. I did it all as one print because there was no way I was going to make 2 screens and try to line them up just to make the little squares green.
Adobe Illustrator is EVIL. But I eventually figured it out.
This isn't my whole print, just a screenshot of part of it.
 I ended up having to re-do my screen 3 times. The first 2 times I put the pattern on the screen I made foolish mistakes. The photo below shows my first attempt, in which half the tiny squares are missing because I didn't pay close enough attention to my repeat.
I had to re-do all this. Twice. Bleh.
(this didn't happen with other screens I've done!)
 I won't go through the whole screen shooting process, but it involved photocopying and a very big vacuum light table in a darkroom.
I did several test prints. The silver on black one on the left was my failed first screen, and the blue one on the right is from my third and final screen. I also did a test print on a bit of the final fabric.
Note the missing tiny squares on the left one.
Because the scarf in the film is quite swishy, I used rayon. I had a piece of yellow rayon that was a lovely drapey texture, but too dark. I bleached it and dyed it a pale straw colour.
The rayon before bleaching & dyeing.
I think it's crepe?
I printed 6 repeats of my 10" x 15" pattern on it with dark brown dye paste. (Which I also won't go into detail on, but it involves  mixing up dye powder and a particular sort of thickening goop.)
Amazingly, I managed to get them all lined up nearly perfectly!
Big printing table!

Printed fabric! Hooray!
 The fabric had to be steamed to set the dye paste, and even though the two samples I did with dye paste turned out completely fine, somehow a bit of water leaked into the steaming package. Consequently the print is not entirely even in colour, but thankfully there was very little blurring.
I was SO angry at this at first, but it's not too noticeable on the actual scarf, so I can live with it.
I had originally intended to use rayon for the green portion as well, but after three attempts at dyeing a piece of pale green rayon from my stash and still not getting it a dark enough shade I gave up on that. I grudgingly bought some synthetic suiting instead, which was the perfect colour and nicely drapey, though a little thicker than I would have liked.
 I marked out a 57" by 15" rectangle on the green stuff and marked all the stripes on with my 5cm wide ruler. I cut rectangles of the printed stuff to fit in the spaces around the stripes, because a reverse-appliqué seemed the best way to do it.
I carefully pressed in the edges and slip stitched them all down by hand.
The machine basting around the edge was done after the appliqué.

Hand stitching somewhat visible on the back of the piece.
 The local fabric store had some swishy rayon fringe in the perfect colour for the scarf, but it was too short.
2 meters of fringe being pulled apart.
I pulled all the doubled fringey strings out of their little chain stitch thing and re-strung them all from one end so they'd be long enough. (Don't worry about the little bendy bits in the middle. I soaked them in water and they straightened out very nicely.)
At this point it became a scarf of regret.
 I machine sewed a rectangle of the leftover un-printed rayon to the sides. After turning it inside out and slip stitching the ends closed I had to do a running stitch around the whole edge to get it to lie flat. I was very careful to make the stitches on the printed side as small as possible so they wouldn't show.
End closing up.
I trimmed the fringe to the correct length using a rotary cutter and my wonderfully useful 5cm wide ruler.
Nasty evil fringe finally looking right.
And it was finished!

Nax making a serious face, like he usually does in photos.
 It was a little over a week late, but I managed to keep it a surprise, which is something I'm usually terrible at.
It's worn folded in half lengthwise, so there are 2 crosses at each end.
 He was very surprised! And so delighted I actually managed to get a photo of him smiling. (Not that he doesn't smile often, it's just difficult to catch on camera.)
I quite like the pattern, and might use the screen to print something for me someday.
Urgh, I can still kind of see the uneven-ness in that photo....
It's ok though. It's not too bad.

Saturday, 15 March 2014

Gauzy White Cravat & Secondhand Shoes

Gauzy white cravats are an essential accessory for the late 18th century, both for men's suits and women's riding habits.
I made one a few weeks ago, which you can see me wearing in the last photo of my previous post.
Boring, isn't it?

There isn't much to write about it. It's a rectangle of fine cotton that is 55 cm x 146 cm. 3 of the edges are hemmed and the third is the selvedge. I didn't cut it to this length, it was already this size when it was given to me. If I had cut it I would have made it a bit longer.
Hemmed edges.
Since two picture are not nearly enough for a post, I may as well show you the two pairs of shoes I have recently obtained.
I found this pair on the table in the student lounge where people leave things they no longer want. They're really small- only a size 10. I can wear them, but the are quite snug. I am almost certain that the material is fake leather.
The important thing about them is that they have buckles. The buckles are too small, the wrong colour, and are off to one side instead of being in the middle, but they are still buckles. I think the overall look of these shoes goes fairly well with 18th century styles. They are certainly better than lace up ones.
I got this other pair at a secondhand store for 6 dollars. They fit as long as my socks are thick. I had previously been wearing a pair of my grandfathers old shoes and they were much too big, besides being in worse condition.
If I could magically transfer a bit of the size from this pair to the other pair both would fit perfectly.
That is all I have for now. I have started a frock coat but progress is slow. Next I will post more pictures from The Surprise Cookbook.

Sunday, 15 December 2013

Blue- Grey Cravat

Yay! School is out for the holidays, now I can get back to sewing.
For HSF challenge # 25, we had to make something using no more than one metre of fabric, so I made another cravat.
Well, I guess it's technically a neckerchief, but I'm just going to keep calling it a cravat. I had two pieces of silk I had been planning to make into cravats, a silvery grey one and a blue grey one. The silvery one was slightly longer than a metre, so I had to use the bluish one, which was smaller.
A square being hemmed.
There isn't much to say about the construction. It's just a square with hemmed edges, almost the same as the first cravat I made. I used a slipstitch.
This time I didn't have to pull evil threads from the edges because I had a spool of silk thread that was a decent match.
Photographed against an unrelated fabric.

The finished cravat, with wrinkles from being worn.
 The edges came out nicely even, with only minor wobbles.
Two of the corners, the right side below and the wrong side on top.
When folded diagonally and rolled up, the cravat was a decent length.


Here it is all rolled up, with wrinkles from being worn.


The Challenge: #25: One Metre
Fabric: An 87.5 cm square of plain weave silk.
Pattern: None
Year: That's rather difficult to narrow down, but I think it's suitable for the first half of the 19th century.
Notions: Silk thread
How historically accurate is it? Pretty good. I don't think the fabric and thread are of perfectly accurate quality, but I don't see how the pattern or construction could be wrong with such a simple project.
Hours to complete: About 4.5 - 5. I forgot to write down my finish time at one point, so I had to guess.
First worn: Saturday, Dec 14th, 2013
Total cost: $ 0.00
Cravats are nice accessories to have, but they certainly don't give one much to post about. The next few projects I have lined up are far more exciting.

Friday, 22 November 2013

Neck Stock

It's late, but I made something for challenge # 23.
A few weeks ago I came across this post on Victorian Tailoring. I thought the neck stock looked interesting, so I decided to make one. Two Nerdy History Girls also has a nice article that talks about stocks.
Stock, last quarter of 18th century, (source)
Because I don't have a suitable buckle, mine closes with 3 buttons. I made Dorset buttons using this tutorial.
1/2" plastic rings and embroidery floss for making buttons. I split the embroidery floss in half  because the  rings were so small.
I love Dorset buttons! They're so easy to make, and so neat looking. I made two extra buttons because they were so much fun. They will probably go on a shirt or something.
2 white buttons and 3 off white ones. The off white ones are for the stock.
The linen tabs are 6 cm on the narrow end and 7 cm on the wider end. I stitched them with a backstitch.
Only one of these tabs is in the finished stock, the other was replaced with a longer one.
I cut a rectangle of cotton 28 cm by 32 cm. I tried to finish the longer edges with a rolled hem, but they didn't turn out very roll-y looking. I turned the hemmed edges in about 1 cm before gathering the ends so that they wouldn't show.
The end of the rectangle being gathered. You can sort of see the disappointing hem.
I backstitched the gathers onto the tab and tucked all the ends in, like a shirt cuff. After sewing the first one of these on I measured and discovered that the second would need to be replaced or there would not be sufficient overlap. I cut another tab about 2 cm longer.
The tab sewn on on the other side, pinned on this side.
I stab stitched along the edge of the tab, through all the layers, so it would be very firmly attached.
I went around the other 3 sides with more stab stitching. I put 3 buttonholes on the short tab and 3 buttons on the long tab.
The long tab. 

The finished stock.
Since my 18th century test pattern shirt isn't finished, here it is over the turned up collar of a modern dress shirt.
It doesn't sit properly on this collar.
The stock is not quite so full as the mfa example above, or this one from Christies, but it looks okay. It would probably have nicer folds if I had used finer fabric. The buttons are rather awkward to close, so I'm glad I didn't use any of my precious gauzy fabric on this.
The back.
Update: I am wearing it upside down in these pictures, how did I not notice that? I guess it could go either way. I suppose I could have put the buttons in a straight line. Actually, now that I think about it, hooks and eyes would have been much better.

Since the fabric I used was given to me, I'm submitting this for challenge # 23, Generosity & Gratitude. Both the linen I used for the tabs and the cotton used for the main piece was given to me by Paula Keppie, an artist (you can see some of her stuff here if you scroll down) who recently moved out of town. She gave me a HUGE amount of fabric. So significantly huge was the amount, that I took pictures of it before putting it away.
Linen on the left, cotton in the middle, silk on the right.
Silk on the far left, the small heap after that is synthetic. The nicely folded pile after that is linen, and the rest is cotton. 

This is at least a quarter of my entire stash. Thank you for the gigantic heap of fabric Paula!
I also have Victorian Tailoring and Two Nerdy History Girls to thank for their posts on stocks, and Diane Gilleland for her button tutorial. The thread and embroidery floss both came from my Grandmothers stash, so the only thing I bought for this project was the plastic rings.

The Challenge: # 23, Generosity & Gratitude
Fabric: Plain white cotton and unbleached linen, very small amounts of each.
Pattern: None
Year: 1770's to 1810's I think.
Notions: Three 1/2 " white plastic rings, off white cotton embroidery floss, white cotton thread.
How historically accurate is it? Not great. The closure is inaccurate, as are most of the materials. The look is pretty close though, and the construction isn't too bad.
Hours to complete: Unknown. I forgot to write down the time when I started because I was so excited about making Dorset buttons.
First worn: Yesterday
Total cost: Approximately 1.19 cents, for the plastic rings.
I've been a little worried about the quality of my blog posts lately, there seems to be a lot of boringness. Next post will almost certainly be about a pair of colourful 18th century mitts.

Sunday, 3 November 2013

A Fantastic Bow-Knot of Super-Eminent Dimensions


Contrary to what I wrote 2 posts ago, I am not submitting my green bodice for challenge #22. Once again I have grossly underestimated how long a project takes to finish. I have a terrible sense of time. Thankfully I had another suitable project in my UFO drawer, so I finished it instead.

About 5 months ago I wrote a largely inconclusive cravat research post that included this quote:

"This was in truth a very singular somebody.  He could not have been more than two feet in height; but this altitude, little as it was, would have been sufficient to destroy his equilibrium, and tilt him over the edge of his tiny car, but for the intervention of a circular rim reaching as high as the breast, and rigged on to the cords of the balloon.  The body of the little man was more than proportionally broad, giving to his entire figure a rotundity highly absurd.  His feet, of course, could not be seen at all.  His hands were enormously large.  His hair was gray, and collected into a queue behind.  His nose was prodigiously long, crooked and inflammatory; his eyes full, brilliant, and acute; his chin and cheeks, although wrinkled with age, were broad, puffy, and double; but of ears of any kind or character there was not a semblance to be discovered upon any portion of his head.  This odd little gentleman was dressed in a loose surtout of sky-blue satin, with tight breeches to match, fastened with silver buckles at the knees.  His vest was of some bright yellow material; a white taffety cap was set jauntily on one side of his head; and, to complete his equipment, a blood-red silk handkerchief enveloped his throat, and fell down, in a dainty manner, upon his bosom, in a fantastic bow-knot of super-eminent dimensions."

-From The Unparalleled Adventure Of One Hans Pfaall by Edgar Allan Poe, 1835.

After posting this quote I said that I would make a blood red handkerchief someday. I generally mean what I say (even though my sewing plans are constantly changing and I sometimes don't end up sewing what I say I'm going to sew.), so I started working on it shortly after.
It's a small project, but it still has a lot of visual impact.
Super-eminent dimensions!

Okay, so it's technically not a handkerchief. It's also a few shades too light to be blood red, but at least the dimensions are super-eminent.
I used the same silk as I used for the roses on my silly hat. I cut out a 29 cm x 288 cm piece and took the ends off at an angle. I slanted them towards the same side, so the whole thing is one very long trapezoid.
I think this shape makes it a cravat. The funny thing is, the thing I made earlier and called a cravat turned out to be a handkerchief, because it's a square.
The fabric required some red acid dye to correct it's pinkness.
The pink silk in a pot of red dye and water. Also pictured is a metal spoon for constant stirring.
The red silk in a pot of clear water. It's fantastic how fabric sucks up dye like that.
The dyed piece and the original coloured piece.
The grain ran across the strip of fabric, which made the edges quite difficult to hem. I had to fold them very carefully and pin them at short intervals.
I sewed up the edges with the smallest running stitch I could manage.
Lots and lots of pins.
I hemmed one of the long sides and both slanted ends. The fourth edge is the selvedge so I left it. The asymmetry of this annoys me somewhat, but hemming a 288 cm edge with the grain going the wrong way would be annoying too.
Does it fall down in a dainty manner upon my bosom? I can't tell.
Silly articles of clothing are best worn with dead serious facial expressions.
I look kind of evil in this one.
The Challenge: # 22, Masquerade

Fabric: One 29 x 288 cm piece of fine dupioni like silk.

Pattern: None, see dimensions above.

Year: c. 1835

Notions: Cotton thread

How historically accurate is it? The fiber content is accurate, but not much else is. The weave of the fabric is wrong. The look might be accurate for a satirical drawing, but I doubt anyone would actually wear a cravat this size. It doesn't even match the description that Poe gave. Thankfully, this is the one challenge where historical inaccuracies are okay.

Hours to complete: Unknown

First worn: Today

Total cost: $0

I really like my fantastic bow-knot of super-eminent dimensions. I'm going to keep calling it that because I just love the way Poe describes things. It takes a few tries to tie it in a bow shaped bow-knot, but the crosswise grain that made hemming so tricky makes the bow puff out very nicely.
I'm not sure when I'll wear this. Perhaps on special occasions. This would be an appropriate thing to wear to a Christmas party, wouldn't it? Ugh, I hate to speak of Christmas so soon after Halloween.

Speaking of Halloween(my favorite holiday ever), I wore my late 1780's outfit to school this year. It was lots of fun, even though it was rather uncomfortable. I entered in the schools costume contest and won a prize for "best construction". I got lots of questions about the hat, and two people asked to take my picture while I was waiting for the bus.
There were loads of other great costumes at school that day. I would send a link to some place where you could see them if I could find any such place. That's one of the great things about going to an art college, almost everyone makes an effort to dress up on Halloween.