Pages

Showing posts with label nightgowns. Show all posts

Sunday, 19 December 2021

Two Flannel Nightgowns and a rayon (?) one

 Last year I posted some pictures of two extant nightgowns I got to examine in the King's Landing collection in late 2019, and I mentioned I'd taken measurements and drafted a pattern for one of them.

I cut out the pattern in 3 different fabrics not long after that, but they sat in the unfinished things pile for quite a long time, and I wanted to blog about all 3 at once. I have finally sewn all 3!

The second one I sewed was this white cotton flannel. It's a very thick old flannel sheet that I'd block printed some fish on, which can be seen in another blog post from 2017

It's the one I took the most progress pictures of.
I started by sewing the cuffs to the sleeves, right side to wrong side, and understitched them, like on the original nightgown.

The curved edge of the cuff then gets pressed under, and the whole thing pressed up over the outside of the sleeve and secured with 2 rows of topstitching. 

Sorry about the fuzzy dots, these were taken with my older camera.
I put the placket in more or less the usual way one puts in a placket, but did a couple rows of topstitching along the folded edge before sewing the other edges down.
I accidentally did the placket the wrong way around, so it overlaps right over left. Which isn't necessarily a bad thing, I think gendered button overlaps is a very silly concept, but it's not what I'm used to and is a bit more awkward for right handed people.
The yoke and collar are pretty similar to the way you'd sew them on a modern shirt, but there's no interfacing in the collar. As far as I could tell there wasn't any interfacing in the originals, and it makes sense, since they're for sleeping in and need to be comfortable rather than crisp looking. 


Once the collar and yoke were all together I sewed the sleeves on, and felled the seam allowances.

Then it was time to sew up and fell the very long side/sleeve seam.

Pressing the side seam.
Here are the fish!
They're printed with dye paste, so it doesn't affect the softness of the fabric.
The sheet had a nice sturdy serged edge on it, so I left that along the bottom and just hemmed the curved side bits.
There's a gusset reinforcing the bottom of the side seam on both original nightgowns, and they're sewn in differently from how I did this one. They look like they were done at the same time as the hemming, but I added mine on after, since I'm not an Edwardian factory worker doing things as efficiently as possible.

I machine sewed the buttonholes, added 5 big pearly plastic buttons, and it was done! 
The original only had 3 small buttons, but I wanted more.
I left off the pocket because I don't have any use for pockets on sleepwear, but I do intend to eventually make a more historical version in plain white cotton with pearl buttons and a pocket.
I also mean to someday pattern and sew up the other collarless nightgown.


The first version I sewed up was in this lighter weight blue plaid cotton flannel, which my mother gave to me. (Thank you Mama!)


The pattern I drafted was to the original measurements of the extant nightgown, and ended up fitting me pretty much perfectly! The only change I made to the pattern after first sewing it up was to shorten the sleeves by about 1 cm.


I put 4 red plastic buttons on this one.

The third and most recent nightgown is in a dark brown mystery fabric which appears to be rayon, and which I think was also a gift from my mother. I felt it was too soft and floppy to bother doing a collar, so I left it off and just finished the neck with bias binding.

I didn't take any progress photos of this one, since I already had so many of the fish printed flannel one, and the little white plaid pattern makes it hard to see the stitching clearly.
I did 7 little brown plastic buttons with horizontal holes.
A bit more than usual, but there was a set of 7 in my stash.


I clipped the seam allowance too high up, so the 
gusset isn't quite where I wanted it to be.

I'll hopefully take more pictures of the process when I sew up more historical versions of these! 
I'll also hopefully get through some more of my sewing blog post backlog before the year is out...

Monday, 30 August 2021

Three Sleeveless Nightgowns

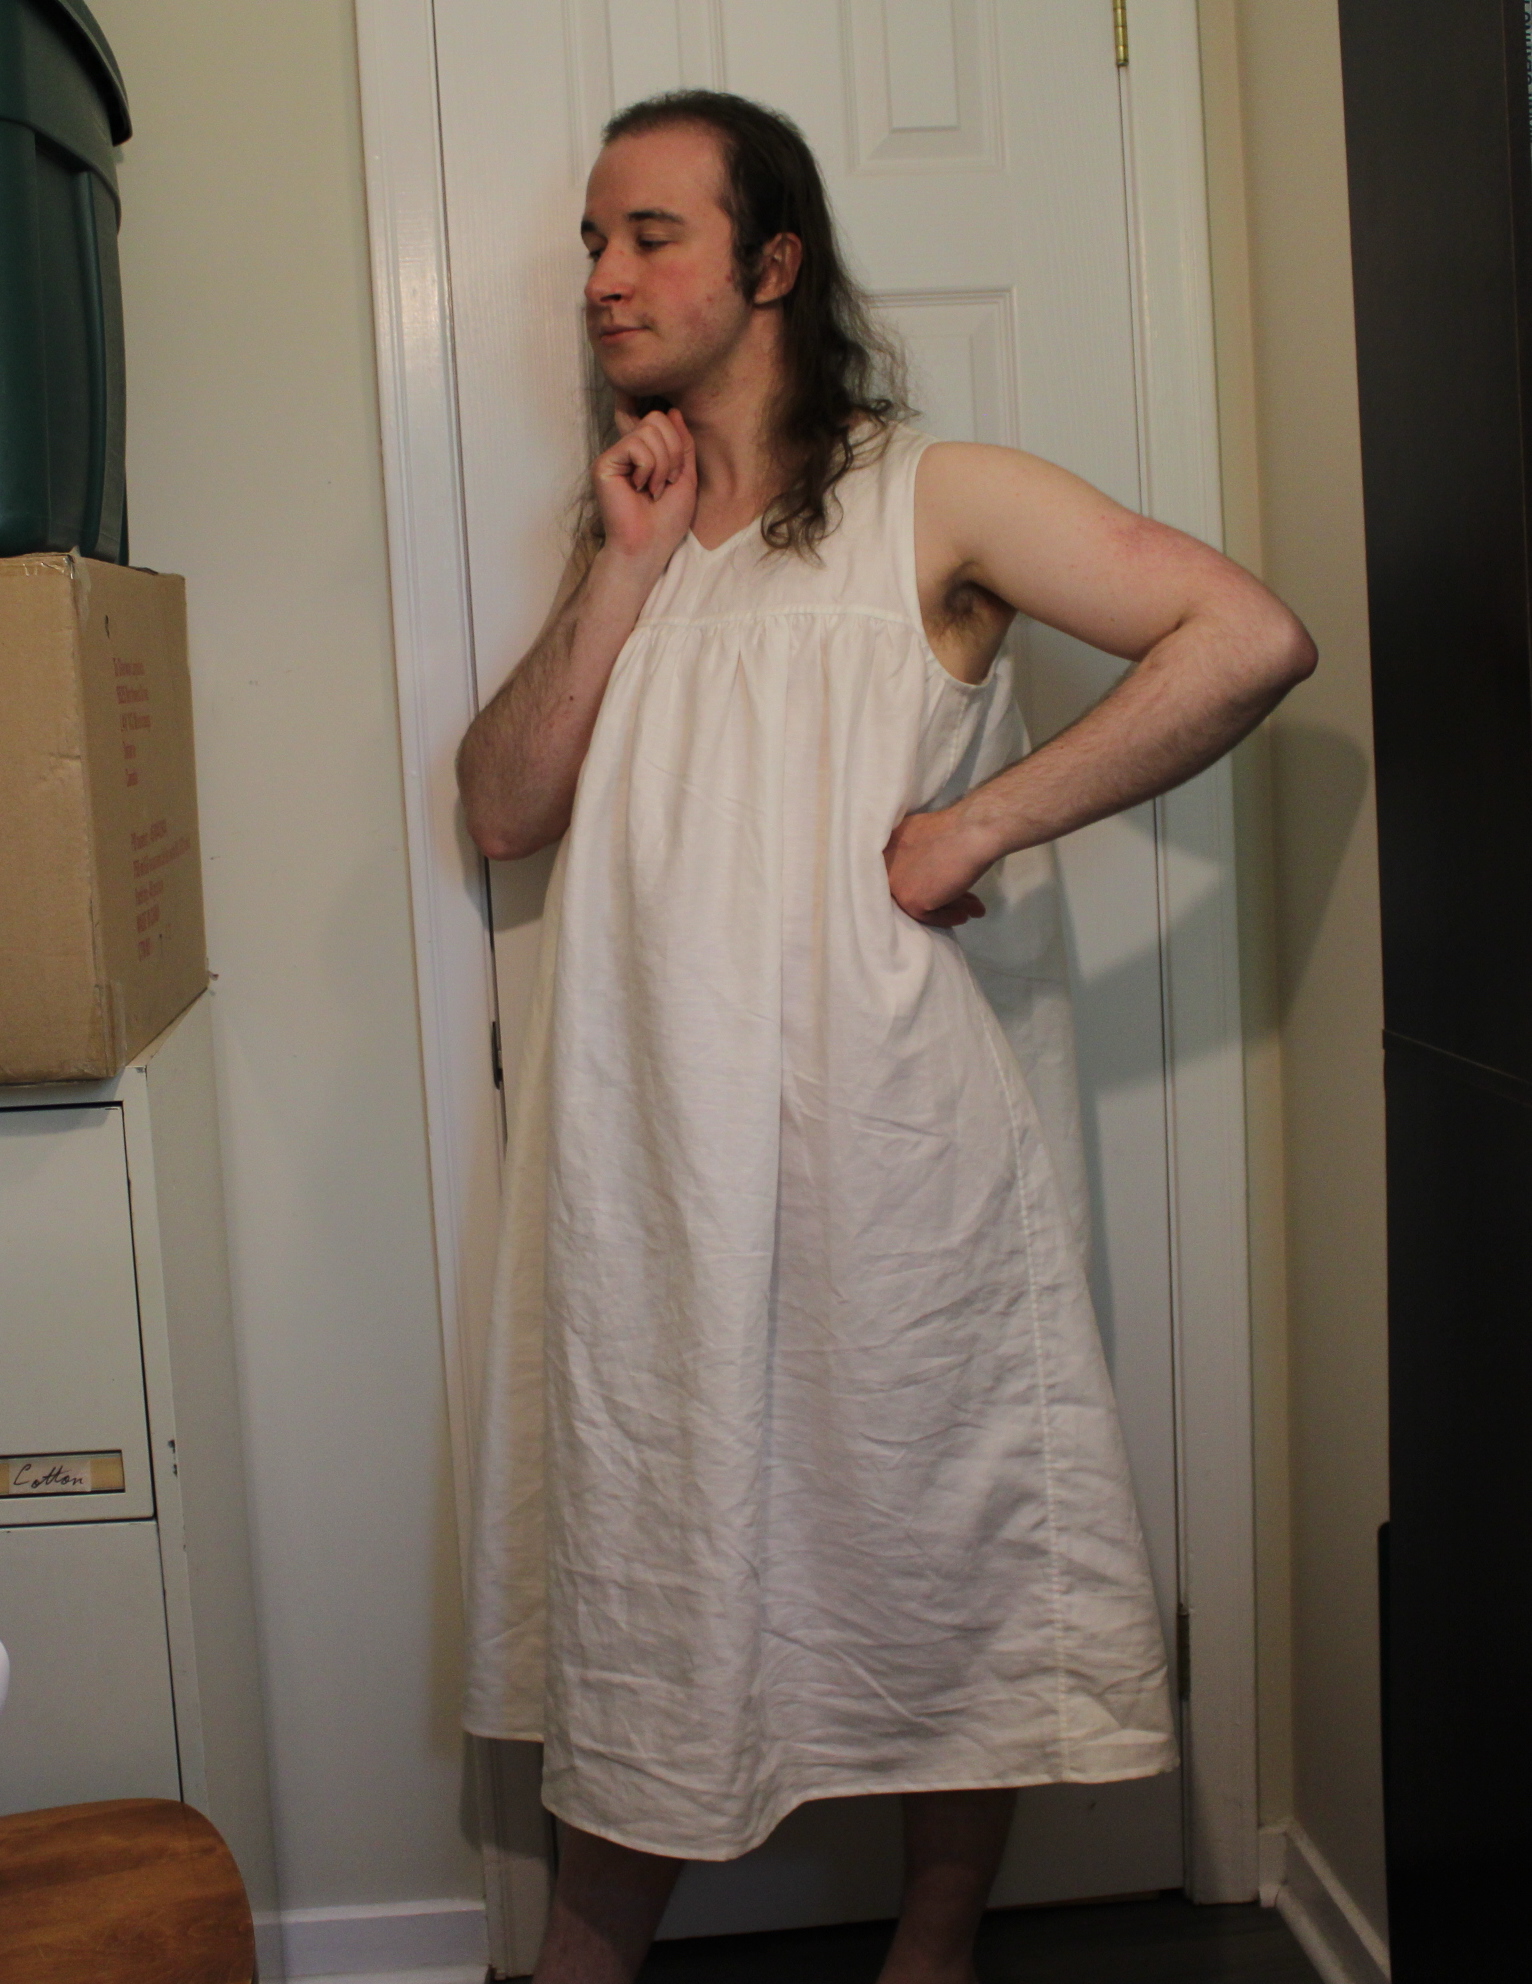
I used to have a couple of sleeveless cotton nightgowns, but they wore out, so this summer I made 3 new ones. One of the ones that wore out is the nightgown I altered and drew monsters on a few years ago (The top part wore out, but I still have the bottom part with the monsters) and the other was a very similar one in thin cotton.

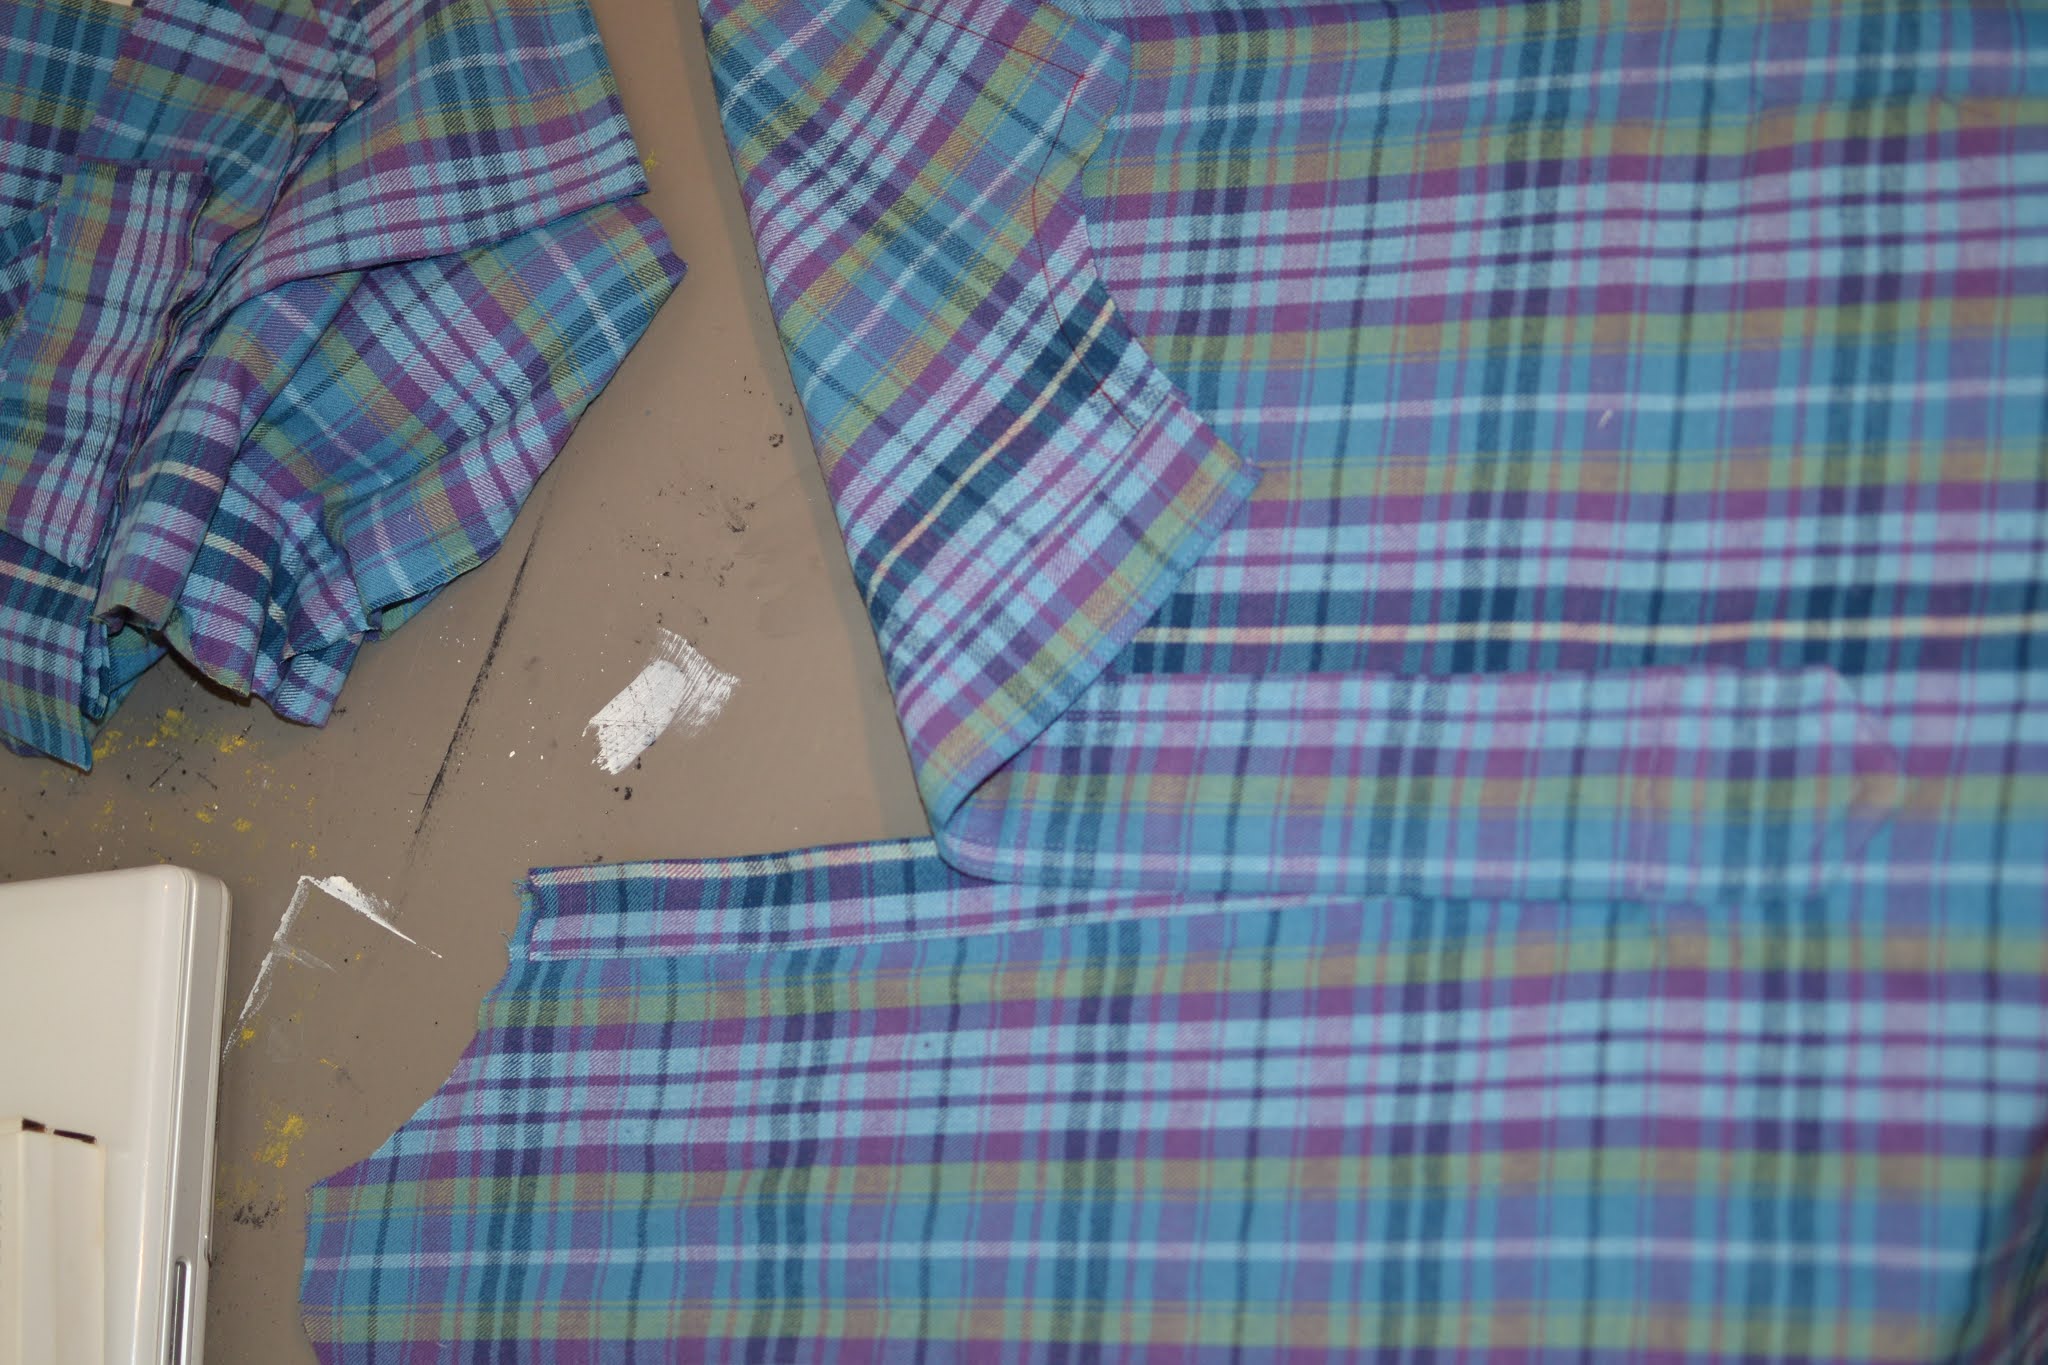
It was ripped in a few places, and I cut it up and traced those pieces to get my pattern.

I made a few changes to it after the first time I sewed it up, and here is my final pattern. Two small bodice pieces, cut on the fold, and the skirts are made of one big rectangle about 1m x 2m. (Or two one metre squares if you want)
The crescent shape at the bottom is how much I cut out of the sides of the skirt pieces where the armpit is. The original had a small button placket in front, but I didn't think that was necessary so I just lowered the neckline enough to make it fit over my head.

My final pattern.

I sewed up the first one in a white linen which I got on sale from Fabricville years ago. (It's a twill weave, so not really suitable for 18th century shirts.) I did two squares for the skirt, but then realized that was unnecessary and did rectangles with one centre back seam for the next two. I used the thread pulling method to cut the skirt pieces out.

I sewed the side seams and basted the seam allowances down, then machine felled them.
I sewed and felled the shoulder seams and tried the bodice on over my head. It wasn't quite right, so I cut the neckline down a bit. I finished the neck hole with bias binding on the inside.

I gathered the skirt pieces to the bodice, leaving a little smooth space by each armpit where I'd cut out the little crescent shape.
For the first one I cut out an 18 cm long space in the underarm, but this proved to be too big, so I did 14 cm on the next two.
I finished the armhole with bias binding, and tried to fix the too-big armhole by doing some little pleats in there.
I sewed a narrow hem by machine.

I also put a small dart in the front before binding the neck, but that was just because my pattern wasn't quite right and I needed to take a bit of fullness out of there.
It's quite comfortable, and good in hot weather.


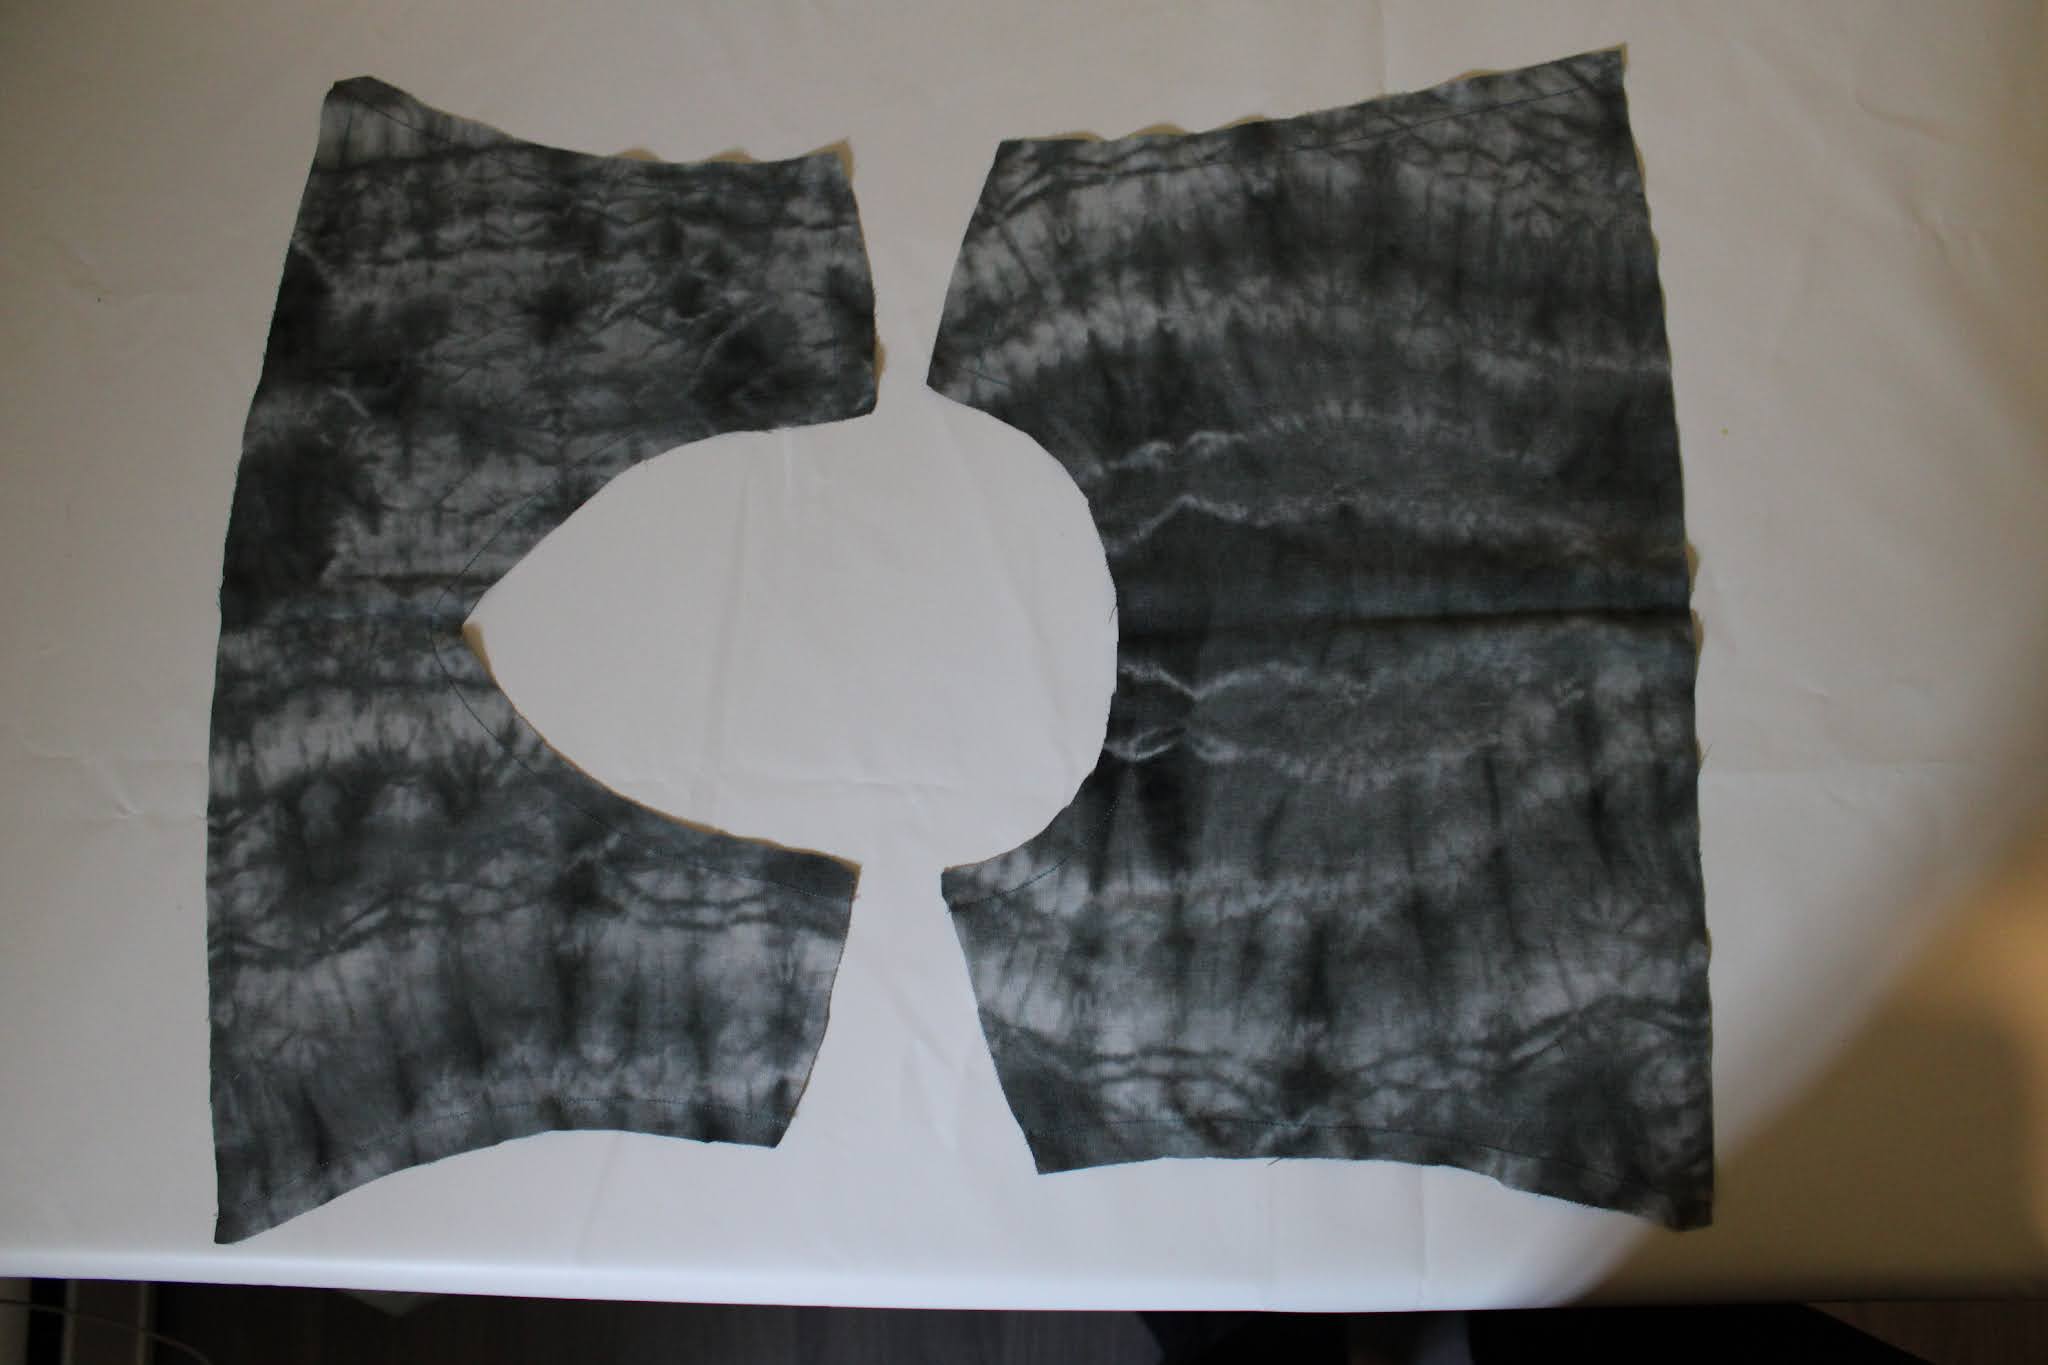
For my second one I used a soft grey rayon, which I got on clearance from fabricville many years ago. I took more progress pictures of this one.
Since the rayon is so shifty I staystitched all the curved edges first. 
It's a bit hard to see, but there's staystitching here.

The bias binding I made for the neck and arm holes.

Bodice with shoulder seams and neck hole finished.
To finish off the seams where I gathered the skirt to the bodice I cut two long rectangles on the straight grain and sandwiched the gathered skirt edge in between them and the bodice.
Gathers pinned and sewn to bodice.

Long rectangle pinned to gathered edge.
And I pressed it up, turned it under, and machine sewed it down.
I hand basted it first, because it's such a slinky material.
I then cut out the crescent shapes from the sides and staystitched that, though I realized later it would be more practical to do it before sewing the bodice on.
I sewed bias binding around the armholes, pressed and folded it in, basted it in place and machine sewed around the edge, same as the neck hole.
This one is the most comfortable of the 3. I'm sure the linen one will get softer with repeated washings, but I will definitely make more rayon ones.

The third one is the least comfortable, being made from a very cheap clearance cotton that has a simple eyelet pattern along one edge
The embroidery is not really scratchy, but it is kind of bumpy.
Making bias binding.
It's also the exact right height to perfectly snag on the wing nuts on my embroidery frame every time I walk past it, which is quite often since my room is so cramped. Had I know this I would not have bought this fabric!
I went around all the little squares while felling this bit.
I tracked my hours for the last one and it took a bit less than 6 hours, but someone faster could probably do it in much less time.