This winter I made a couple more everyday shirts, both in a pale green linen I bought at my local Fabricville several years ago. They're similar but not identical.
I won't go over the construction in too much detail, since
I have a whole other post about that, but I did a few things differently from my usual shirts for these ones.
I don't normally do wide shoulder reinforcements on the inside of my shirts, but I did for one of these.
 |
Shoulder reinforcement from the inside.
I like the way it fits so nicely around the neck gusset. |
I also had never done basting on previous shirts, but I did for these ones and it made it
so much easier.
I basted the neck & hem gussets and the shoulder strips before sewing them on, basted the cuffs & collar before hand finishing the inside edge, basted the hems before hemming, and the seam allowances before felling. So much less fuss than doing it with all those pins in the way, and I think it makes the finished product turn out neater!
 |
Sewing down the shoulder reinforcement,
which I had basted first. |
I wasn't in the mood to machine sew when I started these, so a lot of the sewing is by hand.
 |
| Front slit reinforcement, also basted first. |
The second shirt has no wide shoulder reinforcement, only the narrow binding inside to finish the seam allowance, like I usually do. And I decided to add decorative stitching to the openings in a contrasting dark red cotton pearl.
 |
| The sample I did for the decorative stitching. |
Having done a sample and finding that doing decorative stitching on just the thin folded edge of the cuffs and collar would distort it, I sewed a sort of tuck on the inside of those edges, so there would be an extra couple of layers inside on the top edge of the collar and the long edges of the cuffs.
 |
| Sewing the little inside ridge for sturdiness. |
 |
| Attaching the collar. |
I did blanket stitches all around the edges of the collar and cuff openings, and then did a stab stitch through the ends of all of them, to make them little squares. I sewed the buttonholes in the same contrasting red thread, and used it for the
Dorset wheel buttons too.
Some finished pictures of the plain shirt:
 |
| Front slit reinforcement, backlit. |
 |
| Front slit reinforcement as seen from the outside. |
 |
| Collar. |
 |
| Cuff. |
 |
| Underarm gusset. |
 |
| Shoulder as seen from the inside. |
 |
| Hem gussets at the bottom of the side seams. |
And of the less plain shirt:
 |
| Front slit reinforcement as seen from the inside. |
 |
| Collar. |
 |
| Cuff. |
 |
| Cuff slit. I did a little bar tack at the end. |
 |
| Collar again. |
I made a little cap out of some of the leftover linen, same as the one in
the previous post. It came out a little bit too tight.
Overall I'm pleased with these shirts, but I think the linen I used is a bit too heavy for ones cut this full. The shirttails are awfully bulky when tucked in. I noticed this when I finished the first one, and made the second 10 cm shorter, but it's still a lot of material.
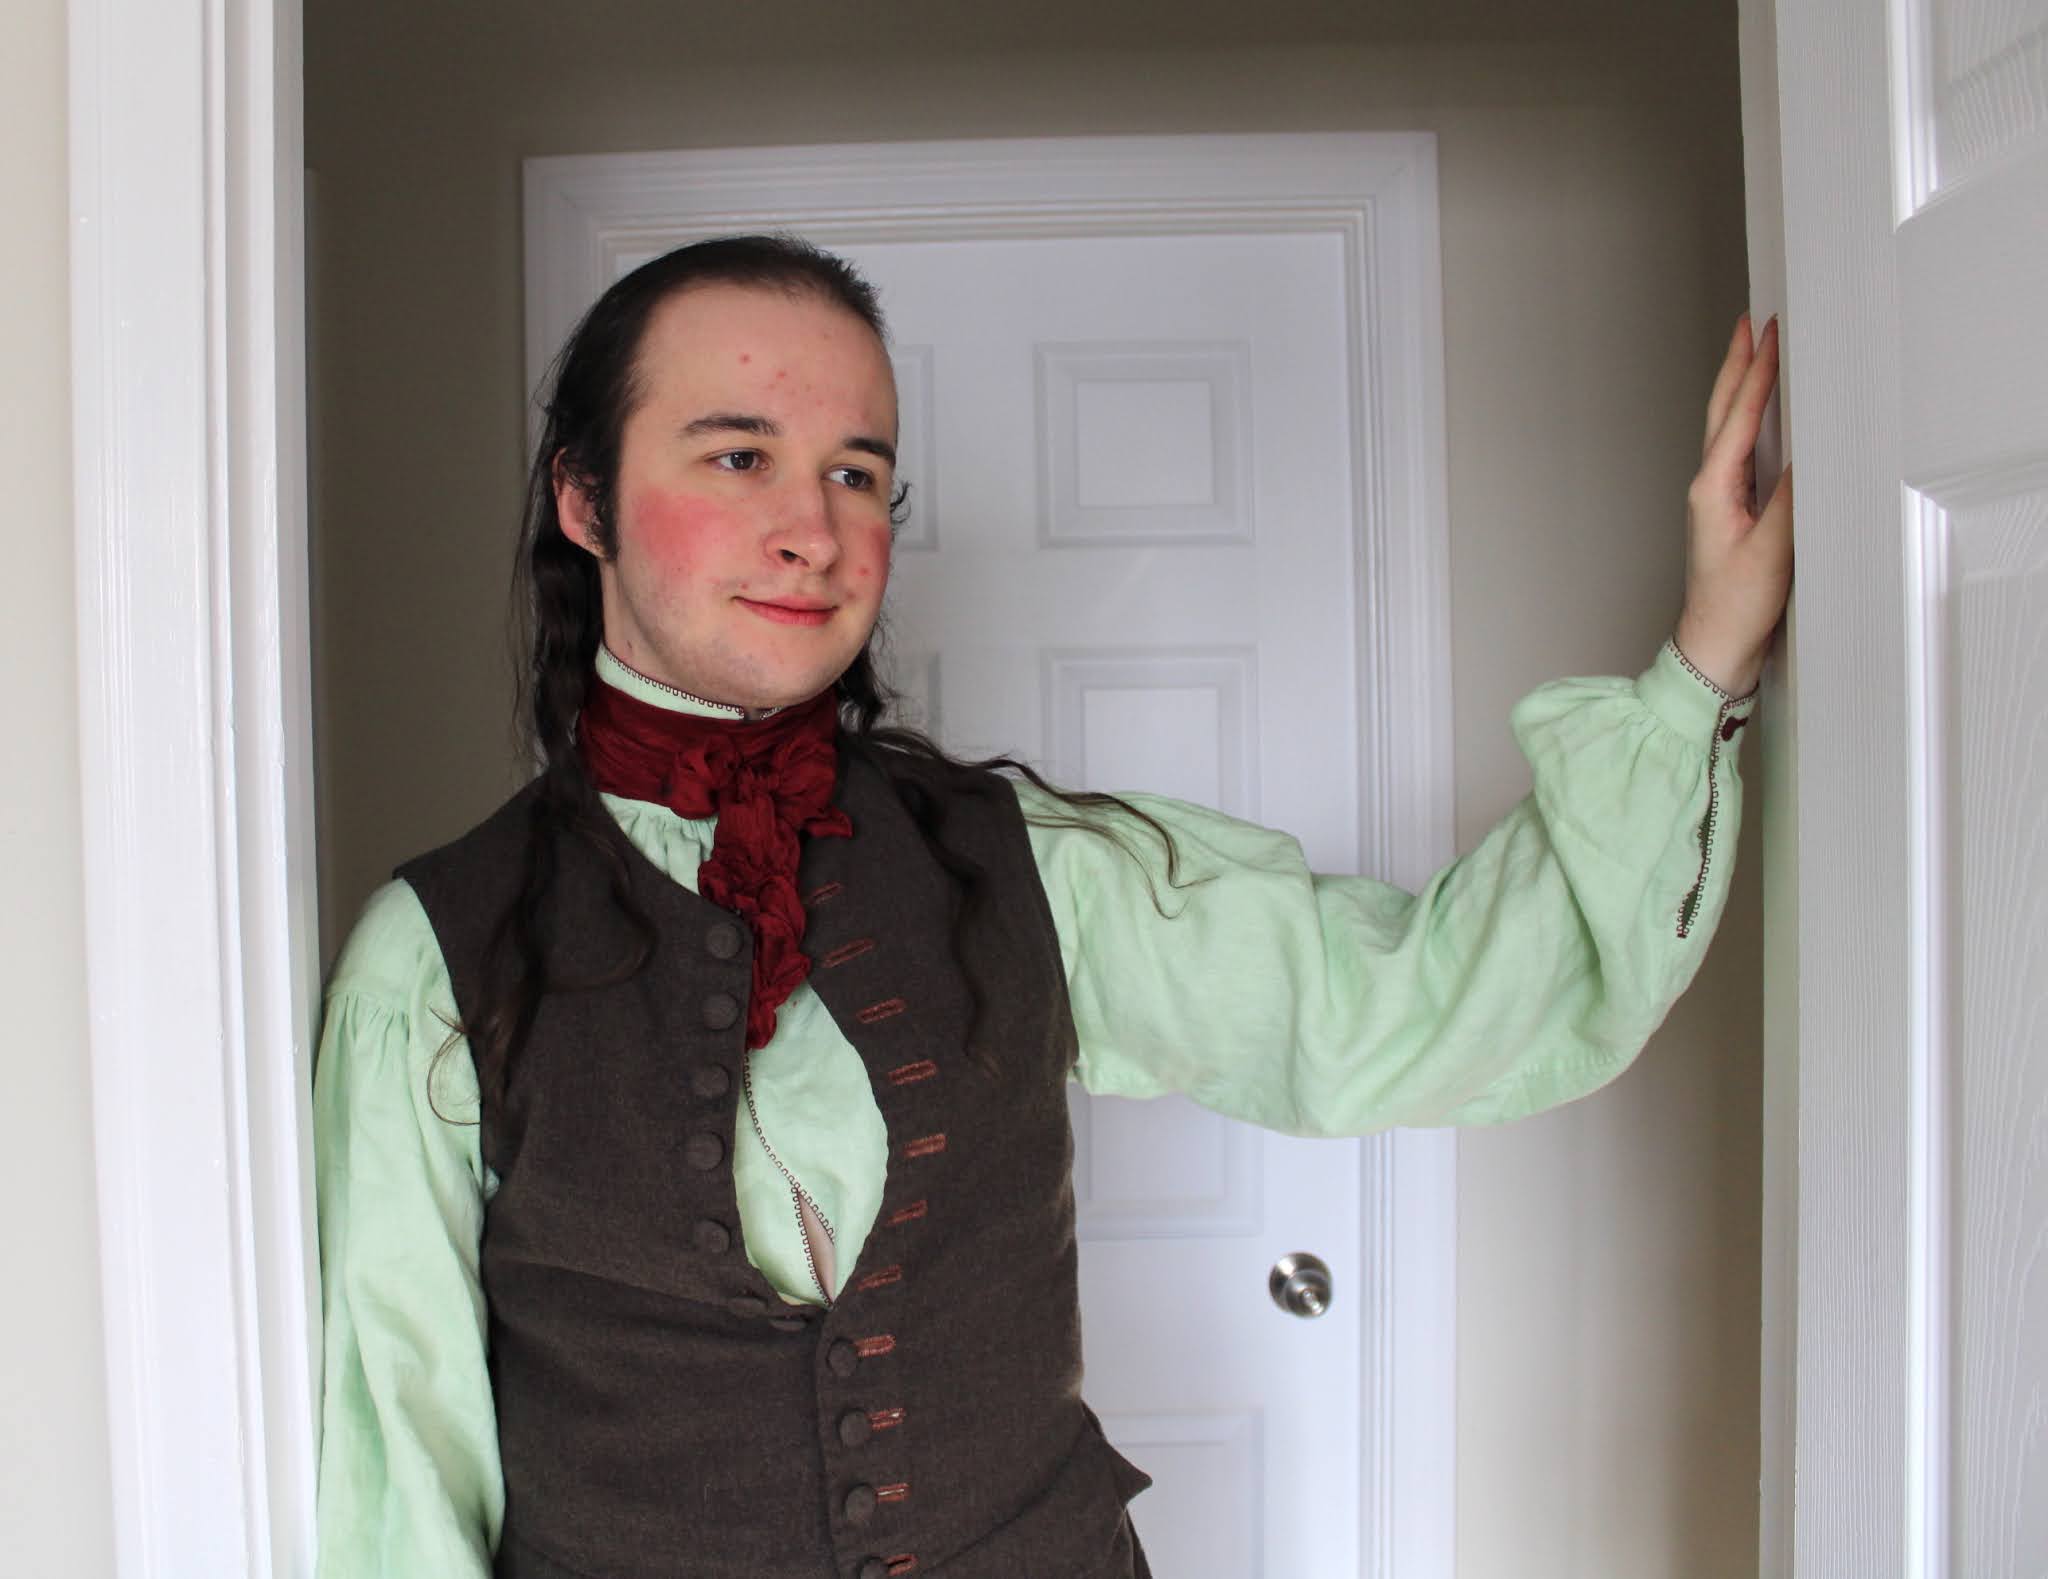
I think both shirts look very nice with my
brown cotton trousers, and my
brown wool waistcoat. I also really like how the decorated one looks with this dark red cravat.
A number of my everyday shirts are getting pretty worn out, so it's good to have a couple of new ones. I still need to make more though!


_-_Fleetwood_Hesketh_-_Google_Art_Project.jpg)
#/media/File:Louis_Fran%C3%A7ois_Roubiliac_by_Adrien_Carpentiers_(Carpenti%C3%A8re,_Charpenti%C3%A8re).jpg)