The
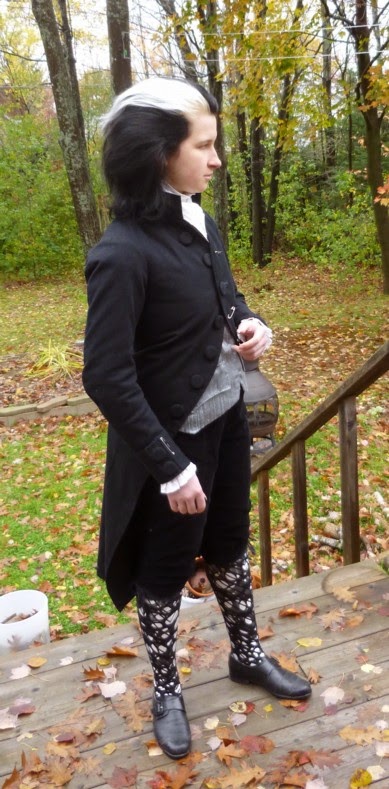
denim frock coat is finally wearable! It's far from finished though. I have many more patches to paint and sew on.
Edit: I've changed my mind since writing this. I like it the way it is and will make a different one to add more patches to.
 |
| My hair is a little different now. |
I hadn't made the pocket bag pattern yet in the last post because I wanted it to hang at the correct angle.
 |
| The pocket bag pattern piece pinned into place. |
The pocket bags are made of tightly woven cotton.
I sewed half the pocket onto the outside, cut out the holes, turned them to the inside and topstitched around the holes. Once that was done I sewed the other half of the pocket bag on and topstitched only the top edge of the pocket hole, through all three layers, so that it wouldn't sag.
 |
| The finished pocket, without the flap. |
 |
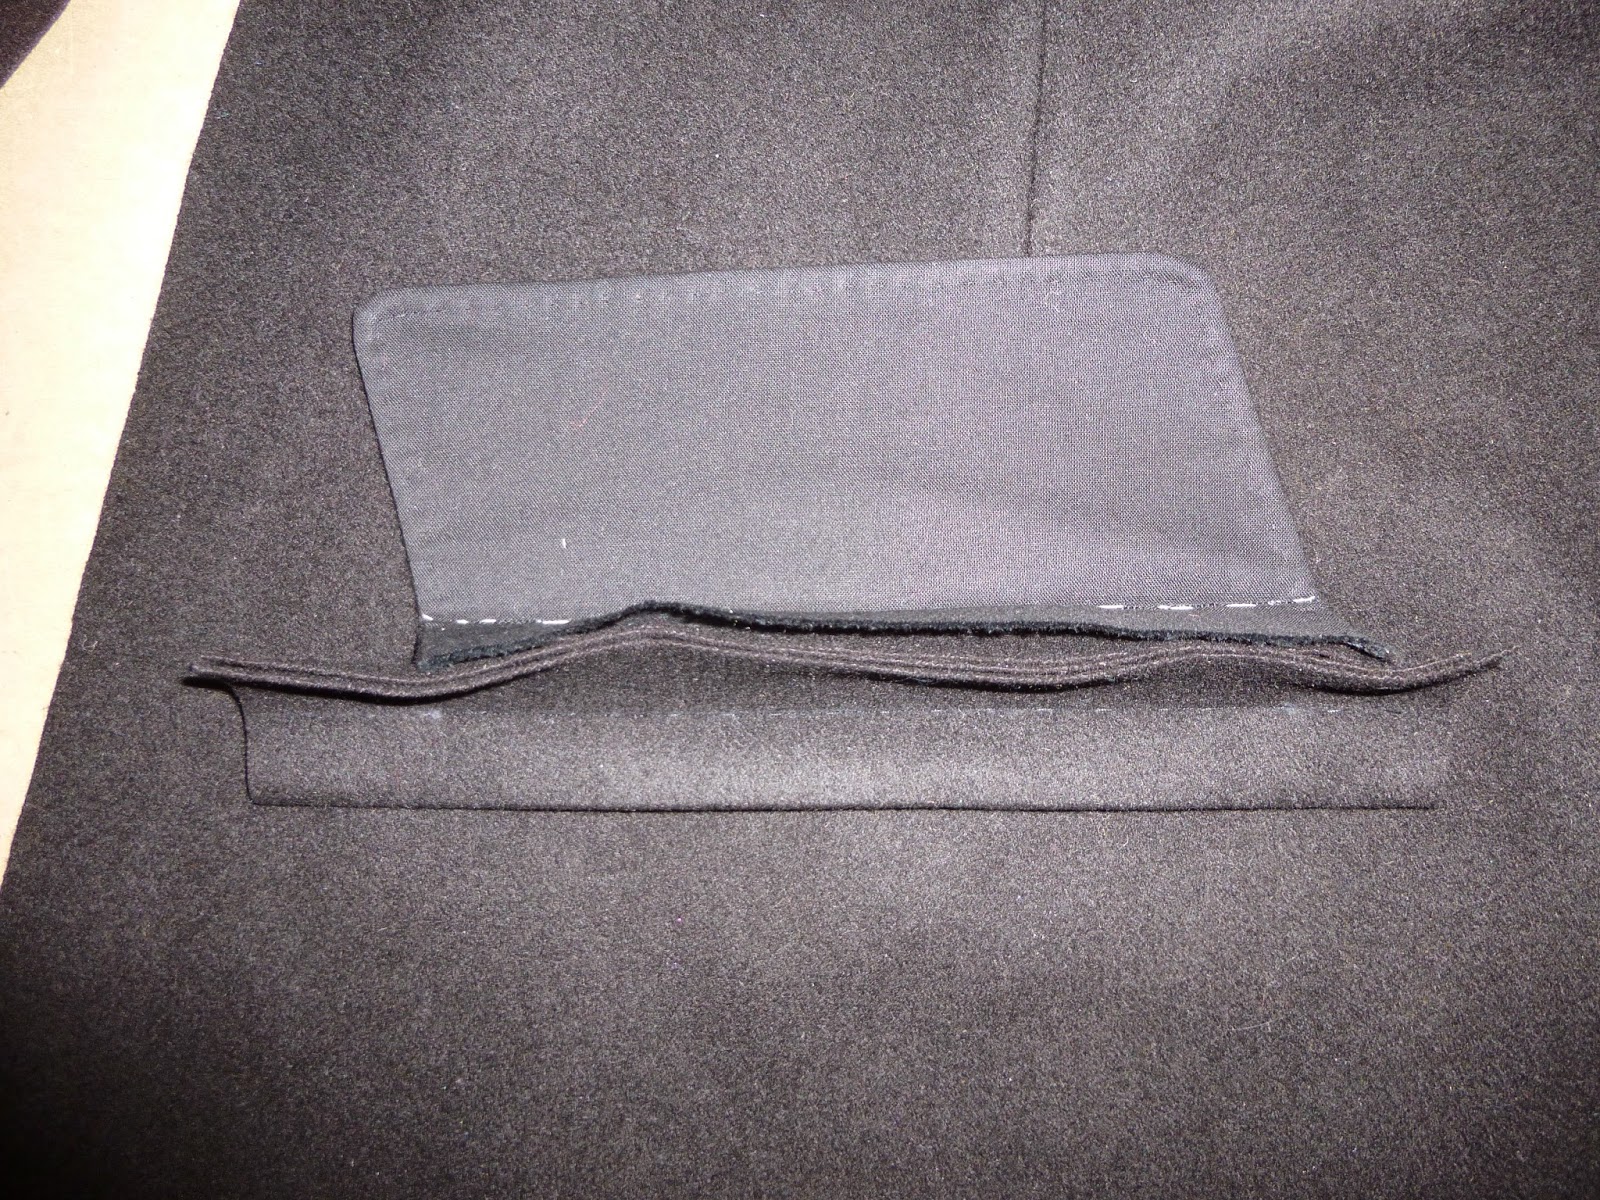
| The pocket flap being sewed shut along the top edge. |
I whipstitched the pocket flap over top of this opening, stopping about 1 cm down the sides so that it sits flat against the side of the coat.
 |
| The pocket flap attached. |
 |
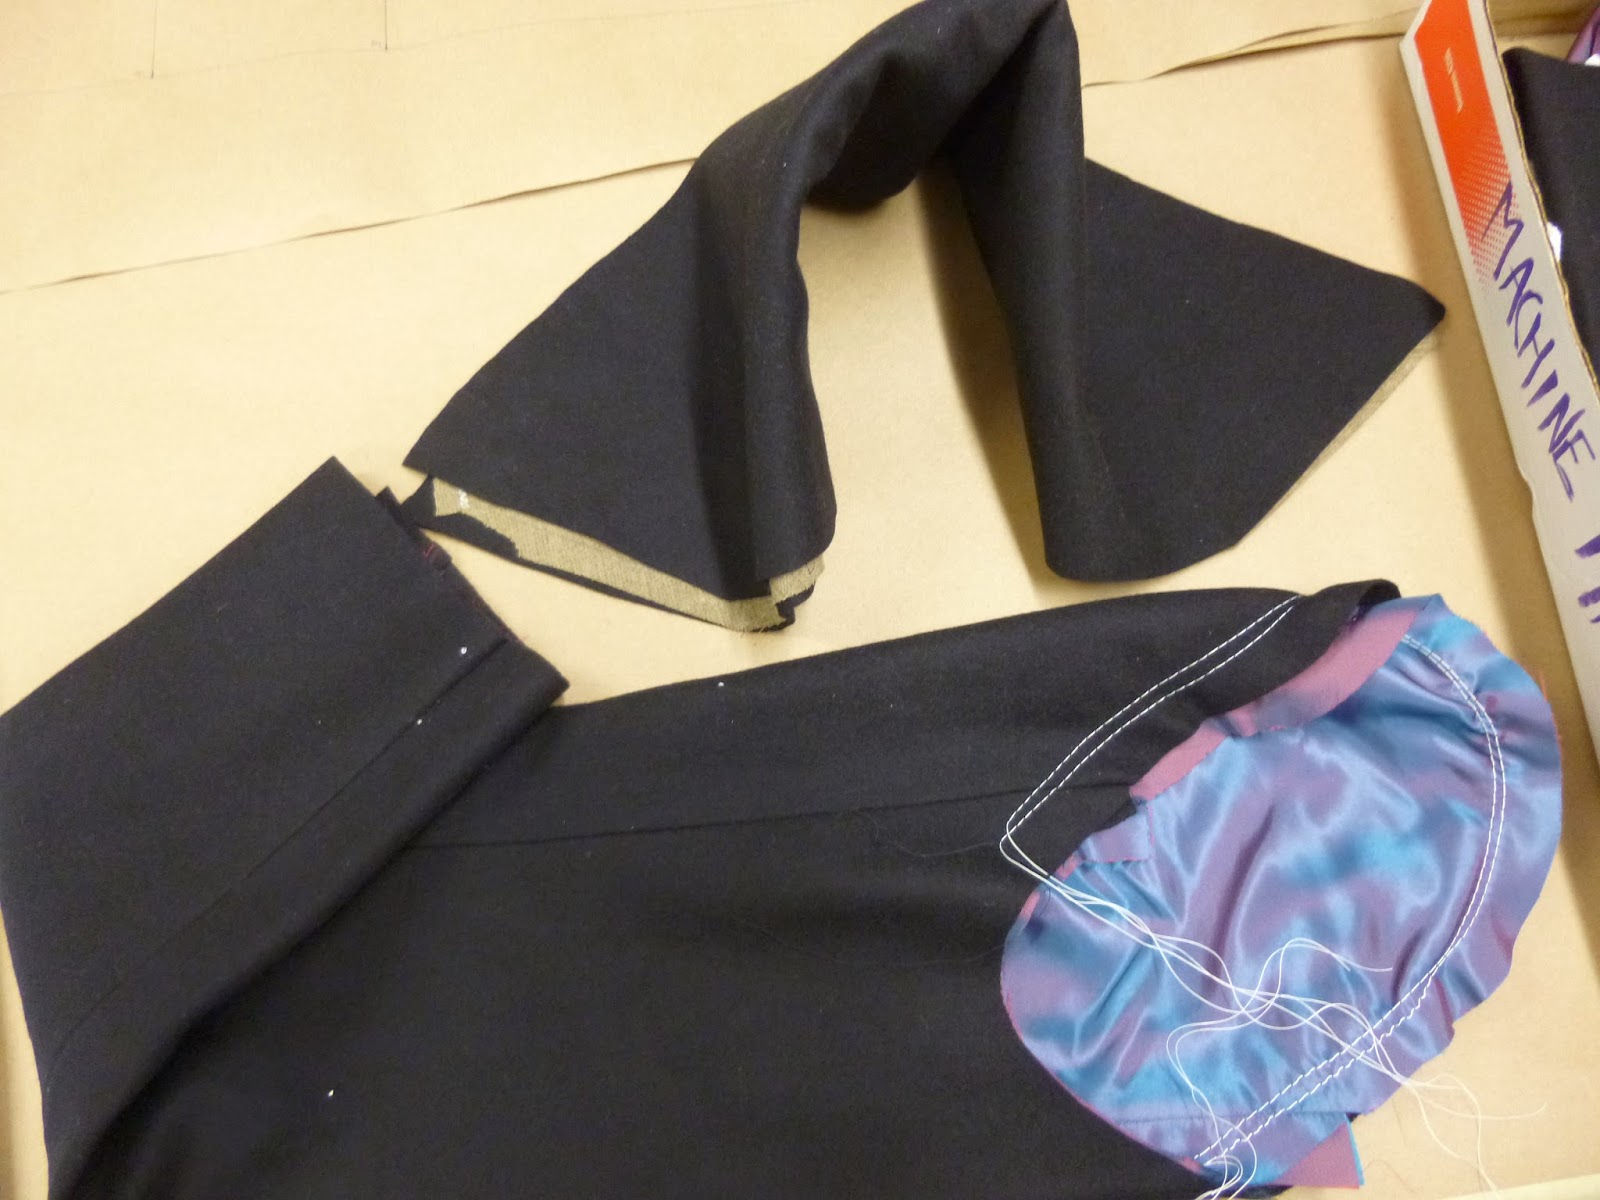
| The coat without lining or collar. |
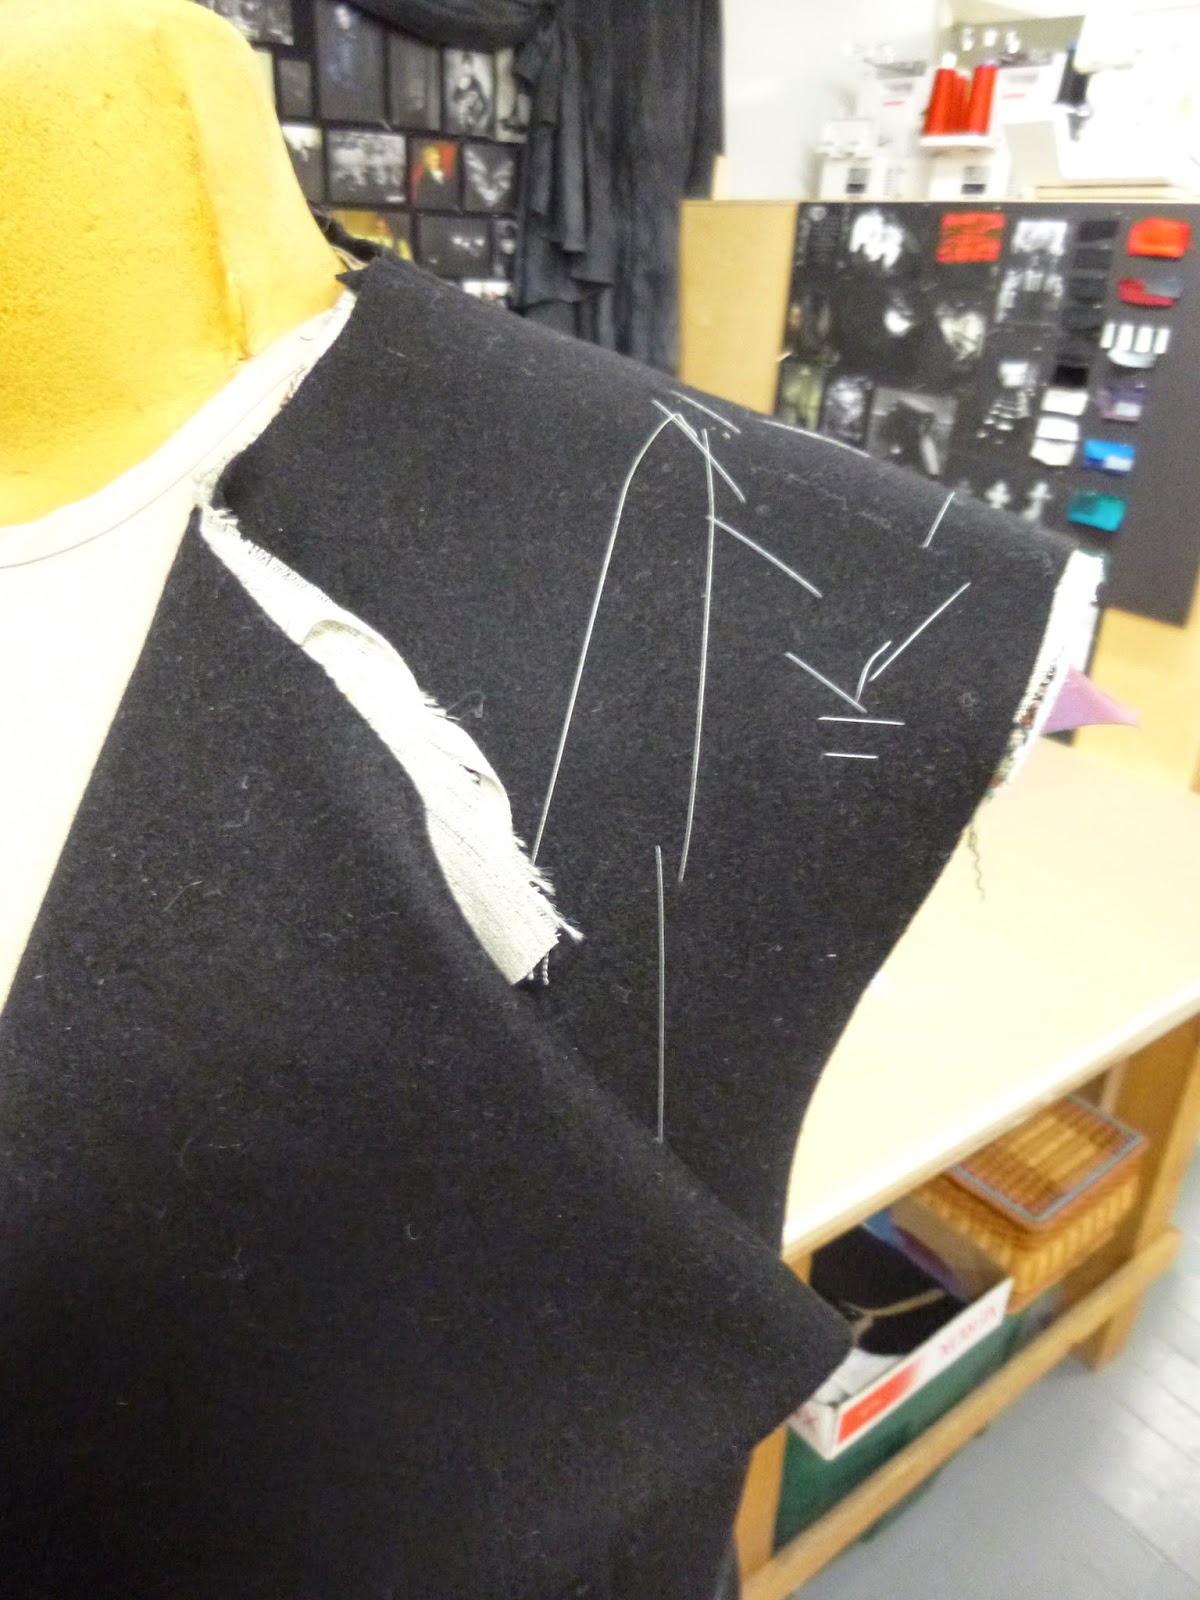
I hand stitched hair canvas to the inside of the collar and the front edges of the lining.
 |
| The inside piece of the collar. |
 |
| The lining, with fronts interfaced. |
I sewed the collar by machine, turned it, and edge-stitched it by hand. I did the same with the lining & coat body, sewing only the front edges and around the neck hole.
I turned in the edges on the hem and vent and stab stitched them shut by hand. I tacked the pleats and the top edges of the vent securely to the inside of the coat, making sure the raw edges were all tucked in.
 |
| The hem pinned and ready to be sewn shut. |
After setting the sleeves, I had to bind the seam allowances with linen bias tape, which irritated me greatly. I do not think I will be flat lining my sleeves again.
 |
| The irksome armhole being bound. |
The cuffs were a bit of a puzzle. I looked at pictures of extant coats, and this was the best method I could come up with.
I sewed around the cuff opening and around where I wanted the slit to be, cut open the slit and inserted a little rectangle of fabric, which was made the same way as the pocket flaps.
 |
| A cuff with the rectangle, and the other rectangle on the table beside it. |
 |
| The cuff rectangle from the inside. It is held with two different lines of stitching. |
I then cut a piece of denim big enough to cover the entire bottom of the sleeve, and hand stitched it on with all the edges tucked in. I stitched the openings securely closed, and added buttons. (Decorative buttons, the cuffs don't actually open.)
 |
The fake cuff sewn on, as seen from the inside.
A finished cuff is visible on the right. |
Having run out of wooden buttons to cover, I made the buttons for this coat out of a chair part that I sliced up with a hacksaw. I shaved down the edges with a knife, sanded them, and covered them with little circles of denim. The chair was a very dense hardwood, so these are really sturdy buttons.
 |
Wooden circles in the process of being carved down and sanded.
This gave me such awful hand cramps. |
This coat has 13 buttons; 7 down the front, 2 on the back, and 2 on each cuff, yet only one is functional.
 |
| Buttons all covered, ready to be sewn on. |
I sewed the buttons on (with the help of needle nose pliers) and put one 2" buttonhole across from the third one down. In place of the other buttonholes (which would have been left uncut anyway) I put great big safety pins.
Now, I forgot to mention this in my previous coat post, but the reason I made this coat out of denim is that it is a punk frock coat. Actually, it's more
deathrock inspired, so it could just as well be called a "deathfrock".
So far I only have one patch, but there will be more.
I painted this on the wrong side of a piece of denim using speedball fabric printing ink. It's based off
this posthumous painting of Mozart. The font I used for his name is
Metal Macabre.
I printed off some higher contrast black and white versions for reference, and transferred the outlines on by poking little holes in one of the pictures and dropping chalk dust through them. I then spent many hours dry brushing the ink on.
All in all I am quite pleased with this coat, though linen wasn't a vey wise lining choice.
Apologies for the weird perspective in these pictures. My 6' 3" brother took them and he somehow managed to make me look short.
 |
| The patch is sewn on with a running stitch, and then a blanket stitch to keep the edges from fraying. |
I didn't start this coat with the Alternative Universe challenge in mind, but it fits the theme perfectly. My thinking was that the French Revolution and Punk would have worked very well together. (I know Mozart isn't really connected with either, but I like his music, so he gets the back of the coat.)
Fabric: Black denim, cotton ticking, black linen, dark grey linen.
Pattern: Drafted by me.
Year: C. 1790.
Notions: Thread, hair canvas, screen printing ink, 13 hardwood chair slices.
How historically accurate is it? The pattern is accurate, the construction is partly accurate, and the materials are not.
Hours to complete: I don't know.
First worn: Saturday Oct 25th, 2014.
Total cost: I think it's about $ 30.00
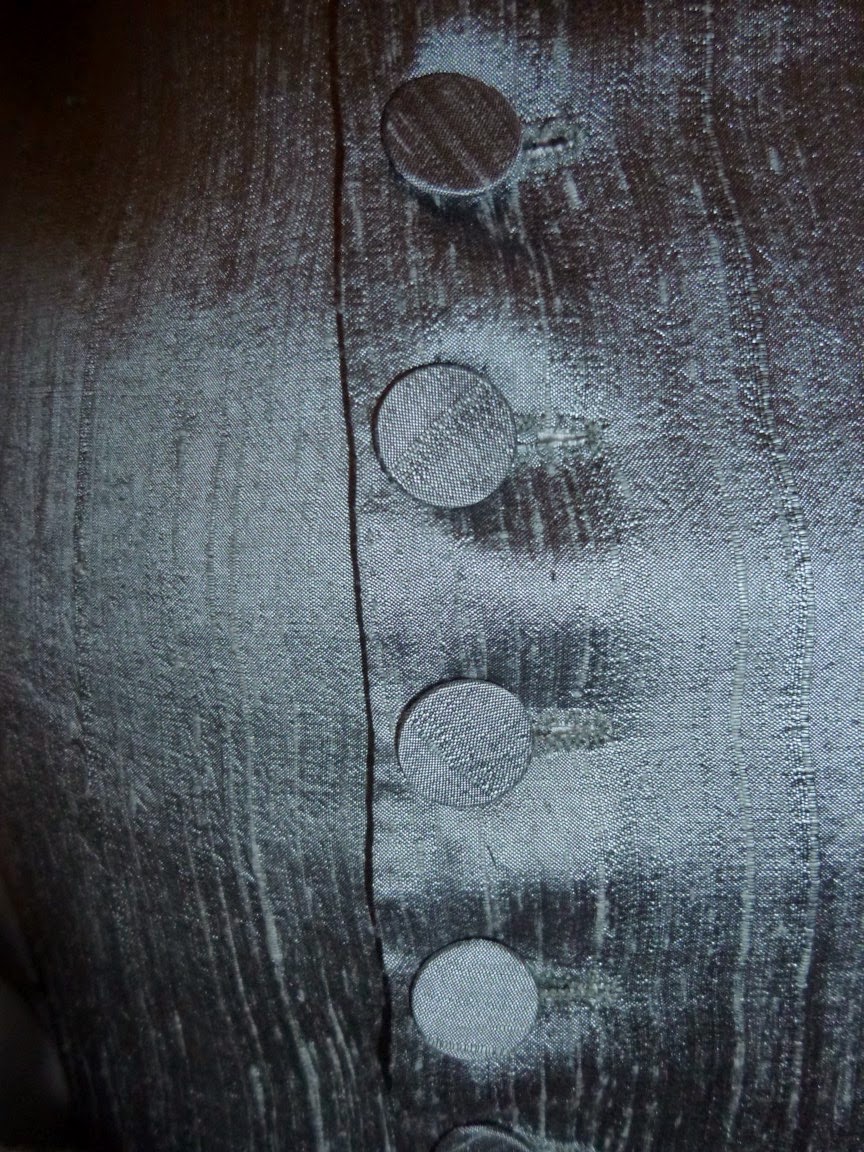
The silver waistcoat isn't quite finished yet. It has no buttons, so it's just pinned shut.
I realize now that I forgot to get any closeups of the construction details. Once the coat is more thoroughly decorated I will make another post on it with better pictures.
I'm thinking of changing the name on all my internet accounts. Mouse Borg was a name hastily chosen so I could start a blog and participate in the HSF challenge, and I don't think it suits me at all.
I'm also considering moving to Wordpress so I can make more pages. Blogger isn't letting me make pages within pages and it's frustrating.
Update: On second thought, I'll probably just change the name of this blog and not worry about more pages.