I have made a hat!
I like my hat very much.
I was aiming for the general look of the hat in this fashion plate.
 |
| Young Officer in a Zebra Coat, calling someone to give an account of his services. Galerie des Modes, 1789. Source. |
As far as I can tell, the one in the fashion plate is this shape, with the edge folded up in back being much longer than the front two. (I have some more extant hats in the same style on
this pinterest board.)
 |
Military cocked hat, late 18th century. Source.
(The one I made isn't meant to be a military hat, so I hope the trim isn't too similar.) |
Mine is wet felted merino fleece, and I made it for a hat assignment in felting class.
 |
| One side laid down. I don't know why I couldn't get a clear photo of this. |
 |
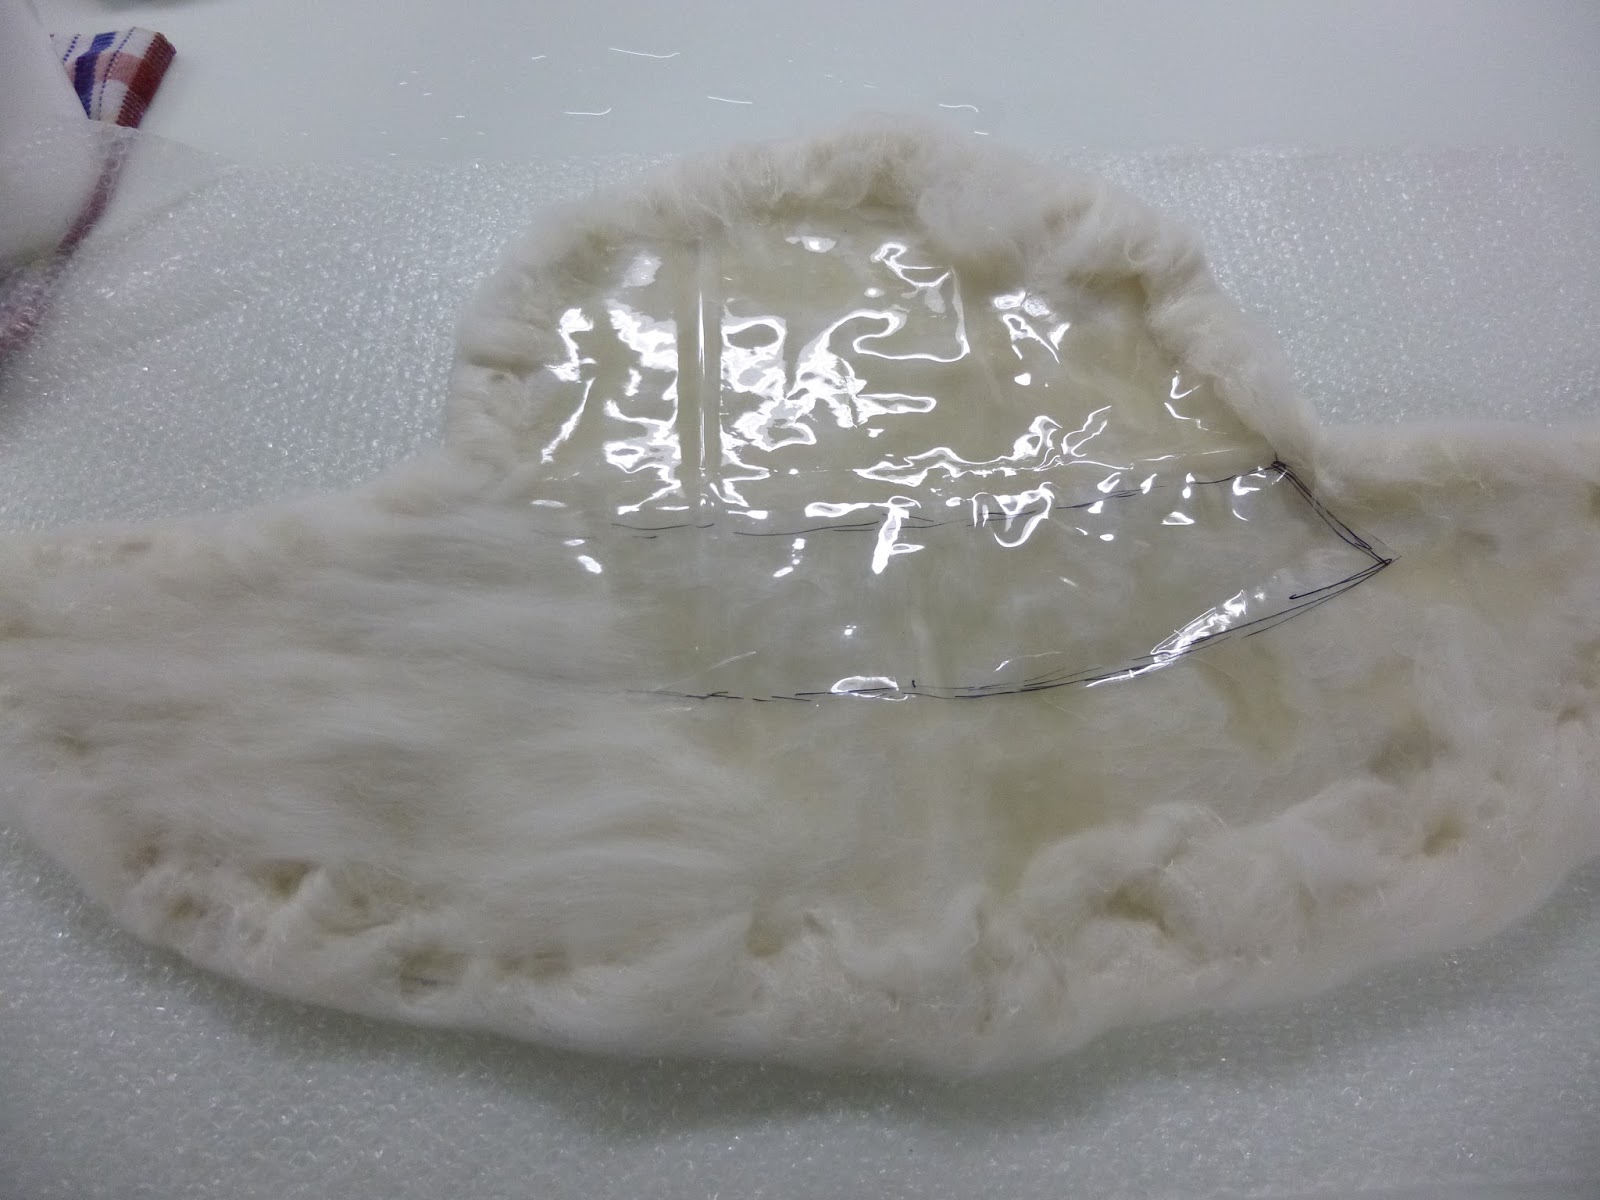
| Pattern separating the layers, and the second side partly laid down. |
The pattern is quite large (about 2 feet across, I think) to account for shrinkage.
 |
Hat partly felted, with the brim cut open and the pattern removed.
The crown is sitting on an upside down ice cream container here so I can felt the sides more easily. |
Once the hat was sufficiently felted I dyed it with acid dye.
 |
| Here it is being dyed for the second time, because the first time it didn't come out black enough. |
I had failed to remember while I was felting that the tops of all the extant hats are flat, and so I had to do some reshaping. I dampened the hat and pulled it over a coffee can, and managed to mash the domed top down into a nicely flat one. I also had to stretch the band part over a paint can, because it had shrunk in the dye pot and was now slightly too small.
 |
The hat after dyeing and before blocking.
(Can I still call it blocking if it's a large can and not a bock?) |
I stiffened the whole hat with watered down fabric stiffener. I'm not sure what the historically accurate method would be, but this worked quite well.
 |
Almost done!
I did it in 3 steps to make sure things would dry in the right place.
(First the crown, then the back, then the front.) |
I used fabric stiffener for the trim too. I dyed a piece of white silk twill, and then painted it with slightly thinned stiffener and let it dry. I'd never used fabric stiffener before this project, and I was quite pleased with the results. The silk went crisp and papery.
 |
| I pinked the edge, and then snipped out half the zig zags because the pinking was too small. |
 |
| My box pleats came out a bit wonky and I blame the moisture from my hands. |
I pleated it up, folded another strip of the material for the bit that goes on top, and added a mother of pearl button from my stash. The hat in the fashion plate has what appears to be a diamond shaped steel button, and this was the closest thing I had.
It's done! I finally have a hat!! It still needs a lining, but I can add that later.
It's not perfect, nor entirely symmetrical, but for a first attempt I think it turned out very good and I am proud of it!
All the photos here of me wearing the hat were taken by Denise Richard, who is my felting teacher.
I quite enjoyed making this and I want to make more hats!