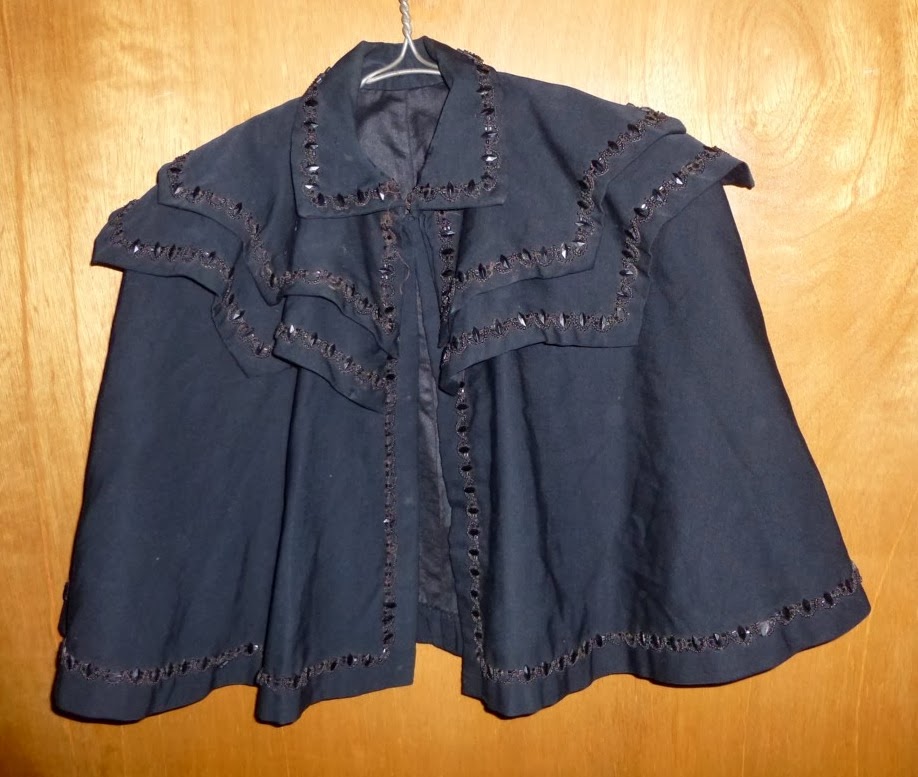
This is an older project. I made it before I started this blog so I don't have any in-progress pictures of it.
It's a liripipe hood!
Judging from my sketchbooks, I made this sometime around the beginning of August 2012. I had been reading a book on Medieval costume from the school library when I came across a picture of a liripipe hood. I immediately decided that liripipe hoods were awesome and that I needed to make one.
A definition of the word "liripipe" can be found
here, some Medieval illustrations of them can be seen
here, and an article on hoods and liripipes can be read
here.
From what I remember reading in the book they were a man's garment that was popular around the 14th century. They were usually made of wool and the liripipes were separate pieces that were sewn on to the back of the hood. With all the fashionable men trying to outdo each other, the liripipes kept getting longer and longer until they had to be tied into
fancy knots to keep them from dragging on the ground.
The pattern is pretty simple so it didn't take much work. I drew the pattern on an old sheet and used that as a mockup. It seemed to fit okay. It is loosely based off of hood #4 in
this illustration.
 |
| The light spot was caused by a stain on the blanket that blocked some of the dye. |
I cut my pieces from a grey wool blanket with blue stripes on the ends. There was just enough room to get all 3 pieces out of it without any of the blue stripes ending up in the garment. I put the pieces, plus a small scrap, into a big pot with forest green acid dye.
My mother teaches dyeing and has a small dye kitchen right outside my room, which is quite useful when something isn't the right colour.
 |
| The scraps that I didn't dye. |
The colour is mostly even. Despite my constant stirring, there was one place where the wool was at the bottom of the pot for too long and came out much darker than the rest.
I don't really mind.
 |
| Oops. |
The seam holding the two halves together is whip-stitched with fine linen yarn. I dislike sewing bulky fabrics by machine because you can't match the thickness of the thread to the thickness of the fabric. There is a running stitch going down the middle of both seam allowances to keep them open and flat, and to help hold the lining in place. There is also a running stitch inside the edge of the hood.
 |
| The inside of the hood. |
The liripipe is made from one piece and is exactly one metre long. It is also whip-stitched. I sewed it up right side out because turned liripipes always look too thick and bubbly and I wanted mine to be very thin. The thick wool did a very good job of hiding the stitches.
 |
| It tapers to quite a small point. |
I poked the seam allowances in on both the liripipe and the tip of the hood and whip stitched them together. I used the small scrap I dyed to patch a small hole at the top of the hood. There are a few smaller holes elsewhere on the liripipe hood. I suppose I should darn them.
 |
| The hole repair is on the left, the liripipe join on the right. |
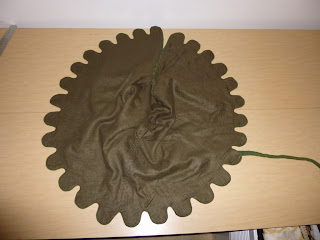
The hem has 28 scallops. After measuring and cutting them, I pinned them with the edges turned in, and stab-stitched around the very edge of the lining. I am certain that real Medieval dagging was not done this way, but it was not my intention to be historically accurate.
(Side note: What does spell-check have against costumers? It didn't accept liripipe or dagging as words. Look what it's fist suggestion for "liripipe" was.
 |
| Lipizzaner?? |
It knows the word for
that particular breed of white horse but it doesn't know what a liripipe is. Why is this?
)
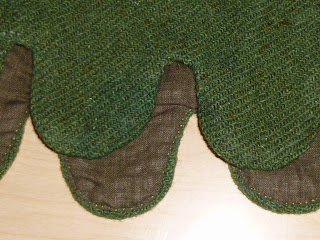 |
| The outer fabric sticks out about 3 mm further than the lining. |
The front closes with 14 buttons. The button loops are made of cotton cord with bias strips of the lining fabric carefully whip-stitched over them.
The buttons themselves are actually little felt balls, a bit smaller than a marble. I wet felted them using green merino roving.
I like the way the loops outline the buttons in brown.
Here is the button closure from the inside.
The garment is lined in a thin brown cotton. The lining seams are the only part that is sewn by machine. There wasn't quite enough of the cotton, so one half of the lining has some piecing it it. The lining ends at the point where the liripipe is attached and is tacked into place.
 |
| You can't see the piecing in this picture, but it's on the right side. |
I like my liripipe hood. Unfortunately, it doesn't really have a place in the wardrobe I plan on having one day, and certainly not with the one I have now. I did wear it a few times last fall, but found the liripipe somewhat awkward.
It got compliments when I wore it, but nobody knew what to call it. I was asked several times if I put my braid in the liripipe. What a dumb question. A braid would obviously not fit in there and even if it did it would be very awkward because the liripipe is so far up on the head.