Pages

Showing posts with label robes. Show all posts

Monday, 20 June 2022

OFMD Velvet Robe Pattern & Wearable Mockup

Hello! I'm going to make my own version of the iconic bird printed velvet robe from episodes 7, 8, and 10 of Our Flag Means Death. I'm not going to do it in the same colours, but I do want to keep the cut as screen accurate as I can.
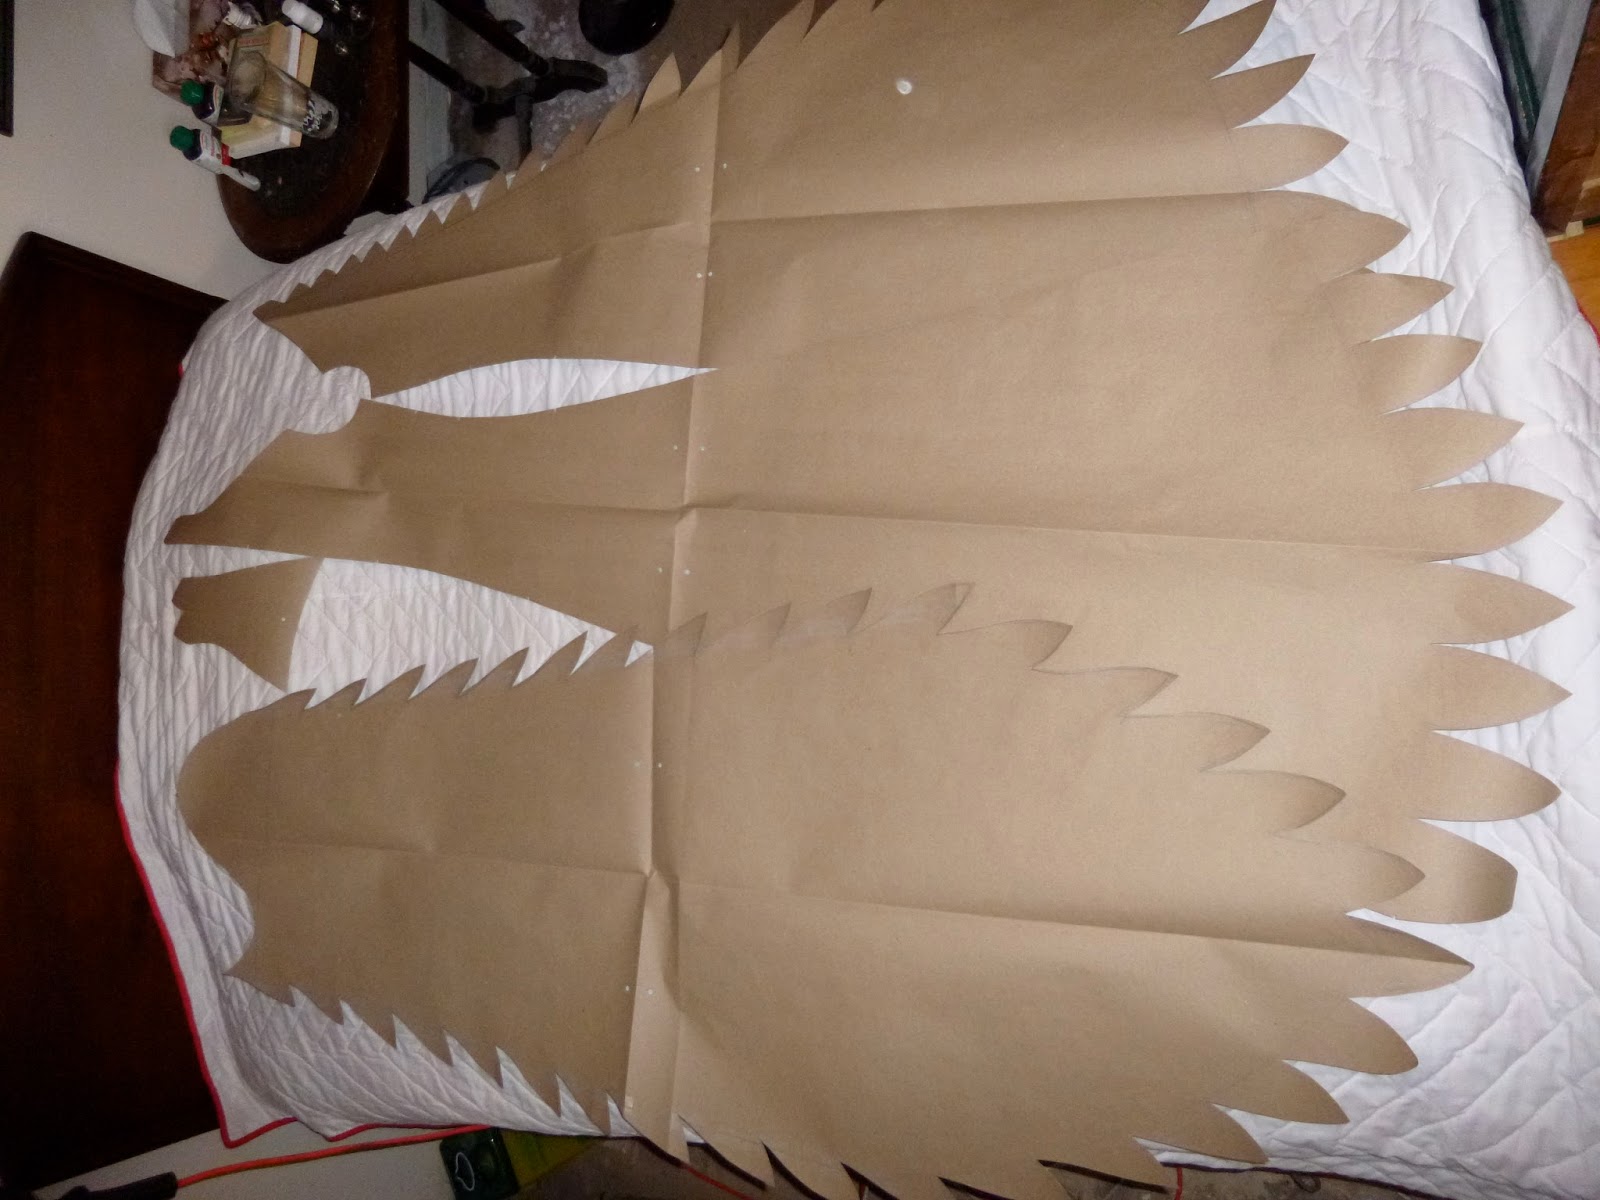
I've made a mockup, and have drawn out my pattern diagram, which I hope will be helpful to other people who are also looking to make this robe.

Photo by Aaron Epstein

It doesn't have much in common with 18th century wrappers, unlike the yellow one Stede wears in earlier episodes, but this isn't the post to get into historical accuracy so I shan't.
(I've got a very long guest post on the show's costumes over on Frock Flicks. Part 1 is here and part 2 is here.)

The robe is fabulous and I think it works very well for the show!

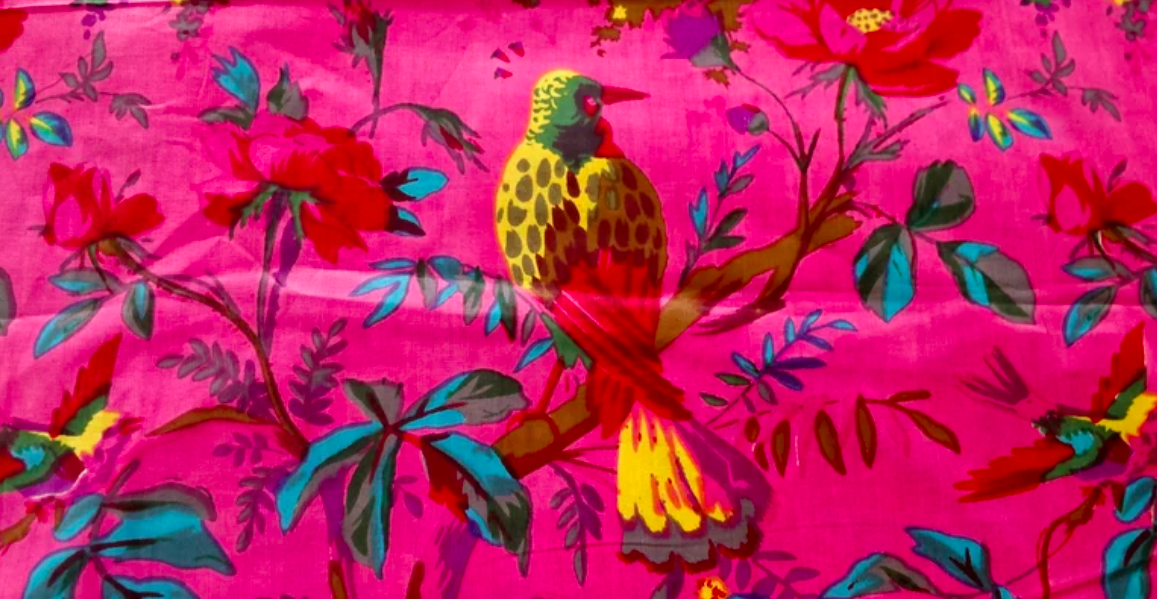
It's made of a printed cotton velvet (not silk, as Izzy mistakenly called it) and there are a number of online shops that carry the exact same design. Handicraft Palace has it on their website, as well as on ebay, and is the company the show's costumers got the fabric from.

It should be noted that their 3 yard listing is much cheaper than 3 individual yards, so even though the robe only requires about 4 and a half (unless you want to do pattern matching) it's more economical to just get 6 using the 3 yard option if you're buying from this seller.

The etsy shops Theblockprints, TheTealThread, and Godsgiftstextiles all have it.

All these places have it in a variety of other colours besides pink, and I've ordered the dark purple version for my version of the robe. Edit: My purple velvet arrived and is NOT dark at all, it's a very different shade of purple from the photos, so I'm going to overdye it.

Ian Snow has almost the exact same print but with the large flowers in yellow instead of red.

I've been told that the way it looks in the show is more accurate to how it looks in person than the extremely bright hot pink it is on the website's photos. And that it sheds a lot of fuzz in the wash. I'll be sure to serge the edges of all my pieces before sewing, even though it'll be fully lined. I don't want any internal fraying to fill the hem up with lint.

If you're looking for a more budget friendly option, or dislike velvet, Theblockprints and Handicraft Palace both carry the same pattern printed on a smooth plain weave cotton.
Hannahgreenecostumes and heathervanderstitch on instagram, who worked on the costumes, have both posted about the robe and here's what they said about it in the captions and comments:

"Lining is a fuchsia matka from Sai Silks in NYC with vintage tassels from @westerncostumecompany."

"I started with a traditional kimono pattern draft and added a box pleat at the back neck because costume designer Christine Wada wanted more movement around the feet, but not be too baggy on the shoulders. I also had to add shoulder seams to keep the birds facing up."

"The tassels are stitched to the corners of the sleeves and the corners of the neck band. There are 4 total."

"I don't think it had any beading, I'm almost sure it was a thread tassel."

"The piping is actually a bright orange dupioni and the lining is fuchsia. Initially the robe lining and piping were all going to be either the fuchsia or the orange, but when we did stitching samples to determine the size of the piping, the fuchsia didn't pop well against the fabric. The orange however wasn't as cohesive with the outer fabric, so we used both.

"@shizenbeauty did a great job of getting that exact 1/8th" piping! I swooped in at the end and stitched on those great tassels."

From Hannah Greene's instagram.
You can see the inverted box pleat quite clearly here.
I'll be using different fabrics for the lining and piping on my robe, but if you're looking for orange dupioni Pure Silks has a lot of it, and Silk Baron has some too. (Those are just two of many many places though, dupioni is pretty common.)

After having had a quick look at some sites, the pink silk matka I've come across has been awfully expensive, especially for the rather coarse texture it is. Personally I'd want something more slippery for a lining, like satin, or perhaps taffeta (which is maybe too crisp for the lining of something so drapey, but will soften up if you wash it).
There are definitely lots more pink lining fabrics out there, but I haven't looked very hard because I'm not looking to buy any, and this post is more about the patterning.
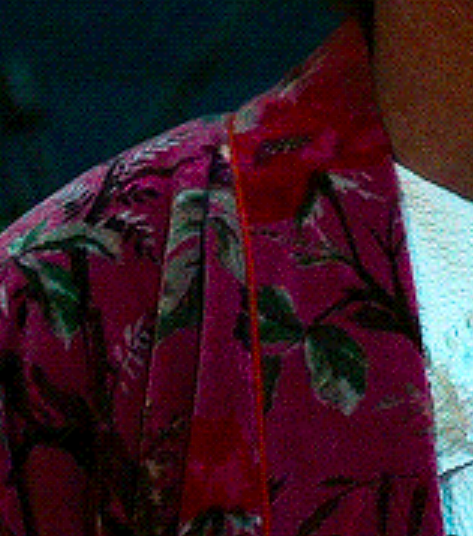
As far as I'm aware, the piping is in between the neck binding/collar thing and the robe body, and nowhere else.
A good view of the piping.
I think there might be a bit of interfacing in the neck binding. Edit: Yes, there's definitely some interfacing in there, the velvet is too soft to sit like that on its own. I'm certain there's none anywhere else though.
We don't get any good clear shots of the upper back in the show, but you can kind of see the pleat here.
They've done some pattern matching, and you can see the two red flowers are in the same place on the neck binding. 
Not many good views of the tassels, but you can sort of see them in a few shots when Ed is wearing the robe.
The tassels appear to be made partly of threads in the same shade of pink, with a cap of what looks like a dull tarnished metallic gold, or maybe just brown.
There are some threads of the same gold/brown colour around the outside of the pink tassel centre.
The robe itself is quite long and loose fitting, with kimono sleeves, as Heather talked about in the instagram post.

We can see here that it's about ankle length on Ed, 
and he's a little bit taller than Stede (when Stede isn't wearing heels).
One of the most helpful photos has been this one of it laid out on a table!
From Hannah Greene's instagram.
You can see from the placement of the pattern relative to the edges that the sides of the front and back are cut straight up and down, while the front edge tapers. Here's the same picture with the front piece roughly traced in yellow, and a green line going straight along the grain through the same fabric motifs.
I made my wearable mockup out of a burgundy rayon from my stash, which is of course much thinner than the velvet, but I think it did a decent job all the same.

Here it is with my fish print flannel nightgown.

Comparing it to the original, the one big difference was that my neck binding was about 3" too short. The 9" tassels I used ended at just the right level though, which means that for the final robe I'll do 6" ones.
After adding the extra length and accounting for seam allowances, and the necessary seams at the top of the sleeves and CB of the neck binding to account for the nap of velvet, here's roughly what my pattern looks like:
Sorry about the inches. I'm from a Metric country and usually prefer centimetres, but sometimes inches are more convenient for large measurements that don't need to be super precise.
My hem was very uneven when I first sewed everything together, and part of that was because it was wibbly wobbly rayon, but I do expect to have to hang up the velvet robe and trim the bottom to be more even before finishing it too. I'll baste the lining and outer layer together to make sure they stay put while doing that.
There's not much to say about the construction of the mockup, it's unlined and all the inside seam allowances are serged. I put some fusible interfacing in the neck binding. I keep calling it a binding, but really it's sewn on much like a collar and isn't binding anything.
Not up to my usual standards, but still wearable.
The tassels are made from a burgundy rayon fringe, which has been in my stash for quite a while, just like the fabric. I cut 4 identical little lengths and just rolled them up and stitched them together at the top. 
I know a mockup probably doesn't need tassels, but they do affect the drape, and this is a very fast and easy way to make them.
Making tassels out of thread or yarn is pretty easy too, but a lot of it is too stiff and tangles easily, and this fringe has a much nicer weight and swoosh to it. I haven't decided what I'll use for the ones on my final robe.
I will post about the construction of the actual robe, once my velvet arrives and I sew it up! 

Monday, 19 December 2016

The Grim Sheeper

I said the next post would be about my Halloween costume, so here it is! 
It's a very large black robe with a lot of dagging, and a very large papier mâché ram skull mask. In these photos I'm just wearing it with a plain black shirt and pants, but I'd eventually like to make a better shirt to go with it.


The robe is made with an altered version of the pattern for Nax's Balem robe. I left out the side-front and side-back seams, curved the hem a bit more, tapered the bottoms of the sleeves, and added dagging all around.
The dagging is small at the top and gradually gets bigger towards the bottom.
The outside is a very thin black cotton silk blend I got on clearance, and the lining is a slightly thicker dark grey cotton that I don't remember buying, but that I assume was also on clearance. I would have preferred to use thicker fabric, but I want to save my more useful black material for clothes I'll actually wear regularly.
Trimming around the edges before turning them inside out.
I didn't add any interfacing, so it's got very little structure and flaps nicely in the wind. It's bag lined, and all the dagging is sewn, turned, and topstitched.
It took FOREVER! It also wrinkles quite easily.
Most of the topstitching turned out pretty good.
The small points around the collar area came out a bit woobly.
They're wrinkled in this picture so it's hard to see, but this edge is definitely wonky in places.
I had made the mask a year earlier for a school assignment. I took progress pictures of it, but at the moment I have no clue where they are. I'll update this post if I find them.

The mask base is cardboard held together with masking tape. I made the horns by cutting 2 spirals out of cardboard and taping a lot of wadded up brown pattern paper to either side. The whole thing is covered in a lot of cheap paper towel and Elmer's art paste. The texture on the horns was made by twisting a length of paper towel around and around the whole thing, while gooping it in place with the art paste.

The mask last year.
It looked okay when I finished it last year, but it needed a bit more texture, so I repainted it. Not the best pictures because my room has terrible lighting, but you can see there's a bit more shading now.


I made a big ski mask like thing to wear under it so my chin and neck wouldn't show. It was very last minute, so it's just a big tube of synthetic knit with one end closed and 2 holes cut in it.
Just one seam, because I left the bottom edge and eyeholes unfinished. Terrible!
I don't have any pictures of me wearing this outdoors, because even though I called this my Halloween costume, I didn't actually end up wearing it out of the house on Halloween.

It was only half done on Halloween morning, and I thought I would finish it in time to make a brief appearance at school, but I greatly underestimated how long it would take. I ended up staying home all day sewing because I didn't have class that day. I could have gone to school with just the mask, and a black cloak that Nax had very kindly lent me, but I didn't.

But that's okay, because I don't think I really wanted to go out and do stuff that day anyways.
My brother took these pictures yesterday evening, and as usual the lighting is bad, but at least they show how long the robe is. It drags on the floor and is most impractical.
I think this robe needs a better top to go under it, with more texture on the sleeves, but that's very low on the sewing priority list right now. Perhaps next Halloween!
I also think it might benefit from some sort of large thing to wear around the shoulders, because the giant ram horns make the rest of me look quite small. Hmm. What do you think?

Monday, 2 November 2015

Balem Abrasax robe commission

I recently completed my first big commission!
It's a robe worn by the character Balem Abrasax in the film Jupiter Ascending, which I highly recommend watching because the visuals are stunning.

This particular costume doesn't get much screen time, and you can't see it very well in the movie, but the promotional pictures are amazing.
Evil space capitalists are always well dressed.
My friend Naxius is the one who commissioned the costume, and I've been working on it for about 3 months. (If you're from the maritimes you may recognize him as the guy who cosplays Loki.)
So, so many sequins.

(All 3 of the above images are from the lookbook website linked earlier in the post.)
Source.
I didn't take a picture of all the fabrics together but it's made of a gold sequined material with black chiffon over top of it. The lining is a dark gold satin.
The partly finished robe bits all in a pile.
This isn't even all of the sequin debris that came from cutting out the fabric.
I will never be able to vacuum it completely out of my carpet.
I drafted a basic block and had a workable pattern after 3 mockups. It's got these weird shoulder pieces, and the collar comes up from the tops of the panels instead of being a separate piece.
Weird shoulder bits without the chiffon. The gold sequin fabric is blinding.
The lines of stitching pictured here are stabilizing lines because the sequin fabric is, unfortunately, a one way stretch knit. It was the best looking gold sequin fabric he could find, so we had to make do. The satin for the lining also has a bit of stretch to it, and all 3 fabrics are synthetic. (And yes, I am still friends with this person.)

After I sewed a million parallel lines on the 8 panels, 2 shoulder pieces, and 2 gargantuan sleeves we basted the pieces of chiffon over them. Nax helped a lot with the basting because it's so time consuming, and I think he actually ended up doing more of it than I did.

Nax tries on the unlined and sleeveless robe to see how it looks.
The sequins are perfect in this lighting!
I interfaced the bodice with fusible interfacing, ending it a bit below the waist. I added another layer around the collar but I wish now that I had put even more layers of interfacing in the collar & shoulder areas.

It's so huge. So ridiculously huge.
I didn't get pictures of the lining but it looks pretty good for being made of such an evil fabric. I covered the centre front panels and the tops of the collar bits with a layer of chiffon to act as a facing. I also added 2 pockets for him to keep his cellphone and money in.
Welt pockets in very thin satin are not fun.

Nax tries on the unfinished robe again because we are both overexcited to see what it looks like.
Balem wears a fantastically intricate gold collar throughout the film, and here you can see Nax's half finished thermoplastic version. I'll do another post on this costume sometime in the future and it'll have a good picture of the finished collar.
It looks much better now. Also, look at the pleated organza trim!
Because the original costume has a sprinkling of gold square sequins on the outer layer, I sewed a whole bunch of individual square sequins on with invisible thread. I didn't have time to do the whole thing but it'll be evenly covered eventually. Nax is planning to help with this.
So many tedious individual sequins. They look amazing though!
Because the fabric doesn't iron very well, especially when you have to use a low heat setting to avoid warping the sequins, I whip stitched the seam allowances down in the bodice part of the robe. Once again I didn't have time to do the rest, and will have to go back and finish it later.

I also sewed some cotton batting into the shoulder area to act as a slight shoulder pad. I wish I had used heavier synthetic batting, but I didn't realize I had any of that until after. I'll probably end up re doing the shoulders anyways.
I sewed the lining in place, serged around the collar edge to reduce the bulk of the seam allowances as much as possible, and tried my very best to make the ridiculous sleeves cooperate.

I was so busy that I didn't take as many in progress pictures as I usually do, but I'll try to photograph more of it when I go back and make corrections. Despite having started 3 months before the deadline we ran out of time, and some things had to be rushed. Besides stitching the rest of the loose sequins and seam allowances I need to do a better hem, probably reinforce the shoulders more, replace a row of trim on one of the sleeves because it has 2 factory flaws in it (which I didn't notice in time. Grr), and fix the sleeve caps because what the hell do you do with the lining when sewing in a sleeve with a slit?

Edit: I have since realized that what you do is simply put all the sleeve seam allowance in towards the body, just like you do in 18th century tailoring.
The serged inside edge of the collar.
I'm probably forgetting something but anyways, here are some photos of him wearing it at Hal-Con! Taken by Akemi Productions.
Those sleeves barely fit on my cutting table.

These pants are very, very last minute. I patterned them at the same time as I did the robe but didn't sew them up until the night before the con. We didn't have time to put the pyramid studs on the waistband. Oh well.
He looks grouchy because he's a villain, and evil overlords don't generally smile for photos.
Someday the whole costume will be finished and perfect and then we'll have a photoshoot! I'm not looking at those sequins for at least another week though.

Update: More photos!