Still very behind on blogging, alas! Here's the linen toile dressing gown that I made last year.
I made it as practice for the patchwork one I'm slooowly working my way towards. I'm very glad I did a practice one because there are definitely some construction things I'd do differently, and even though I did a mockup I found that the bodice pattern isn't quite right and I need to change the lapels and collar. (And I somehow managed to get the number and placement of the buttons and buttonholes wrong.)
I've got 6000+ triangles cut out for my patchwork, and am working on gradually sewing them together. I pull it out and work on it a bit once every few months or so, so I don't know when it'll be done.
I emailed the museum over a year ago asking for some photos of the inside, and they sent some! I'm not sure if I'm allowed to post them here, so I won't, but I'll ask if I can include some in the post about the patchwork dressing gown.
They also said I was welcome to make an appointment to come examine it in person, but the museum is in Australia and I'm in Canada, so alas I could not.
 |
| Patchwork in progress! |
Here's the pattern I drafted for it.
 |
| Very wide front skirt piece and very narrow back skirt piece. |
I tried to figure out the shape of the pieces of the original dressing gown by drawing them out on grid paper according to the grid of patchwork I could see in the photos. (Because two triangles together make a square, so it's not too hard to see a lot of the shapes.)
And I filled in the gaps by referencing a coat pattern in
The Cut of Men's Clothes which has a very similar cut. It's on pages 126 and 127,
and here's the museum page for it.
 |
| Bodice, collar, and sleeves. |
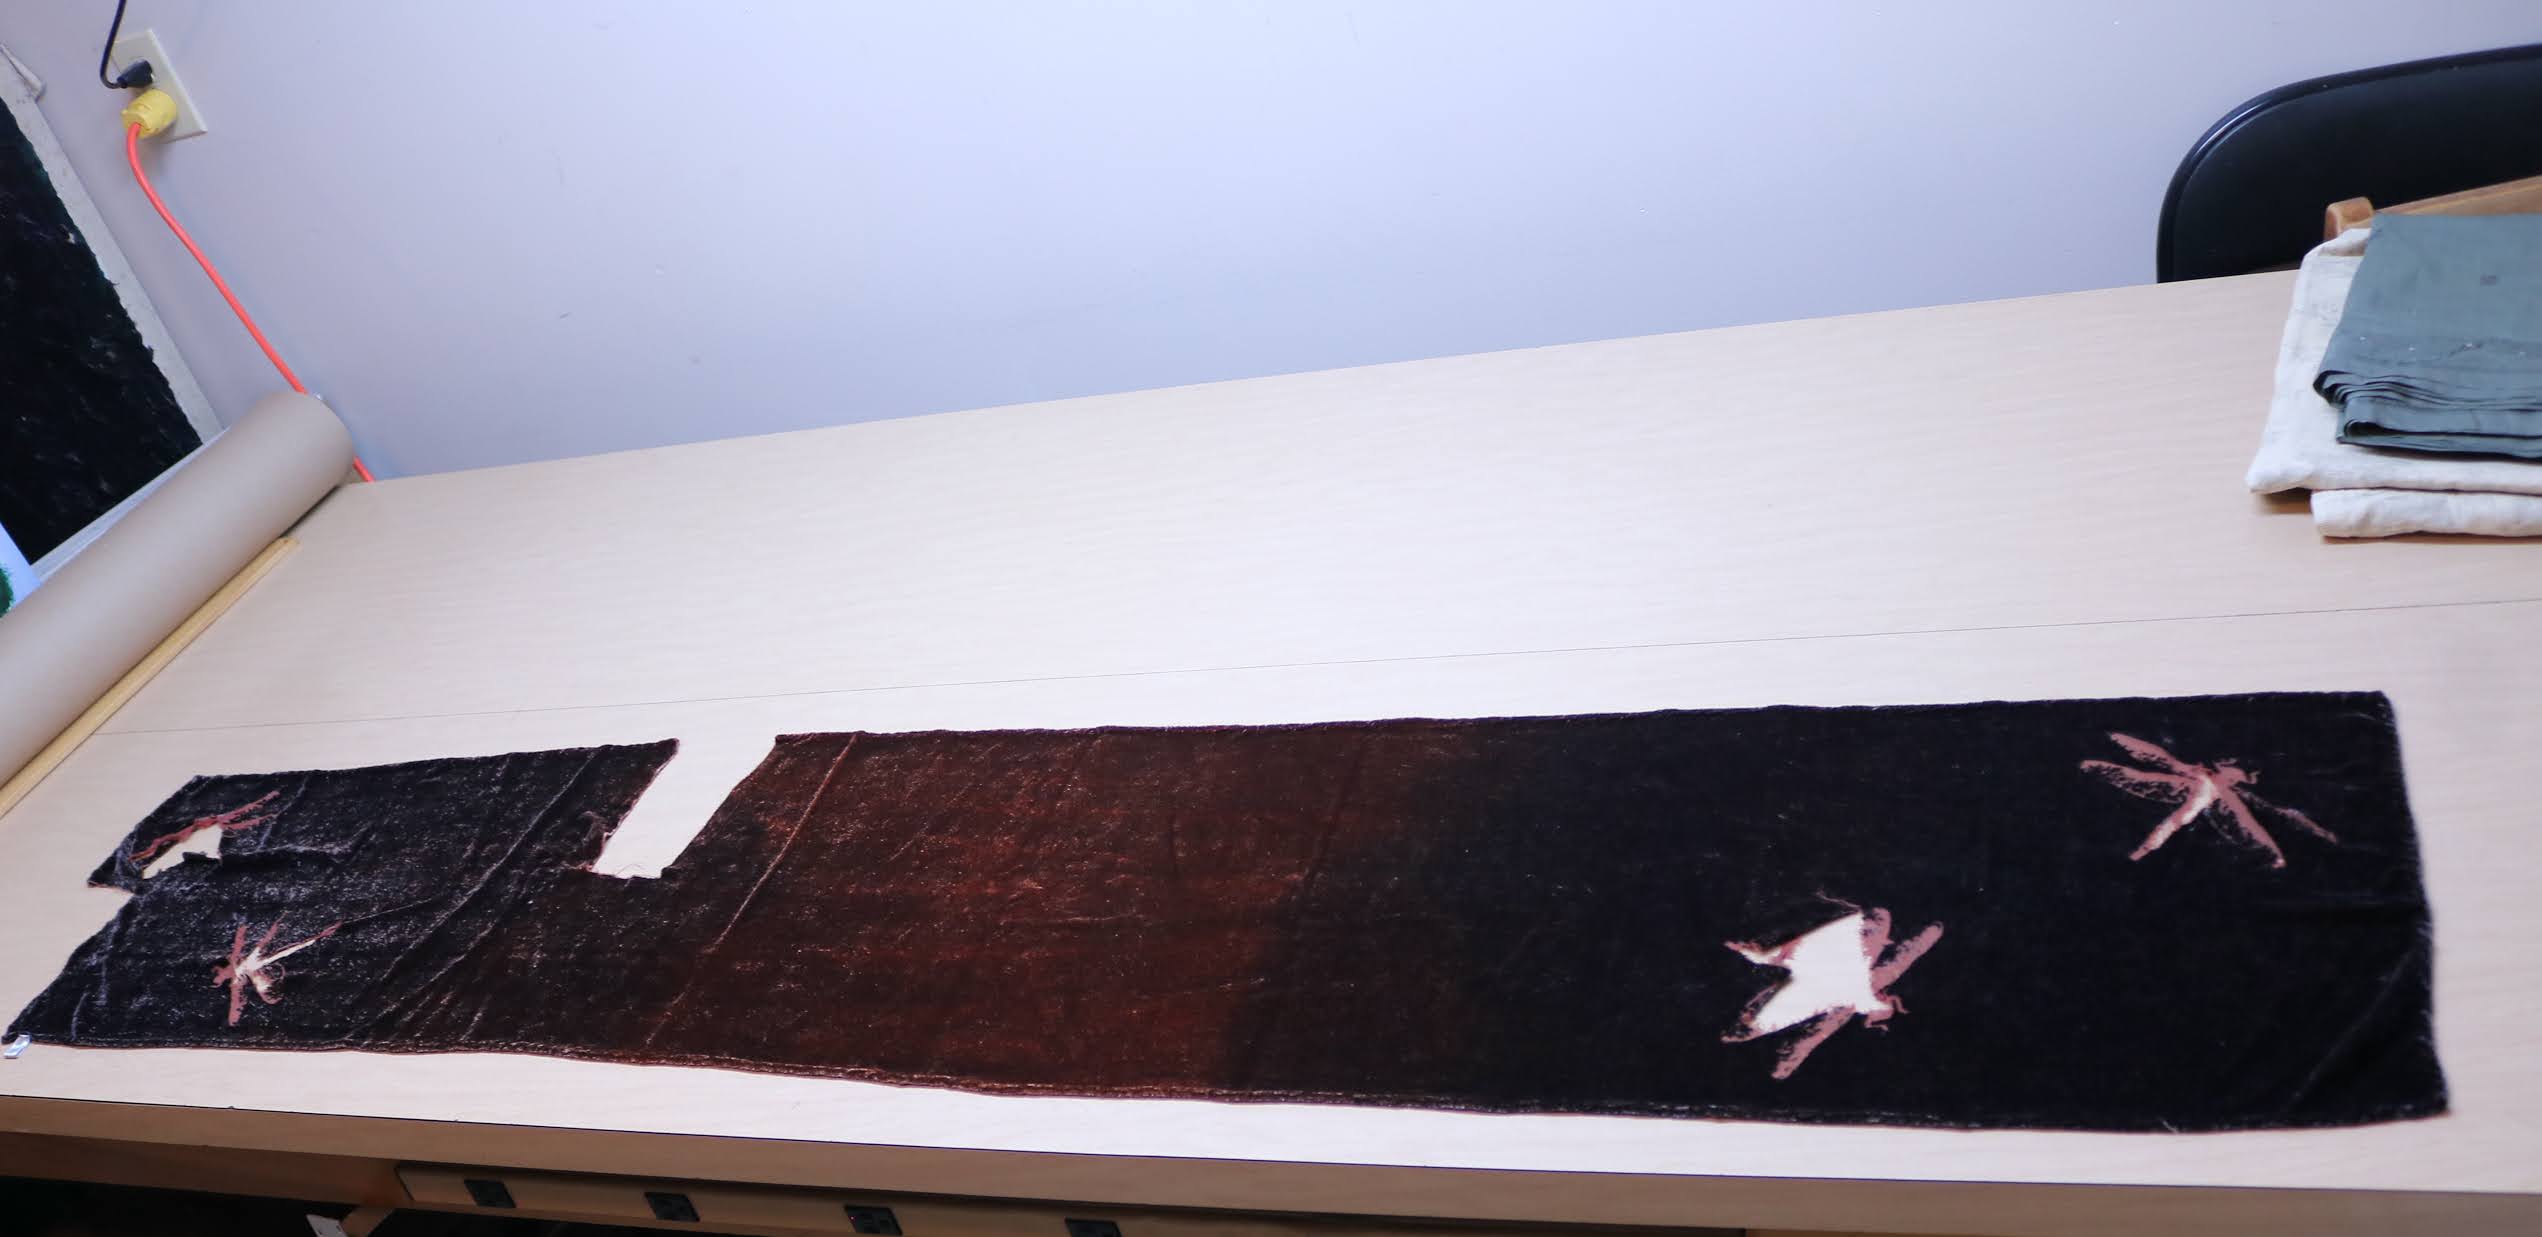
I used this old rayon velvet scarf that for the cuffs and collar. It was a failed attempt at
devoré from the textiles studio at college that was given to me years ago, and there was just enough to squeeze all the necessary bits out with a little piecing.
 |
| It was originally an ombre blue, but I dyed it brown to suit my fabrics better. |
The main fabric is this lovely linen toile with a huge pattern of flowers, trees, and pastoral looking 18th century people.
The toile, and this greyish green sari silk I used for the lining were both very kindly sent to me by a reader of this blog!
Thank you Kevin!The sari silk is fairly lightweight and crisp, and has a lot of little rhinestones glued to it in some places. I was able to avoid them for the most part when cutting my lining, but had to pull a few of them off.
 |
| My pieces all cut out. |
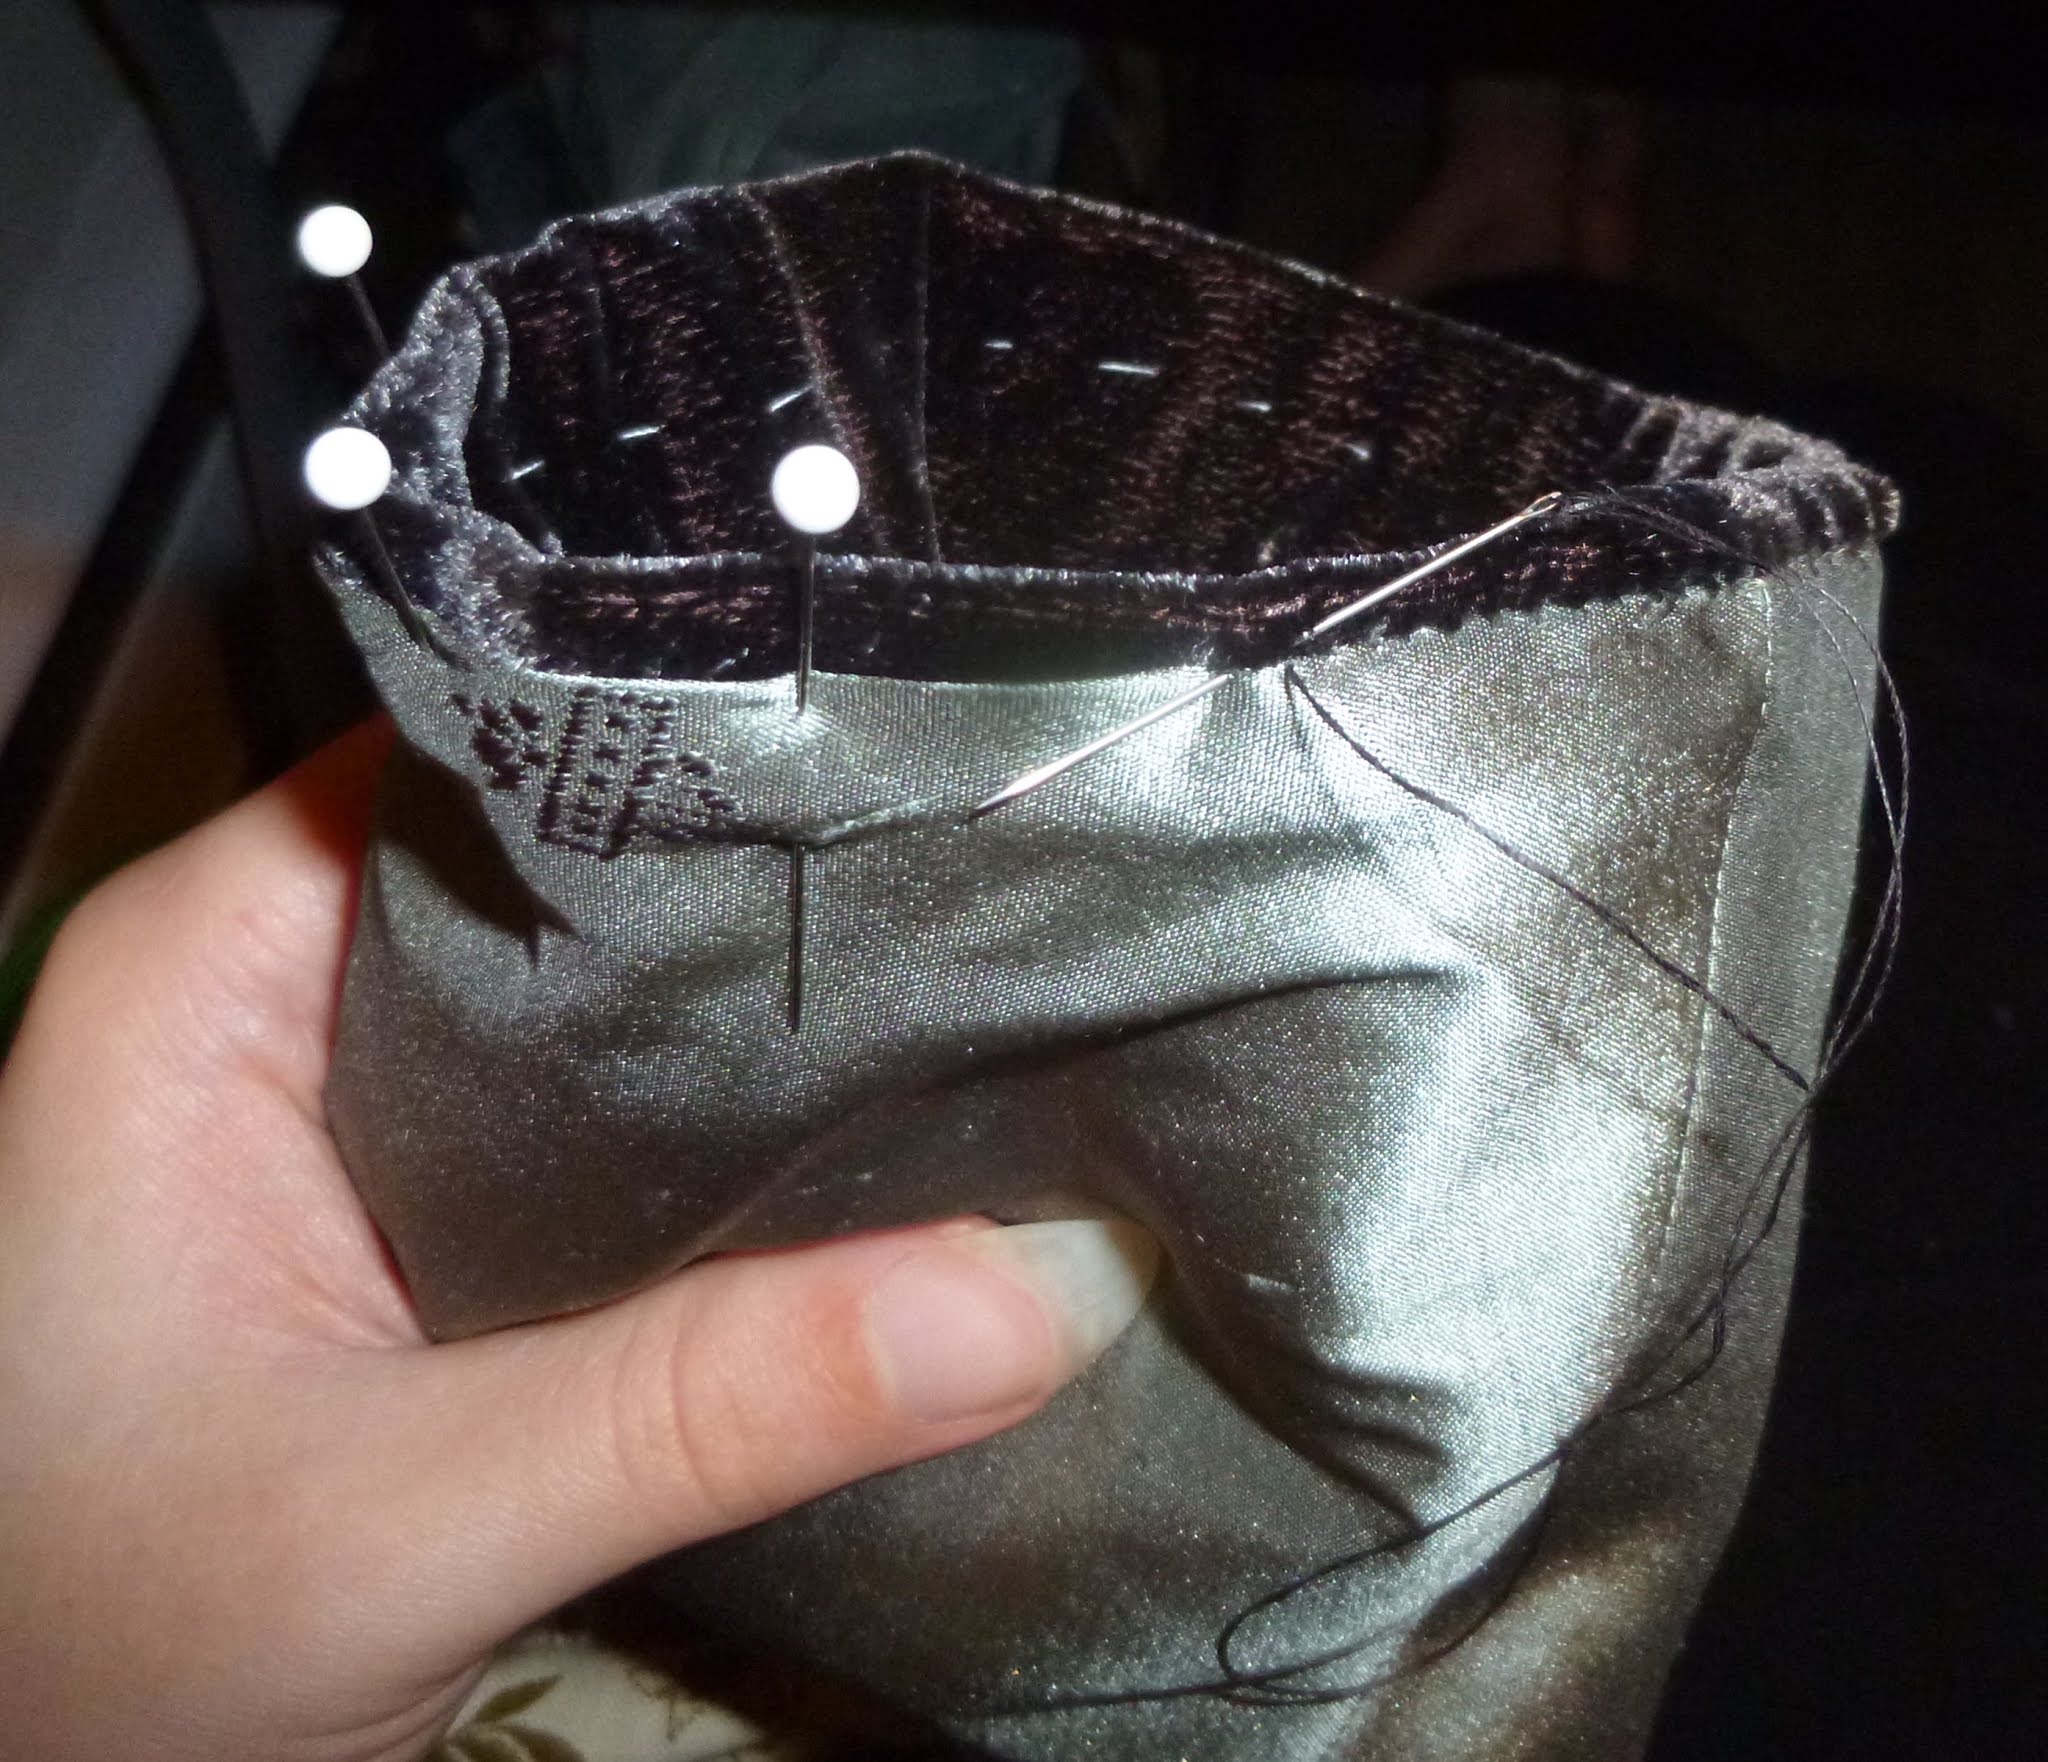
I sewed the long seams on the sleeves by machine, pressed in the edge at the cuff end, and popped the lining inside and basted it around the top.
The velvet cuffs are made of two halves sewn together, also by machine.
 |
Very carefully steaming the seam flat by putting it on the end of
my sleeve board and pulling down on the bottom of it. |
I placed the wrong side of the velvet cuffs against the inside edge of the sleeve and sewed it down with some running stitches.
I turned it up and turned the seam allowance in, and basted these in place, since the velvet was rather slinky and shifty. I sewed the top part of the cuff down with whipstitches.
I then whipstitched the end of the lining to the inside edge of the sleeve, then pulled the basting out.
I machine sewed the back and front portions of the skirts together, with the pocket bags put into the seam the regular way.
And stitched the lining to them, right sides together, and turned it.
 |
| Skirts all lined. |
I haven't any experience at all with 19th century tailoring, and it's so very very different from 18th century tailoring. I haven't got any in-depth reference books on the subject, and it's awfully hard to find information on menswear on the internet, but I had a look through
Victorian Tailoring's blog archive and found his 1830's posts helpful.
I put hair canvas in the front, pad stitched the lapels, and sandwiched some cotton batting between some scraps of thin cotton for the chest padding.
I hand stitched the velvet facing down to the green silk lining, and machine stitched and turned the lapels. Since the velvet is so shifty (and doesn't like being pressed) I did some hand stitching around the edge to help it stay where I wanted it.
 |
| Discreet little stitches so the edge stays nice. |
Having sewn the back and side seams of the bodice, I sewed the waist seam. I overlapped the skirts in the centre back, like on the original, and pressed the seam allowances up.
And stitched the facing & front lining down over it.
However, I realize I'll have to figure out something different for the patchwork one, because there's a buttonhole
in the waist seam on the original, so it would make much more sense to press the seam allowances open. Especially with the patchwork material being so bulky.
I hand sewed in the back lining next, which I'm pretty sure is not the way it was done in the original, but I'm just more comfortable with my usual 18th century construction methods.
I used plenty of basting to keep things in place.
I didn't have any collar canvas, alas, and ended up using the hair canvas for the collar too. I knew that it was a bad idea, but figured since this was just a practice one it wouldn't be disastrous for it to sit a bit less nicely. It came out ok, but not great.
 |
The canvas is cut on the bias in to halves and seamed in the centre back.
This stuff is very stiff one way and not so much the other way,
so it was important to do that to get it even. |
I have since
purchased some collar canvas though, so the patchwork one will be better! I could go back and remake the collar for this one, but probably won't.
 |
| More careful little hand stitches to keep the edge nice. |
I backstitched the underside of the collar on, and whipstitched the velvet down over top.
I hand sewed in the sleeves too, much easier than having to move a machine around in there.
In the photos that the museum sent I can see that there's a pair of tabs on the inside of the front that button closed over the waist, so you can wear it unbuttoned without it hanging too far open.
This one from The Met has a similar arrangement.
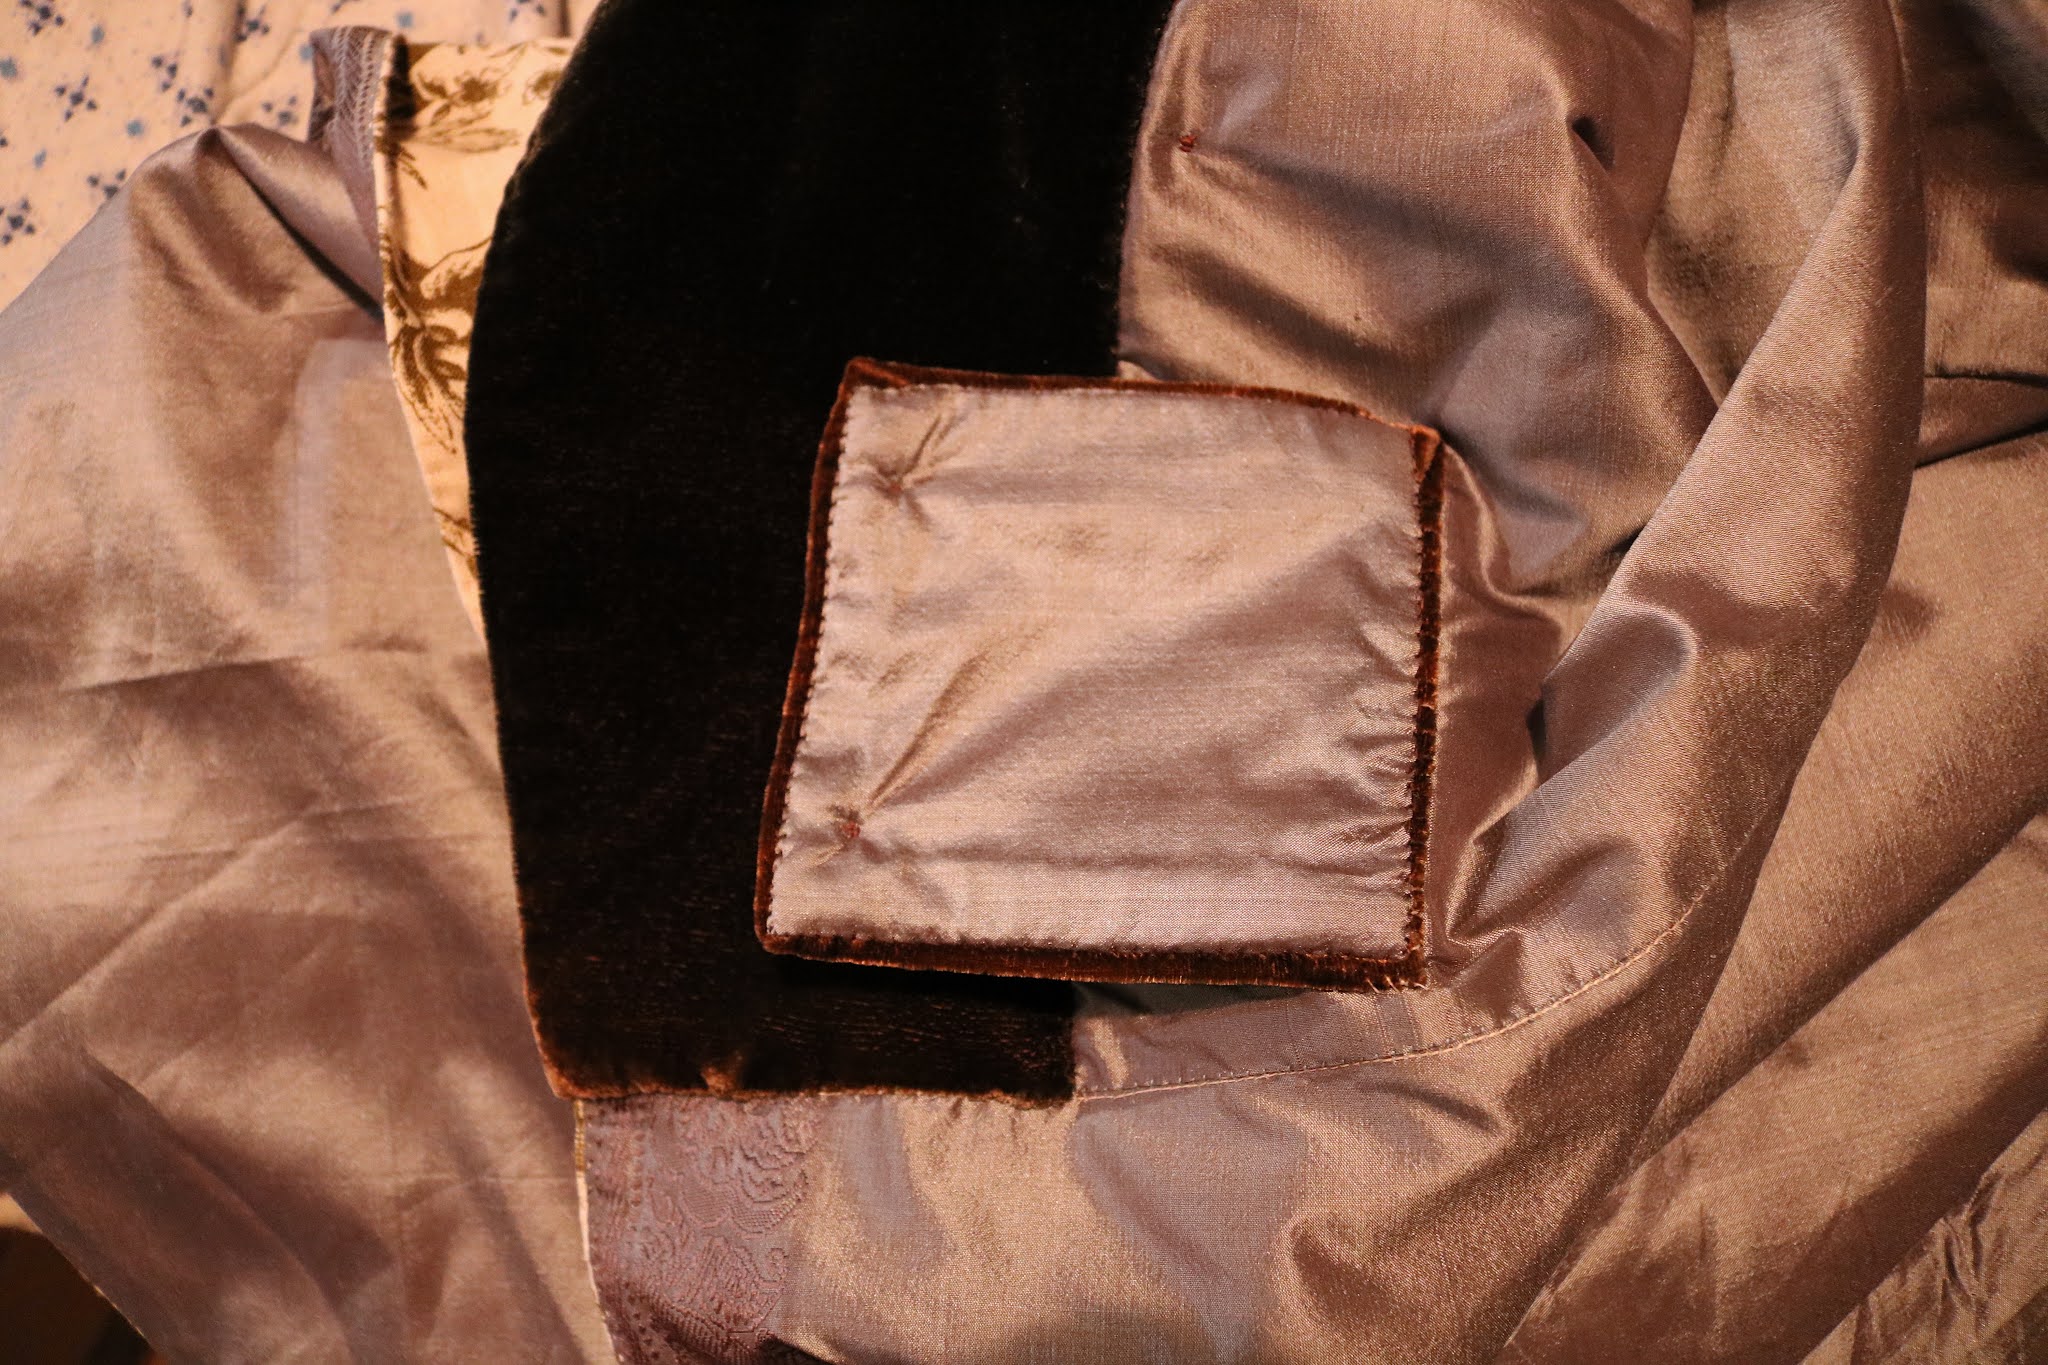
I have no idea why I sewed these in the way that I did. Why did I interface them with such incredibly heavy buckram?? I had it in my head that these needed to be very sturdy for some reason, but I don't know why, this is a pretty lightweight garment and these tabs are disproportionately hefty.
I also don't know why I sewed the lining on as if it were an 18th century pocket flap. In the photos of the original it looks pretty clearly sewn right sides together and turned. Ah well, I will do better on the patchwork one!
I made buttonholes in DMC cotton pearl, as usual. These ones are keyhole shaped and only have a bar tack at one end.
I sewed the tab in with backstitches taken from the outside.
 |
| Attaching the button tab. |
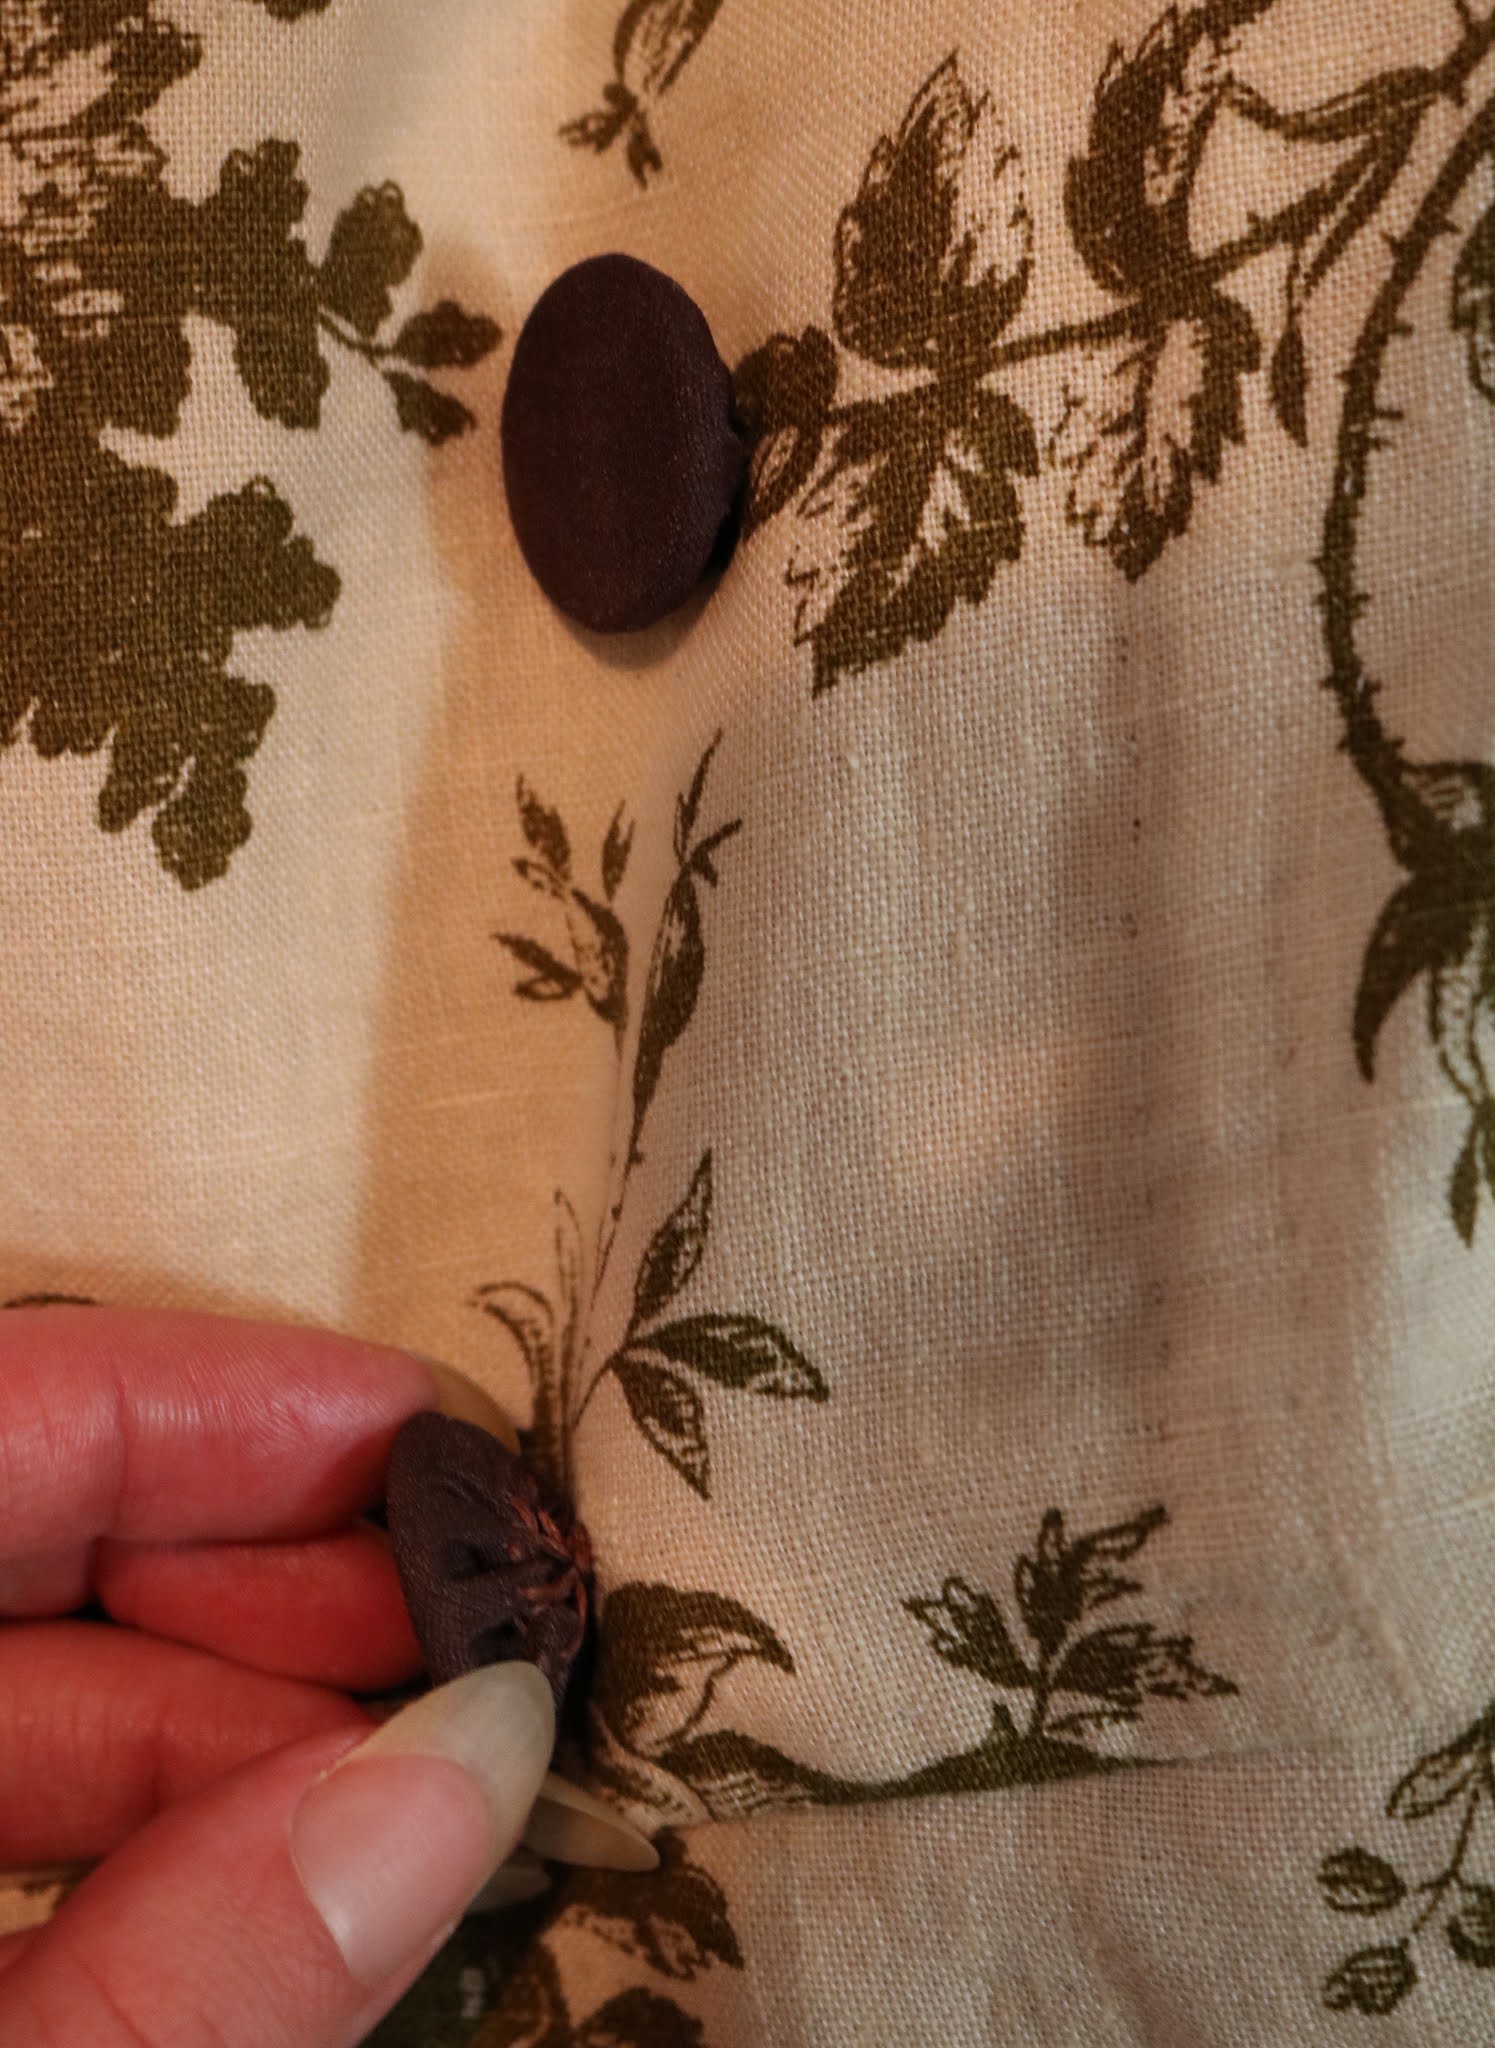
For the covered buttons I wanted a brown fabric that was close to the same colour of the velvet, and didn't think I had any. I spent quite a while mixing brown fabric paint to paint button covers in the shade I wanted, and then afterwards realized I do have a piece of quilting cotton that's the shade I was looking for. (On the back, the printed side has a lot more black on it) And I realized I'd forgotten the two buttons on the back, so had to make 2 more anyways.
 |
A nearly completed set of mismatched buttons that
took much longer than they should have. |
These buttons are bigger than the ones on the original dressing gown, but that's on purpose. I find the ones on the original are much too tiny, and barely visible against the patchwork.
I usually use reproduction moulds for my buttons, but these ones are made with some unfinished wooden discs I got on etsy.
Edit: I now have a video on making covered buttons, with a lot more sources for where to get button moulds!
On the original there's only one buttonhole, right in the waist seam, but I must not have been paying very close attention because I did two. Ah well, this is why I did a practice dressing gown!
 |
| I had to do a little bit of piecing on this sleeve. |
 |
| Back pocket. |
Overall I am pleased with it, and find it quite comfortable to wear around the house.


What the item is: A man’s dressing gown
How it fits the challenge: The main materials were all gifted, and I was helped by both some blog posts, and some photos of the inside of an extant dressing gown sent to me by a museum curator.
Material: Linen toile, sari silk for the lining, damaged silk/rayon velvet scarf for the collar & cuffs
Pattern: Drafted myself
Year: c. 1835
Notions: Linen thread, silk thread, cotton thread, polyester thread, cotton pearl, 8 wooden button blanks, tailoring canvas.
How historically accurate is it? Ehh, maybe 75%? I’ve only seen one extant toile printed dressing gown from around this era, so I think it’s a somewhat plausible fabric choice, but this is my first 19th century tailoring project so it was very much a learning experience and I can’t really tell how accurate the construction is. (Aside from all the machine stitching, which I know isn’t accurate.)
Hours to complete: 54
First worn: October 3rd, 2020
Total cost: Very little! I’m not sure how much, but the only things in it that I bought were thread, hair canvas, and button moulds.

I also made a little cap out of the scraps, the same as
my other linen one. Just 2 semicircular pieces seamed together and felled, with a wide hem at the bottom. (I don't think this is accurate to the 1830's, but as it's just a cap for me to wear at home when my head is cold I don't really care.)
Phew, finally finished this post! I'm still a few garments behind on blogging, but the next thing I have to post is a pair of shirts, and I don't need to write out all the construction details for those.


 I did blanket stitches all around the edges of the collar and cuff openings, and then did a stab stitch through the ends of all of them, to make them little squares. I sewed the buttonholes in the same contrasting red thread, and used it for the Dorset wheel buttons too.
 Some finished pictures of the plain shirt:

 Overall I'm pleased with these shirts, but I think the linen I used is a bit too heavy for ones cut this full. The shirttails are awfully bulky when tucked in. I noticed this when I finished the first one, and made the second 10 cm shorter, but it's still a lot of material.


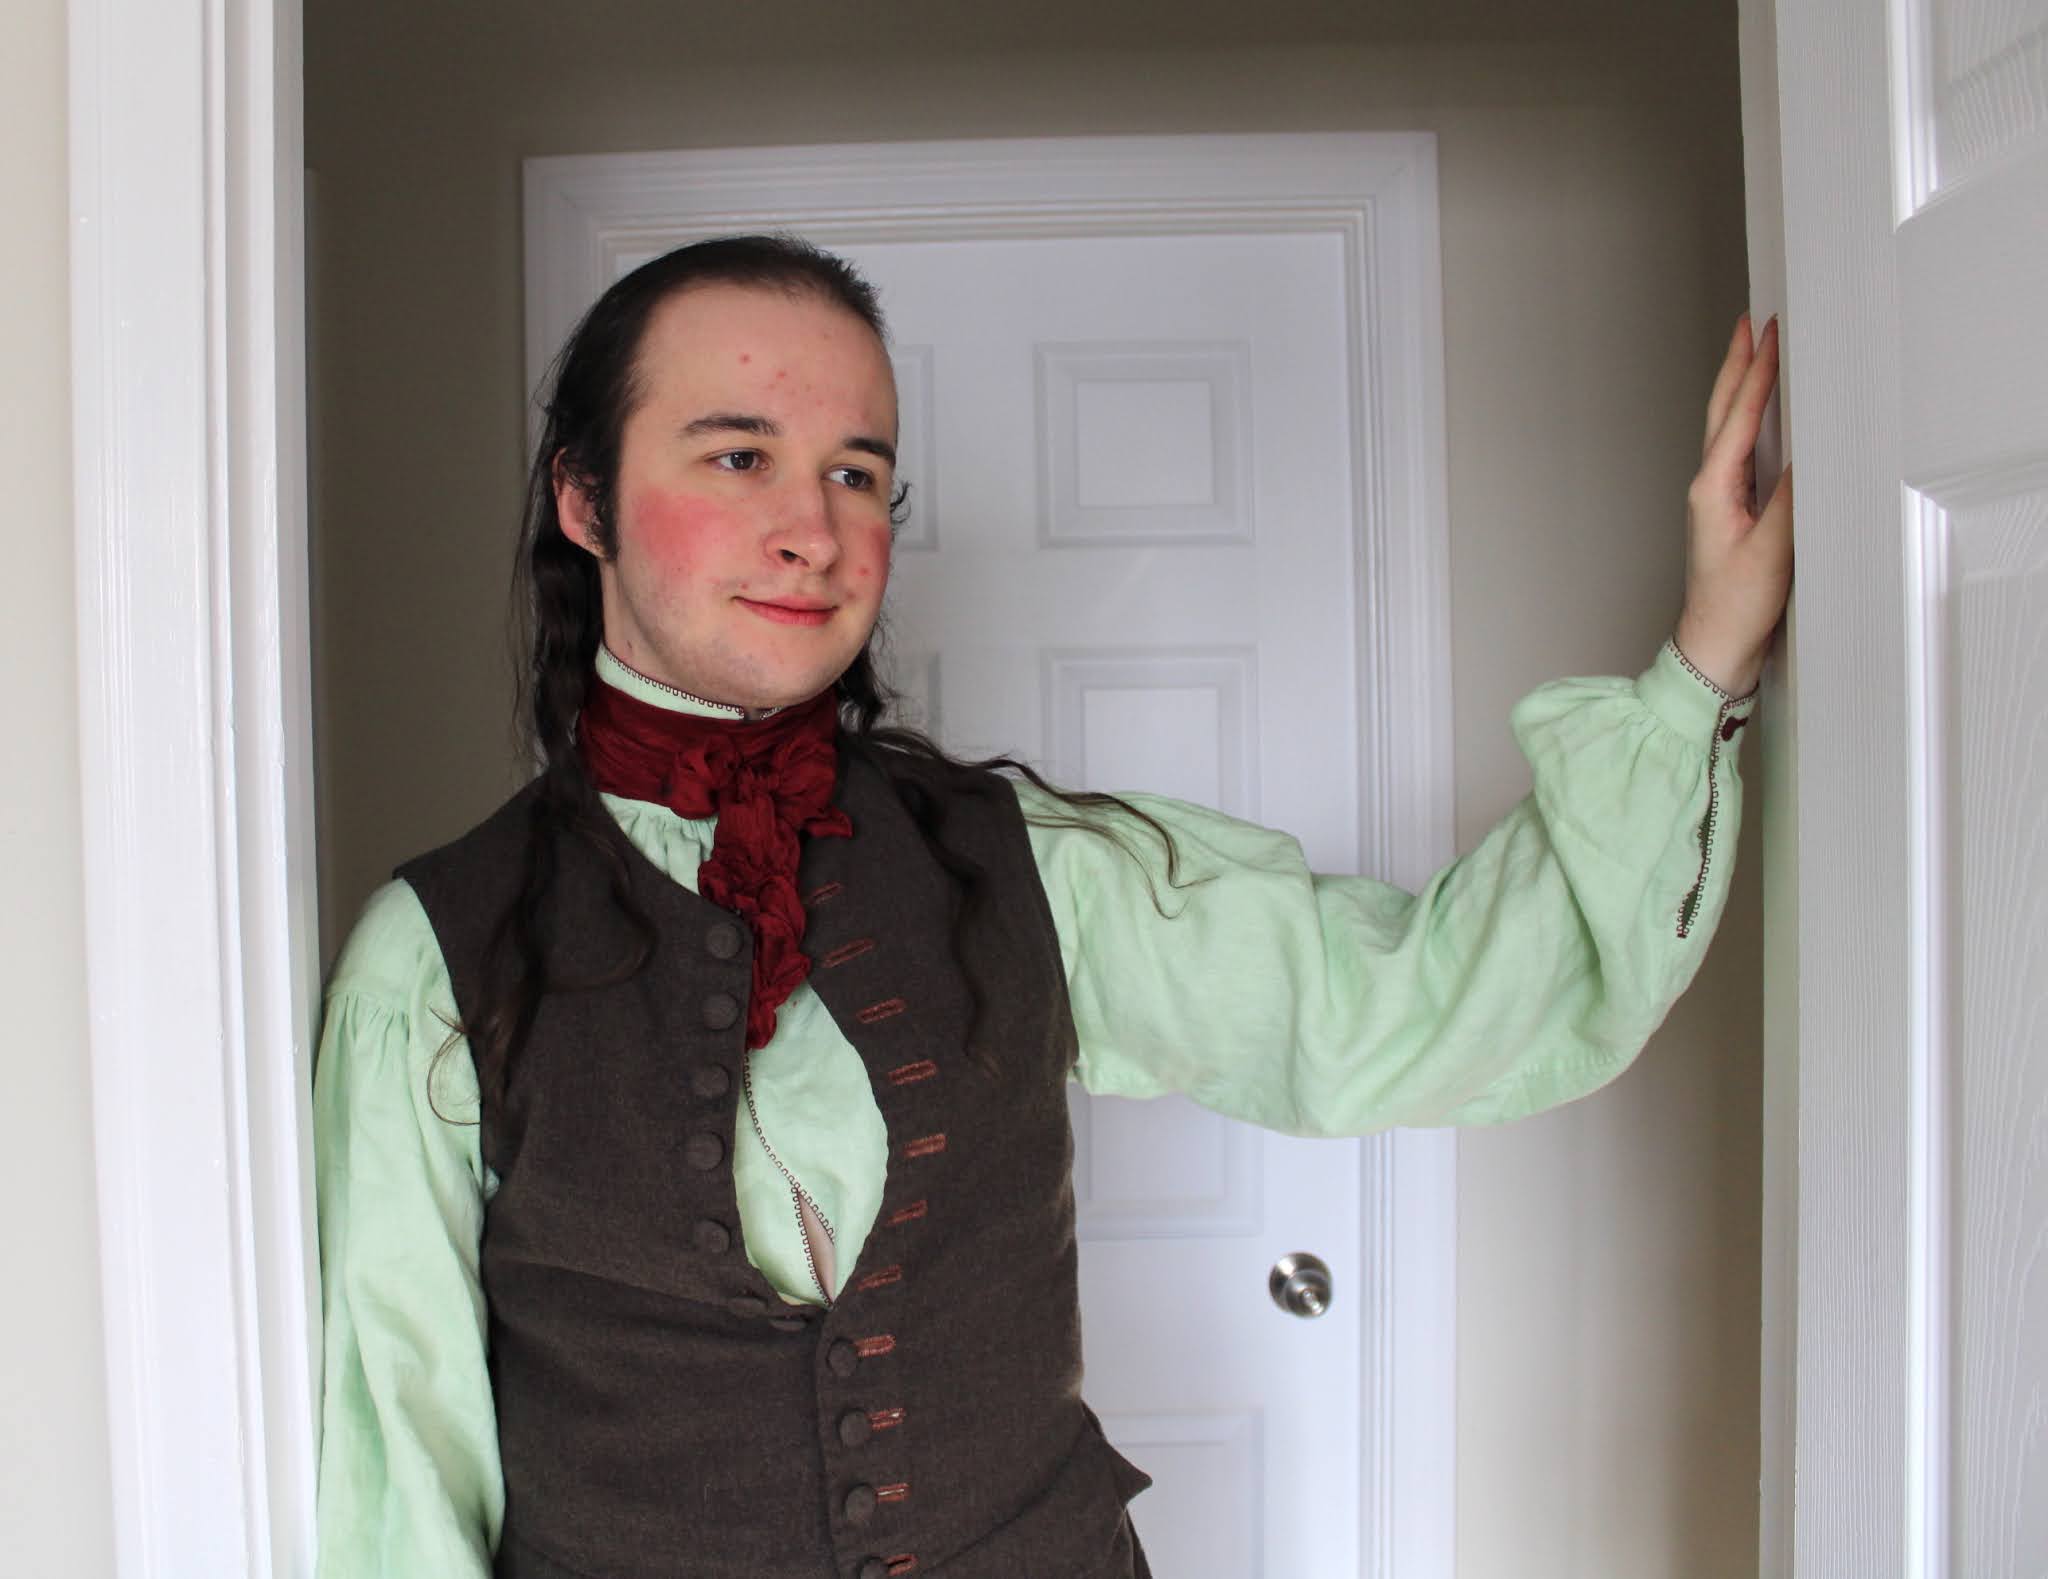
 I think both shirts look very nice with my brown cotton trousers, and my brown wool waistcoat. I also really like how the decorated one looks with this dark red cravat.


 A number of my everyday shirts are getting pretty worn out, so it's good to have a couple of new ones. I still need to make more though!