Pages

Monday 19 December 2016

The Grim Sheeper

I said the next post would be about my Halloween costume, so here it is! 
It's a very large black robe with a lot of dagging, and a very large papier mâché ram skull mask. In these photos I'm just wearing it with a plain black shirt and pants, but I'd eventually like to make a better shirt to go with it.


The robe is made with an altered version of the pattern for Nax's Balem robe. I left out the side-front and side-back seams, curved the hem a bit more, tapered the bottoms of the sleeves, and added dagging all around.
The dagging is small at the top and gradually gets bigger towards the bottom.
The outside is a very thin black cotton silk blend I got on clearance, and the lining is a slightly thicker dark grey cotton that I don't remember buying, but that I assume was also on clearance. I would have preferred to use thicker fabric, but I want to save my more useful black material for clothes I'll actually wear regularly.
Trimming around the edges before turning them inside out.
I didn't add any interfacing, so it's got very little structure and flaps nicely in the wind. It's bag lined, and all the dagging is sewn, turned, and topstitched.
It took FOREVER! It also wrinkles quite easily.
Most of the topstitching turned out pretty good.
The small points around the collar area came out a bit woobly.
They're wrinkled in this picture so it's hard to see, but this edge is definitely wonky in places.
I had made the mask a year earlier for a school assignment. I took progress pictures of it, but at the moment I have no clue where they are. I'll update this post if I find them.

The mask base is cardboard held together with masking tape. I made the horns by cutting 2 spirals out of cardboard and taping a lot of wadded up brown pattern paper to either side. The whole thing is covered in a lot of cheap paper towel and Elmer's art paste. The texture on the horns was made by twisting a length of paper towel around and around the whole thing, while gooping it in place with the art paste.

The mask last year.
It looked okay when I finished it last year, but it needed a bit more texture, so I repainted it. Not the best pictures because my room has terrible lighting, but you can see there's a bit more shading now.


I made a big ski mask like thing to wear under it so my chin and neck wouldn't show. It was very last minute, so it's just a big tube of synthetic knit with one end closed and 2 holes cut in it.
Just one seam, because I left the bottom edge and eyeholes unfinished. Terrible!
I don't have any pictures of me wearing this outdoors, because even though I called this my Halloween costume, I didn't actually end up wearing it out of the house on Halloween.

It was only half done on Halloween morning, and I thought I would finish it in time to make a brief appearance at school, but I greatly underestimated how long it would take. I ended up staying home all day sewing because I didn't have class that day. I could have gone to school with just the mask, and a black cloak that Nax had very kindly lent me, but I didn't.

But that's okay, because I don't think I really wanted to go out and do stuff that day anyways.
My brother took these pictures yesterday evening, and as usual the lighting is bad, but at least they show how long the robe is. It drags on the floor and is most impractical.
I think this robe needs a better top to go under it, with more texture on the sleeves, but that's very low on the sewing priority list right now. Perhaps next Halloween!
I also think it might benefit from some sort of large thing to wear around the shoulders, because the giant ram horns make the rest of me look quite small. Hmm. What do you think?

Sunday 11 December 2016

Pink Silk Breeches


Wow, it's been a while since I posted anything here! (I have been doing stuff! I've got 2 more un-blogged garments besides this one, which I will post soonish. Mostly I've been doing surface design stuff for school though.)
2 years ago I made 4 pairs of breeches for my line in the school fashion show, but due to time constraints, they weren't anywhere near accurate. This is my first pair of proper breeches.

My pattern is based off of a couple of 1770's-60's pairs from The Cut Of Men's Clothes.
I made them in a pale pink silk, because why not? I don't much like wearing pastels, but I still want to have a pastel 18th century suit. Just because. And since I didn't know how my first pair of breeches would turn out, I thought it better to make them in a colour I won't wear often.
(Pink is also a perfectly accurate colour for breeches.)
The fabric is very thin by itself, and I had to put white fusible interfacing on every piece to give it the correct weight. It's lined in white cotton. Most of the seams are machine sewn, with hand finishing where necessary.
Sewing the plackets for the fall front.
The corner pockets came together easier than I expected, though lining up all the pieces was rather fussy.
I recently learned that welt pockets are easier to sew if you sew the bag on after turning them to the inside. Why do all the sewing books say to sew the welt and the bag on in one step? I shan't ever do it that way again!
The waistband is interfaced in very heavy canvas, which I added after the welt pockets were done. (I think the canvas was from a boating supply store or something?)
There are rectangular holes to allow the pockets to sit behind the canvas.
I hand basted the canvas in place, then pulled the basting out once the waistband was sewn.
Lacing eyelets being added to the centre back to make the waistband adjustable.
This is the first time I've successfully made eyelets by poking the holes with an awl, and I'm quite pleased with them! They're small, but sturdy.

You can see where I had to piece the top of the back pieces.
My silk yardage was very narrow.

Pocket buttonhole.
I put mother of pearl buttons on the waistband and fall corners, and covered buttons on the pockets and knees.

Last time I made covered buttons I only wrapped fabric around them and stitched the scrunched fabric edges down, but I've since learned that anchoring the button itself by a thread is a good idea. I probably put far too many threads on, but they're sturdy.


Most of the pictures of me wearing these were taken by my little sister, and the lighting and perspective was sufficiently terrible for me to crop my face out of almost all of them.
I think they fit pretty well, since breeches in fashion plates and museum collections appear to have the same distribution of weird wrinkles.


This picture is one I took before I finished putting the buttons on, but I think it shows off the shoes and stocking the best.
I love my new shoes!!
They are the first pair of fancy expensive shoes I've had in my life!
I assumed they wouldn't go with anything else I had, but they look surprisingly nice with my grey waistcoat.
Breeches are very weird and complicated, but I think I have a much better understanding of how they work now. I doubt I'll ever make a completely handsewn pair, because they have a lot of seams, and most of them aren't even visible when they're being worn.

I do wish I had gotten better pictures of them. I've got a lot of posts with inadequate pictures, so perhaps I ought to try getting someone to nicely photograph things sometime.
Next post will be my Halloween costume!

Tuesday 13 September 2016

Questionable Linen Waistcoat

Remember this thing? I started it a little over 3 years ago, and then abandoned it because I didn't know how to do welt pockets at the time.

 2 weeks ago I pulled these sad bits of linen out of my (shamefully large) Unfinished Things pile to see if I could get something wearable out of it.
Oh dear.
 The lining and outside were mostly assembled, but not sewn together. There were no markings at all to indicate where I'd traced out the pattern pieces. The entire mess was hand sewn in linen and cotton thread, because what 2013 me lacked in sewing knowledge he made up for in patience and stubbornness.

 It had one facing backstitched to the lining, so I attached the remaining one in the same way.
The collar looked mostly okay. But it was actually not.
 I'm not sure what I was thinking when I attached the lapel interfacing like this. Sure, it's securely sewn down, but it's so incredibly flat. There should be a roll line, but there isn't!
 I found my pattern too. All crumpled and labeled "waistcoat #2" on one side with sharpie. And it appears I cut the lining out first, realized the side and shoulder seams were too far forward, and then cut out the rest of it after altering the pattern, because the outside and the lining have side seams in different places.
Horrors!
 Because the linen is not particularly stiff, I stuck a piece of fusible interfacing in the front, which is rather awkward to do when the side and shoulder seams are sewn. I machine sewed 2 welt pockets in the front, a good 2 inches above where I had originally marked out the pockets. I left out the breast pocket because it didn't really look right with these lapels.
Thank goodness I didn't attempt these 3 years ago.
If I had then this waistcoat probably wouldn't have been salvageable.

 I added canvas interfacing to the front, and then cut the lapels off it when I realized there were way too many layers in the lapels already. I'm not quite sure if I sewed it in correctly, but it seems to be working alright.
The now lapel-less canvas.
 I machine sewed the front edges together, and hand stitched all the other edges closed.

Backstitching the collar in place.

More backstitching in the armhole.
 I tried to line my buttons up with the edge, like in the inspiration picture, but the edge on mine doesn't have quite as much of an angle so I probably should have just made them straight.
Getting them all lined up was annoying.
 The only buttons in my stash that looked good on this were these flat spirally square metal ones.
Hand sewing buttonholes.
For the row of decorative buttons I did the trick where you poke holes and thread a bit of tape through the shanks on the inside. It worked so well! I poked holes with an awl, but cut them a little bit to the sides because the awl holes weren't working well enough with all the layers of stiffening.
They're lying nice and flat, and went on so quickly.
 Originally I had intended to do tabs with lacing on the back, but I added ties instead. I'll do lacing on something that's worth the time.
The whole edge is topstitched with a running stitch.
 The lapels really didn't want to lie flat, so I sprayed them with water, ironed them, and when they were still damp I pinned them down in the position I wanted and let them dry. There's a big wrinkle under the fold, but they lie more or less the way they're supposed to.

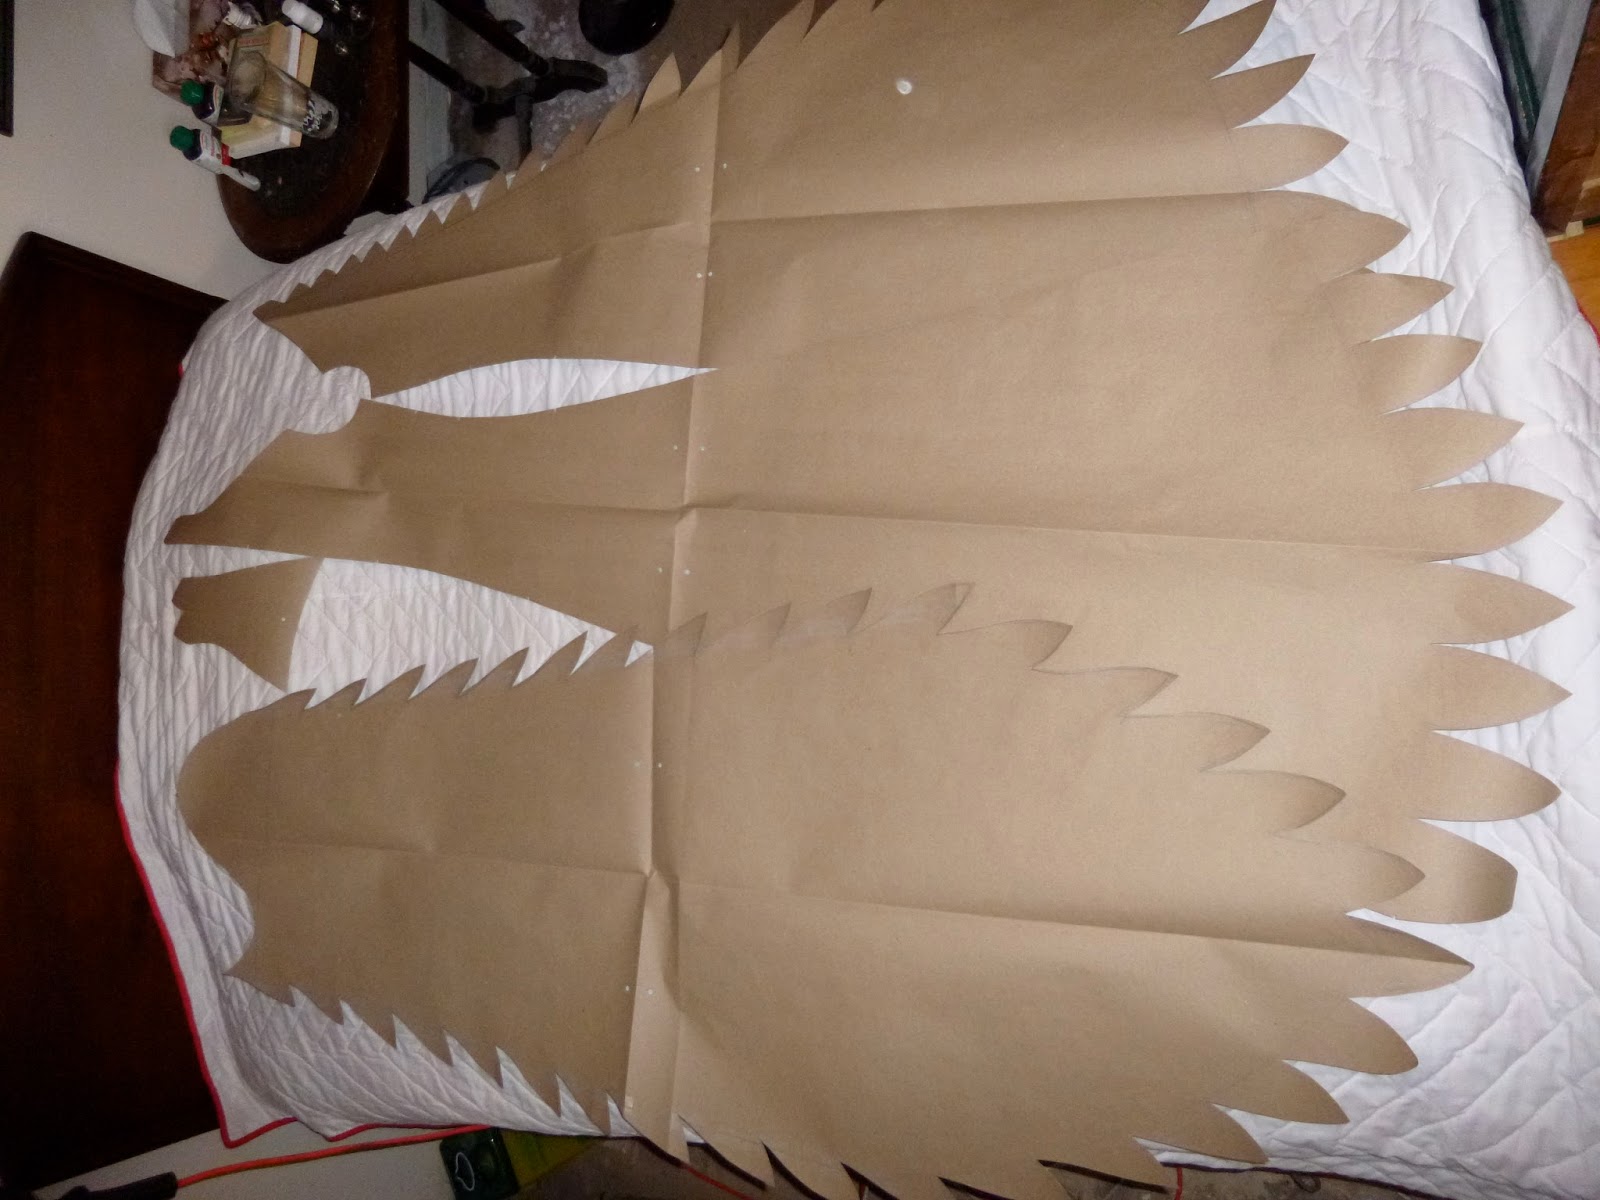
 Overall, this turned out a lot less horrible than I expected. The collar annoys me though. As you can see from the pattern piece, it doesn't curve in at all. It's actually slightly curved in the wrong direction, because teenage me didn't understand that necks slope forward slightly and collars should do the same. Consequently it sticks out noticeably further than it should in the back. I want to replace it, but I don't know if it's worth the time since it's not visible under my hair.
Pictured here with a red cravat that I never iron because I like how scrunchy it is.
 I think it's rather funny that the waistcoat was originally inspired by one from Sweeney Todd, and now I have similar hair to his. (But I did not copy my hair from Sweeney Todd, I copied it from Dave Vanian.)

Wow, I need to touch up my roots.
Not a perfect waistcoat, but at least it's done!
Here it is the next day with non-floofy hair and a different cravat.