I said the next post would be about my Halloween costume, so here it is!
It's a very large black robe with a lot of dagging, and a very large papier mâché ram skull mask. In these photos I'm just wearing it with a plain black shirt and pants, but I'd eventually like to make a better shirt to go with it.
The robe is made with an altered version of the pattern for
Nax's Balem robe. I left out the side-front and side-back seams, curved the hem a bit more, tapered the bottoms of the sleeves, and added dagging all around.
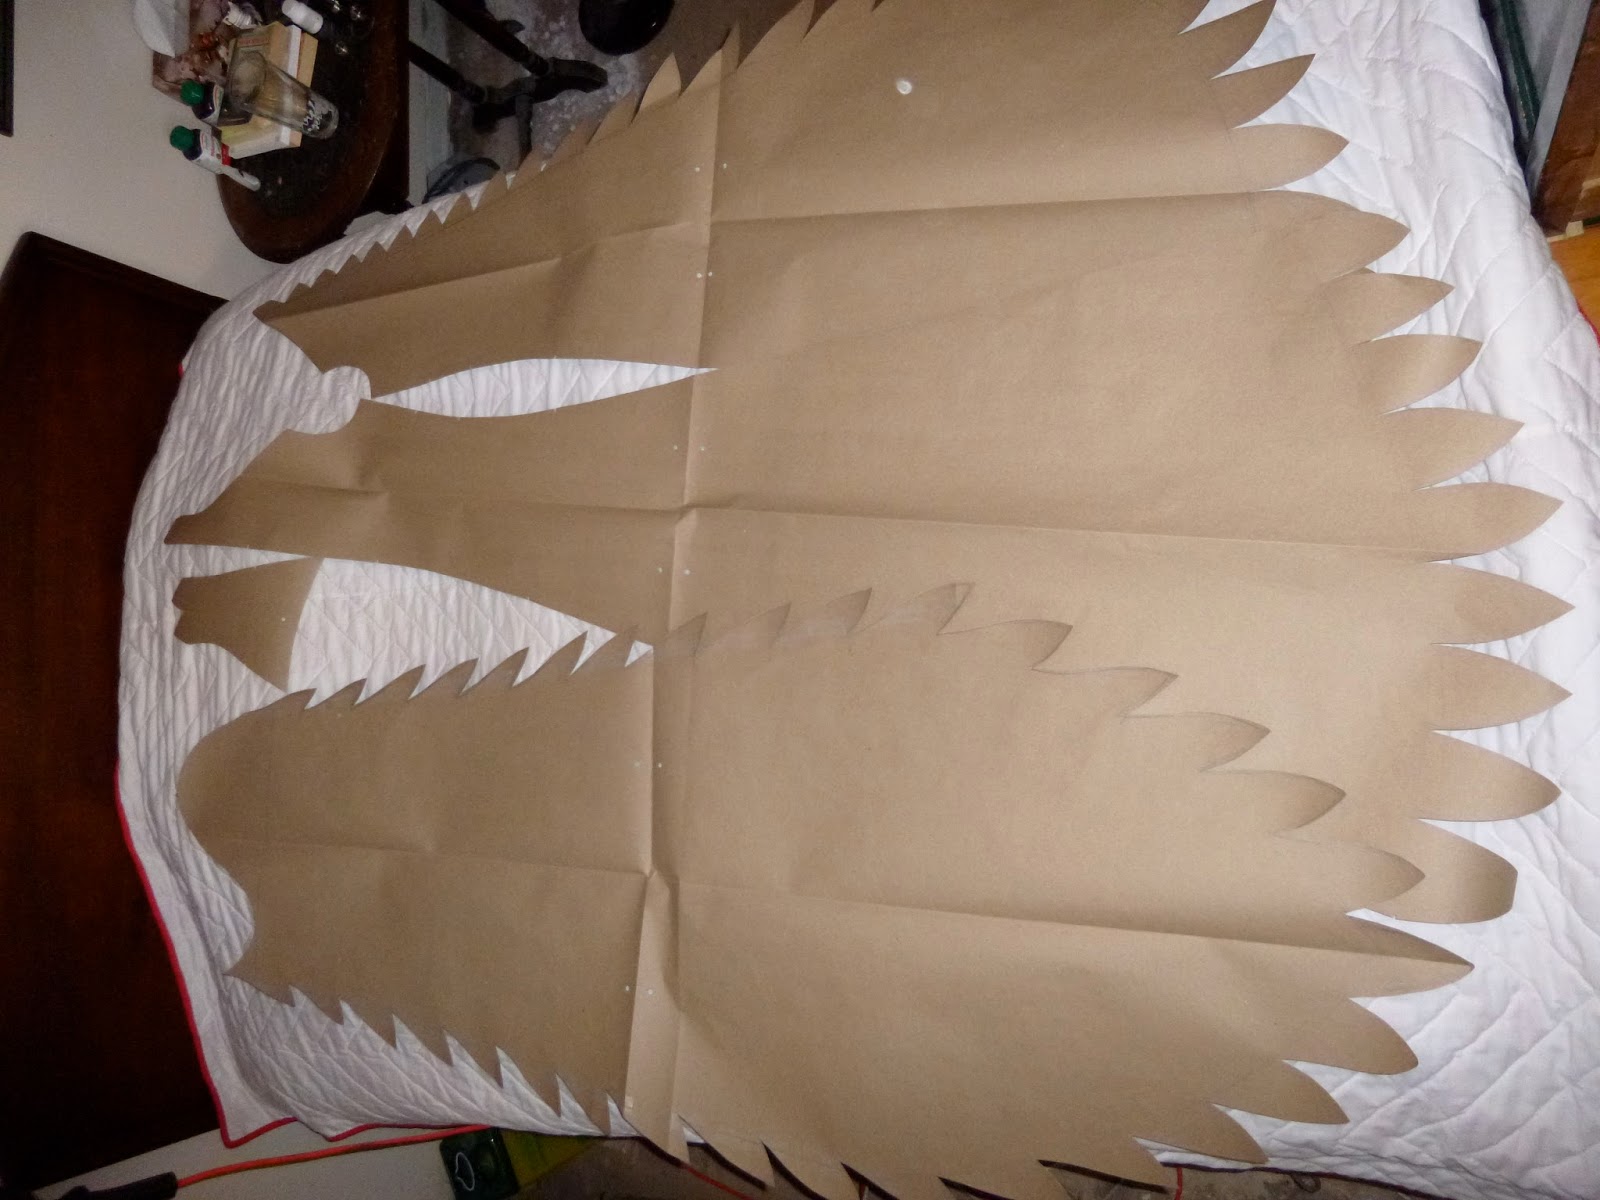
 |
| The dagging is small at the top and gradually gets bigger towards the bottom. |
The outside is a very thin black cotton silk blend I got on clearance, and the lining is a slightly thicker dark grey cotton that I don't remember buying, but that I assume was also on clearance. I would have preferred to use thicker fabric, but I want to save my more useful black material for clothes I'll actually wear regularly.
 |
| Trimming around the edges before turning them inside out. |
I didn't add any interfacing, so it's got very little structure and flaps nicely in the wind. It's bag lined, and all the dagging is sewn, turned, and topstitched.
 |
| It took FOREVER! It also wrinkles quite easily. |
Most of the topstitching turned out pretty good.
The small points around the collar area came out a bit woobly.
 |
| They're wrinkled in this picture so it's hard to see, but this edge is definitely wonky in places. |
I had made the mask a year earlier for a school assignment. I took progress pictures of it, but at the moment I have no clue where they are. I'll update this post if I find them.
The mask base is cardboard held together with masking tape. I made the horns by cutting 2 spirals out of cardboard and taping a lot of wadded up brown pattern paper to either side. The whole thing is covered in a lot of cheap paper towel and Elmer's art paste. The texture on the horns was made by twisting a length of paper towel around and around the whole thing, while gooping it in place with the art paste.
 |
| The mask last year. |
It looked okay when I finished it last year, but it needed a bit more texture, so I repainted it. Not the best pictures because my room has terrible lighting, but you can see there's a bit more shading now.
I made a big ski mask like thing to wear under it so my chin and neck wouldn't show. It was very last minute, so it's just a big tube of synthetic knit with one end closed and 2 holes cut in it.
 |
| Just one seam, because I left the bottom edge and eyeholes unfinished. Terrible! |
I don't have any pictures of me wearing this outdoors, because even though I called this my Halloween costume, I didn't actually end up wearing it out of the house on Halloween.
It was only half done on Halloween morning, and I thought I would finish it in time to make a brief appearance at school, but I greatly underestimated how long it would take. I ended up staying home all day sewing because I didn't have class that day. I could have gone to school with just the mask, and a black cloak that Nax had very kindly lent me, but I didn't.
But that's okay, because I don't think I really wanted to go out and do stuff that day anyways.
My brother took these pictures yesterday evening, and as usual the lighting is bad, but at least they show how long the robe is. It drags on the floor and is most impractical.
I think this robe needs a better top to go under it, with more texture on the sleeves, but that's very low on the sewing priority list right now. Perhaps next Halloween!
I also think it might benefit from some sort of large thing to wear around the shoulders, because the giant ram horns make the rest of me look quite small. Hmm. What do you think?


