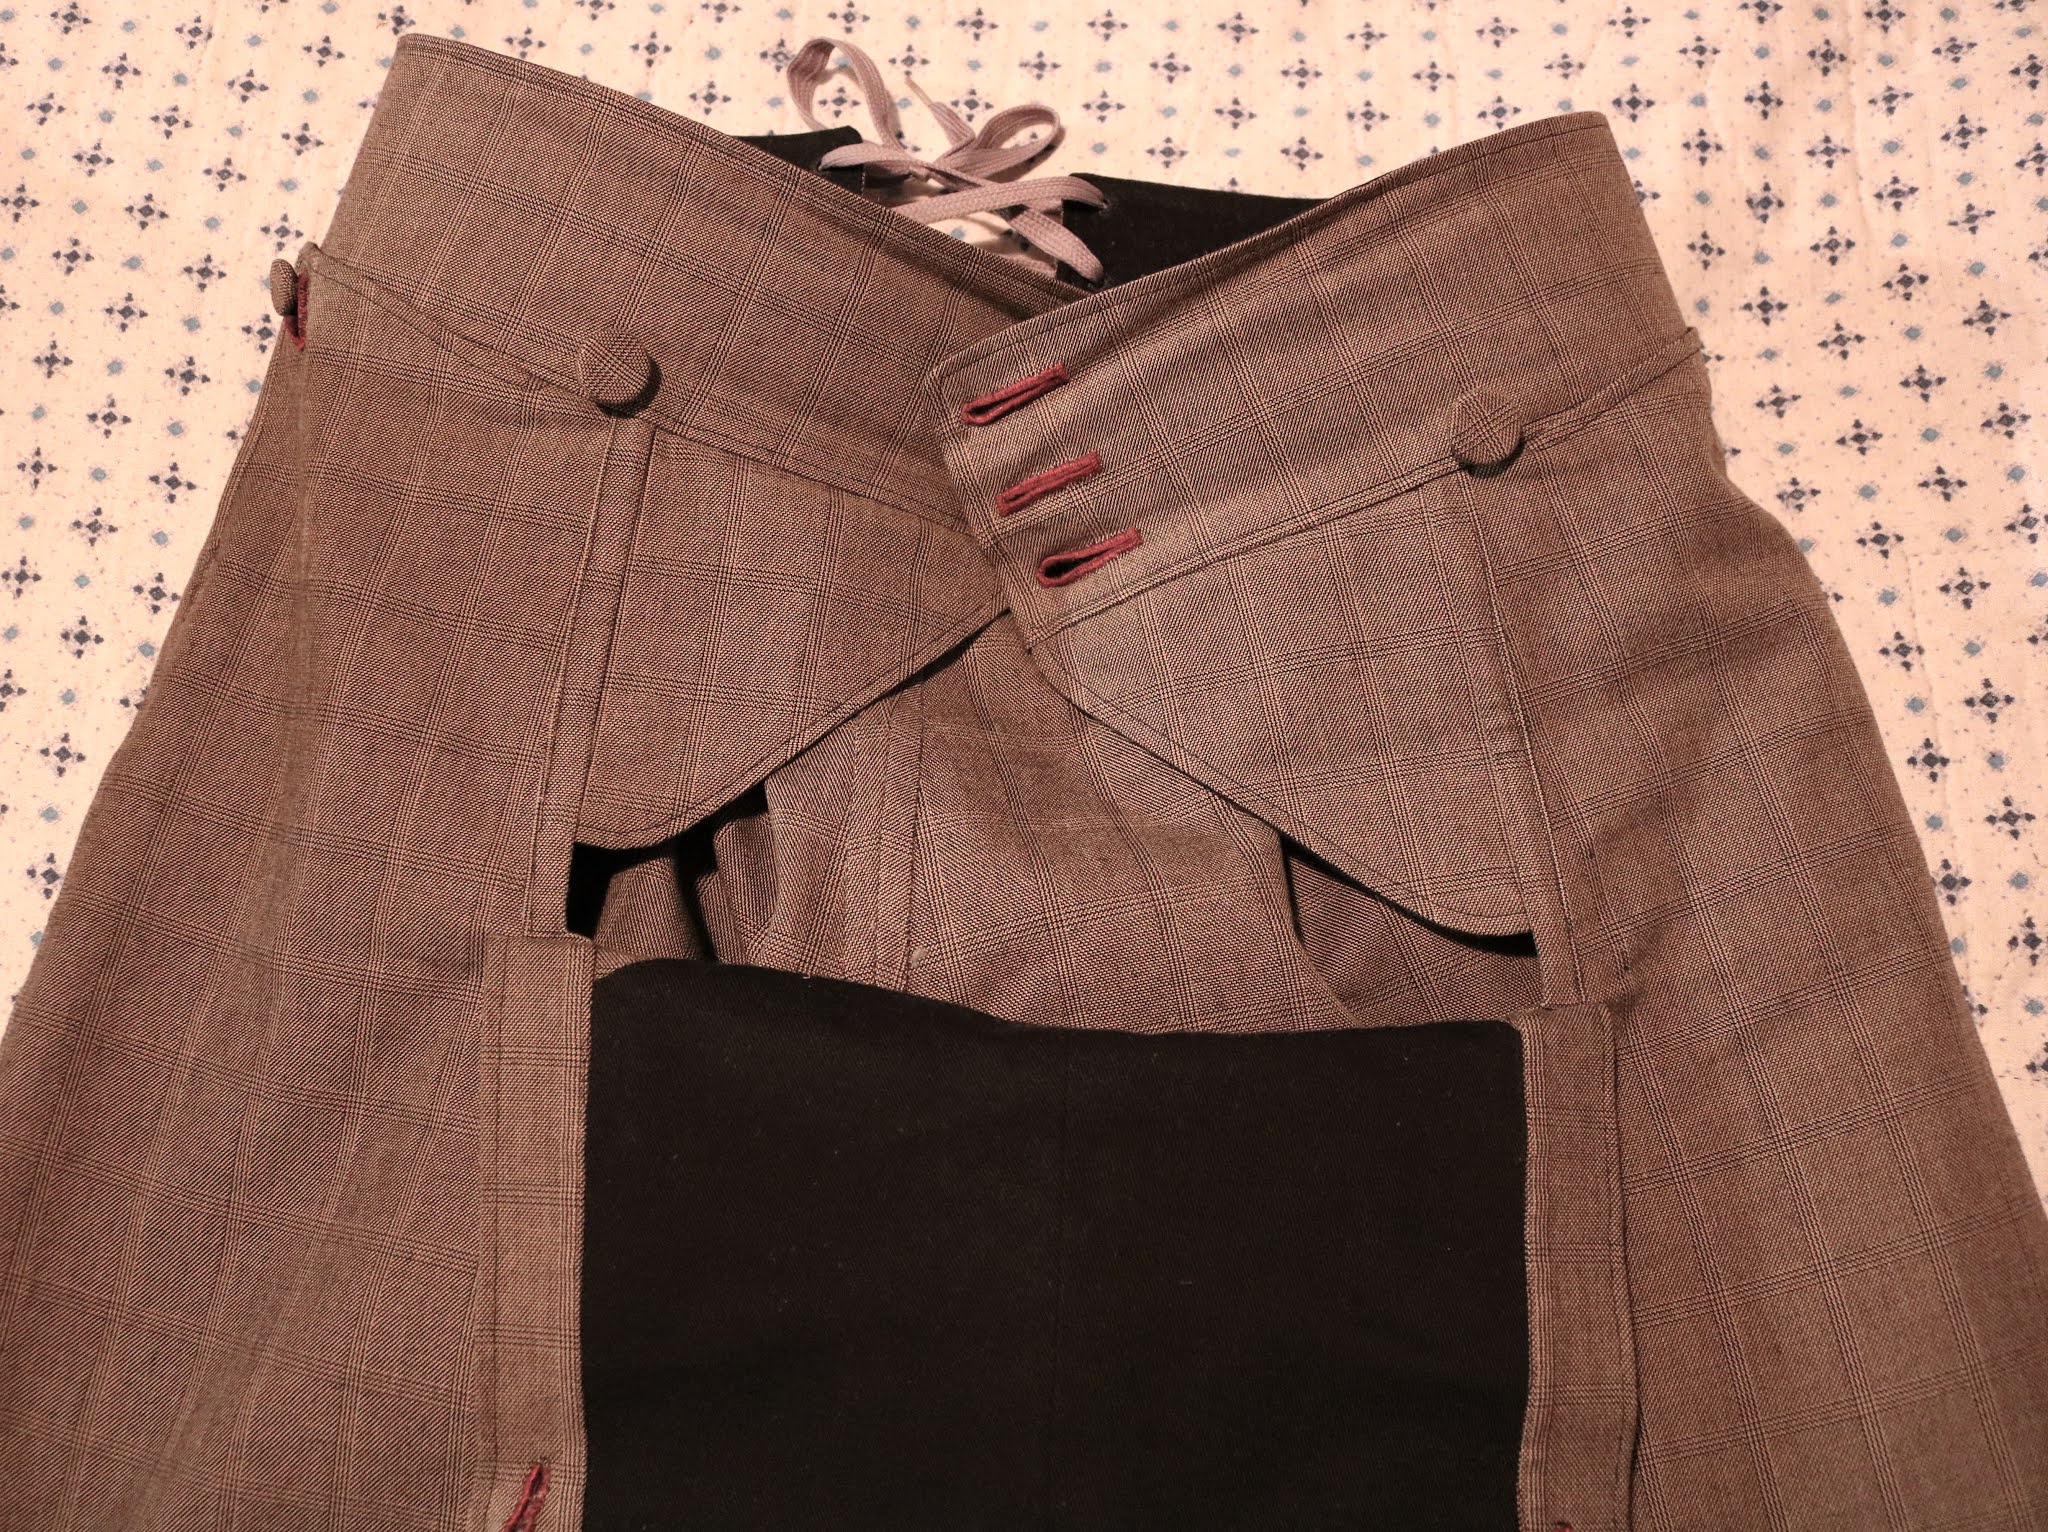
I have made another pair of practical everyday pants! I still need more, because apart from these I only have two very worn out pairs, but it's a start!
I finished these at the end of 2020 and have been very very slow to post about them. Hopefully I'll get the next post written a bit faster.
Since I've been very bad about not showing much of my pants construction in previous posts, for these I really made an effort to get pictures of all the steps.
They're made out of a brownish slightly tweedy looking cotton that I got from the clearance pile one of the three times I actually went to my local fabric store in 2020. I think it was the only cut of fabric I bought in person all year.
The pattern is one I drafted in 2017, so it's not perfect but it still fits ok.
I'm pretty sure I've never blogged about the construction of those corner buttoned pockets, but this time I actually took pictures!
I start by sewing the outermost half of the corner pocket to the front of the pants, right sides together, and then trimming the seam allowance down to about half a centimetre. I also clip the inside corners at the end of the seam.
I flip it right sides out and press it. Here I also machine topstitched it, but usually I don't, and certainly not if I'm making 18th century breeches.
Here it is from the outside.
I then pin and sew on the other half of the pocket. If I'm lining the garment then later I'd match up the corner of the lining with the inner half of this pocket and trap both in the waistband, but these are unlined.
I always sew the crotch seam before the long leg seams when making anything with a fall front. I sew it on both the front pieces and the back pieces, and if I'm machine sewing it I do 2 lines of stitching for extra reinforcement.
I lined the fall in the same plain black cotton as I used for the pockets.
It's got a seam in the centre front to give it the same curve as the crotch seam, and then I sewed it to the top of the fall and turned it to the inside.
I pressed the bottom edge under, it'll get hand sewed down a bit later.
I stitched down the fall lining on the two lines where the plackets will go, and trimmed down the seam allowance very close, since this is just to hold it in place until the placket is finished and the seam allowance would add extra bulk.
I stitched the plackets as usual,
and I have a whole post on that process so I'll just link it.
 |
| I don't usually topstitch these, but I did this time and I like it. |
I finished the crotch seams, both front and back, by turning under the seam allowances under on both sides and whipstitching them down. This was before the long seams on the legs were sewn, so the front and back were still separate.
Then I whipstitched down the lower edge of the fall lining.
 |
| I'd finished the crotch seam allowances up to just above where the fall lining starts. |
On my lined pants I don't have to worry about finishing the pocket seam allowances, but since these are unlined I tucked the edges of both seam allowances inwards and whipstitched them closed by hand.
I felled the outseam by machine, clipping a little notch in it because the place at the bottom of the pocket slit was sort of in the way.
 |
| After trimming the seam allowances. |
 |
| Seam allowance folded under and pinned. |
 |
| Felling the seam allowance. |
 |
| Finished seam from the inside. |
The line of machine stitching from the felling lined up pretty nicely with the topstitching on the pocket corner, and there was just a little gap in between them which I filled in with some hand sewing.
 |
| Very small interruption in a nice line of stitching. |
 |
| Doing a little bit of hand stitching to fill it in. |
 |
| And whipstitching the raw ends on the bit that I clipped to go around the pocket. |
I then sewed the inseams as one long seam, and machine felled it too. I backstitched over the point where it crosses the crotch seams, for a bit of extra reinforcement.
 |
| Finished inseam as seen from the inside. |
The waistband is made in two separate halves, just like on
18th century breeches.
I interfaced it with some buckram (made by stiffening some cotton with fabric stiffener) and machine basted it on before assembling the waistband.
I didn't want to have too many stitches too close together, so I did this by doing a few stitches with the hand wheel and then lifting the foot and moving it forward a couple cm, and then doing one or two more stitches with the hand wheel.
 |
| Stiffening basted to the inside of the waistband. |
I decided it would be easier to sew the waistband onto the top edge of the pants before sewing the lining on the waistband.
 |
You can't see it here but there's a bit of pleating in the back,
same as on 18th century breeches. |
I then sewed the lining on around the remaining 3 sides on each half of the waistband.
 |
| Sewing juuust outside the edge of the buckram. |
 |
Seam allowanced trimmed & graded,
and the long edge along the bottom of the waistband lining pressed under. |
 |
| Waistband turned right sides out! |
I hand stitched down the lower edge of the waistband lining.
I then topstitched around the entire waistband, both to match the look of the other topstitching and to secure the buckram so it doesn't shift around too much in there.
I also accidentally caught the pocket underneath the machine and had to pick that bit out and re-do it.
 |
| Oops. |
For the buttonholes I sewed them by machine first and then hand stitched over them, which I don't think saves very much time, but it does make them a bit sturdier. I sewed the buttonholes in burgundy cotton pearl, which I thought contrasted nicely with the brown.
I didn't get any progress pictures of sewing the 4 eyelets at the back of the waistband, but they're done the usual way - poking a hole with an awl and sewing around and around the edges with heavy waxed linen. (NOT with buttonhole stitches)
 |
| Eyelets in the back of the finished waistband. |
I turned up the hem and sewed it with fairly small slipstitches.
 |
| The hem. |
 |
| The felled seams on the inside of the finished trousers. |
 |
| The 3 buttonholes on the waistband. |
And now I'm realizing I didn't take any progress pictures of the actual buttons, alas!
But they're the same kind of
18th century cloth covered buttons I do for most everything,
and sewn on in the usual way. Except instead of reproduction moulds I just covered some plastic buttons from my stash.
 |
| Fall lining. |
 |
| Hand felled crotch seam and machine felled inseams. |
 |
| Waistband lining & pocket. |
 |
| The centre back of the adjustable waistband. |
And that's it! I hope this post was helpful. Next time I make a pair of fall front breeches I'll get plenty of construction pictures for those too.


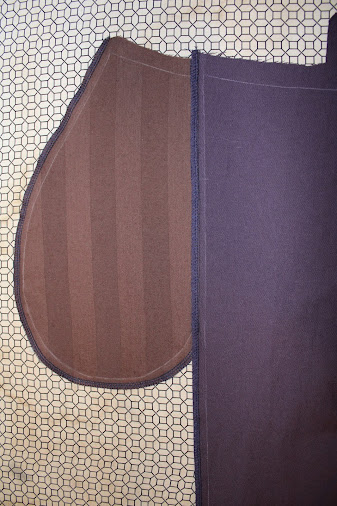


 I tried facing the pockets backwards, like you see on some 18th century breeches, and I'm not sure if I like it or not. There is more room back there, and it doesn't interfere with the fall placket, but it's more awkward to reach into.
 The next pair was one I started several years ago and then left half finished in a bag until this spring. They're dark blue linen and so, so nice for hot weather.
  I did 18th century corner pockets, but with no side seam. I just sewed a little dart there instead and hand felled it.
 Other than that they're pretty similar to the purple pair. Unlined, edges mostly serged, and the buttons covered in a more tightly woven fabric in almost the same colour.

 I'd originally intended for these to be the first video I did of a complete sewing project, and I filmed the whole process, but even before I started editing I realized all the footage was awful.


 Because this was the first sewing project I filmed, I forgot to take any still photos of the process. I still don't think I have a thorough post on pants construction, oh dear!