
I'm working on a purple pierrot jacket and this is the petticoat to go with it. Here is my main inspiration picture.
 |
| Journal de luxus, 1791. (source) |
The petticoat is made of a cotton drapery fabric that was in the "buy 1 metre get 2 free" pile. I cut two sections for my petticoat, 44" for the front and 84" for the back, I cut along one thread so that the side seams would be perfectly straight. The basic construction of the top part is taken from this tutorial by American Duchess, but the rest I did quite differently.
I made pocket slits and sewed down the sides, stopping about a foot from the bottom because I hadn't cut it to length yet and didn't want to cut through a seam.
 |
| One of my pocket slits. You can just see where the narrow hem stops, at the bottom of the picture. |
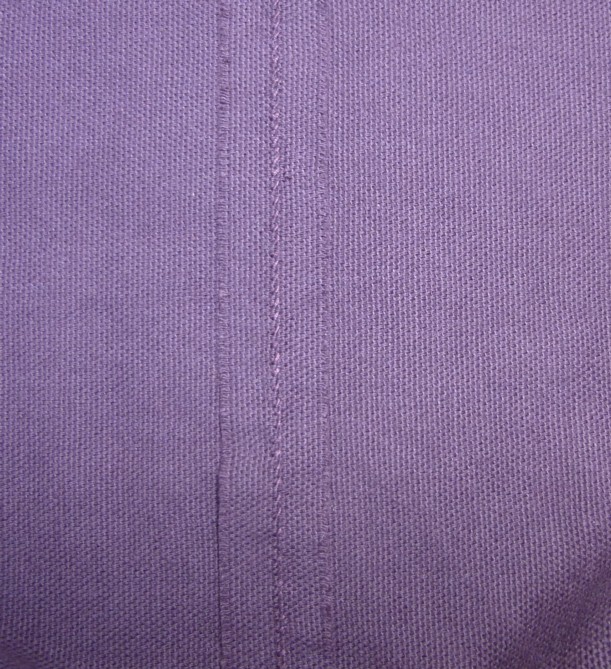 |
| The seam from the inside. |
 |
| The seam from the outside. |
I pleated the top edges and used more whipstitching to hold the tops together. I tried to pleat the front section down to 7 inches, which is how long it was when it was pinned, but it somehow shrunk to 6 inches after I sewed it. I had to make the back section longer, which was a good thing because there is almost twice as much fabric in the back. I put in a row of stab-stitching just above the lower edge of the selvedge.
 |
| Knife pleats. It's kind of hard to see, but there is whipstitching on the top and stab-stitching a little lower down. |
 |
| A close up of the 3 rows of stitching attaching the twill tape. |
 |
| The non-waistband. The longer section on the left is the back. |
The excess fabric consisted of a rectangle and two triangles, which is good since this is for the squares, rectangles & triangles challenge. The rectangle was removed from the front panel, and the two triangles came from the forward edges of the back panel. I left the middle of the back the full width of the fabric, since it has to have a train and go over a bum pillow.
 |
| A rectangle and 2 triangles. The rectangle is actually slightly wider in the middle. |
Hemming the front section proceeded smoothly, but when I reached the side seams I realized that I could not possibly turn up an edge that curved downwards at such an angle.
I had not thought this through.
I was quite distressed for several hours, until I came up with a solution- a sneaky hem godet!
I picked out the end of the seam, stopping less than 1 cm above the folded edge. I cut a triangle of scrap fabric and set it in the end of the seam. Problem solved!
 |
| The unpicked seam end and the triangle that it will soon receive. |
 |
| A sneaky hem godet. |
 |
| The sneaky hem godet from the outside, after ironing. |
 |
| Gathers near the back of the train. |
And here is the finished petticoat. The front just grazes the ground, while the back drags behind in a pretty train, sweeping up all kinds of dust bunnies and any other nasty things that may have dropped onto the floor.
I now understand the purpose of a balayeuse, which unfortunately seem to be from a later era.
 |
| From the front. |
 |
| From the side. |
 |
| From the back. |
The Challenge: #11-Squares, rectangles & triangles.
Fabric: 3.25 m of dark purple cotton drapery fabric. The label said unknown fibres, but I said cotton and a burn test agreed with me.
Pattern: Draped with some ugly old curtain panels that I cobbled into a sort of petticoat, You can see it in the silly hat post, I took the basic measurements from it. I've been wearing it since I have a deficit of petticoats but I really need to make some proper ones to replace it.
Year: Late 1780's- very early 1790's.
Notions: 334 cm of white cotton twill tape.
How historically accurate is it? The look is accurate and so is the hand sewn-ness of it. My construction method is probably not accurate, but it would have been entirely possible with 18th century materials. The fabric is not accurate.
Hours to complete: 19 hours, 23 minutes.
First worn: Saturday (2 days ago)
Total cost: Well, the fabric worked out to a little more than $3.00 per metre, and I used 3.25 m, so maybe about 11 or 12 dollars (Canadian).
Wow Mira. Your work is amazing. That seam is pefect.
ReplyDeleteHugs,
Mamoo