
I am now the owner of three ruffly shirts! Altogether I've made 12 shirts in my lifetime, but this is only the third shirt I've made that is meant to fit me and is actually good enough to wear.
The first of these 3 shirts is getting really worn out.

 |
| You can't see it in the pictures, but it's actually 2 slightly different cottons. I couldn't get enough for 6 shirts in the exact same fabric. |
 |
| The ruffles are cut on the selvedge. I overlapped and basted them together in the middle so the slit wouldn't be any wider than necessary. |

 |
| A partly formed button on a little bone awl. |
 |
| I have to use pliers to sew the little X's on the backs. |
 |
| Buttons of various colours, intended for linen shirts of various colours. |
 |
| The finished cuff with three buttons. Two wasn't enough because they are very tiny buttons. |
 |
| The collar. Too bad the buttons aren't as white as the fabric. |
 |
| It turns out you can even put little hem gussets on by machine without too much fuss. |
 |
| It's a rather long shirt. Were it not tucked into my pants it would cover my butt quite adequately. |
The Challenge: #5: Practicality. (The first one I've done this year.)
Fabric: Two mostly similar plain white cottons.
Pattern: The same as I used for this shirt, but with slightly longer ruffles.
Year: Second half of the 18th century. Probably a good chunk of the first half too.
Notions: Linen thread, polyester thread, beeswax.
How historically accurate is it? The overall look, the pattern, and general construction method are fairly accurate. The material (aside from the buttons) and the machine sewing are not.
Hours to complete: I can't say for sure, but probably about 10- 14.
First worn: Today.
Total cost: Nothing I guess? It was all stuff I had already.

 |
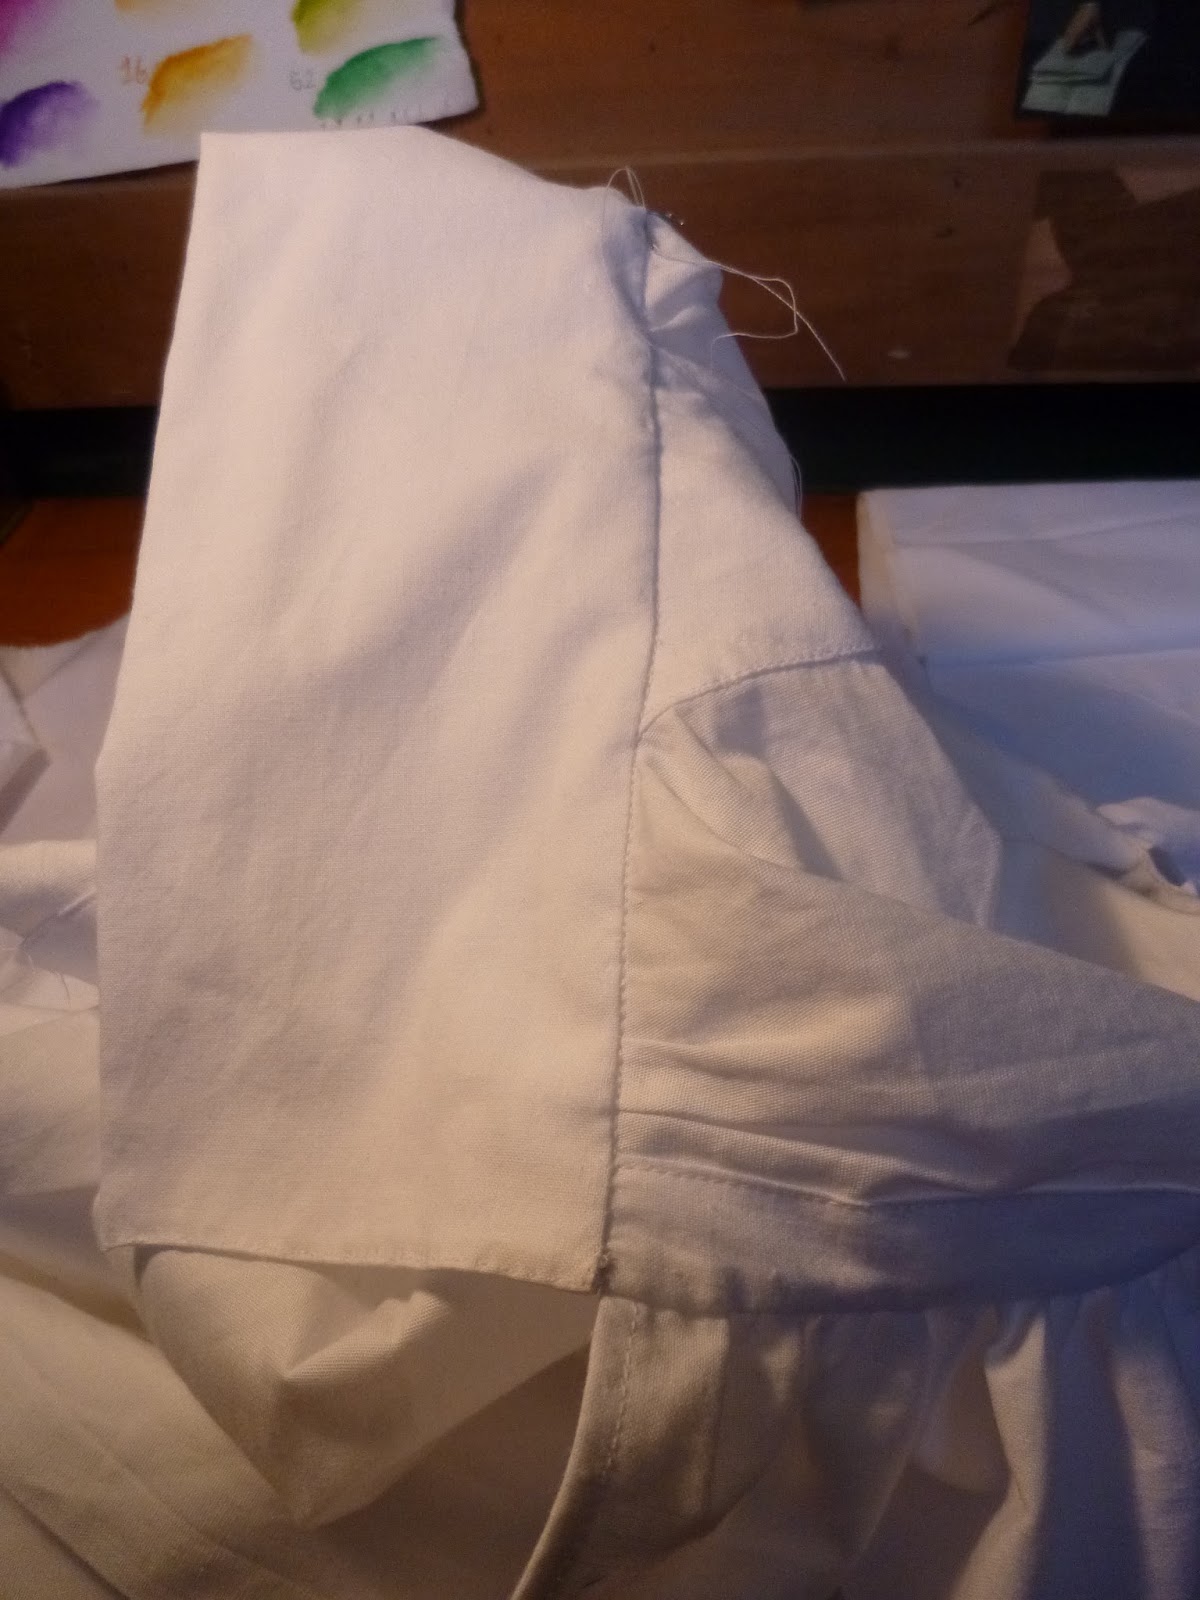
| A view of the piecing seam on the sleeve. |
 |
| My claws were in a terrible state over the winter but the weather has warmed up and they're recovering nicely. |
For someone who does so much sewing I've got a pretty pathetic wardrobe.
Very nice shirt and I'm totally amazed by your handmade buttons.
ReplyDeleteMamoo
I enjoy following your blog but have been really poor at commenting (belated congratulations on your line, it looks great!).
ReplyDeleteYour shirt is very handsome, and the little buttons are so pretty! It struck me that I've read about a neck slit reinforcement that you might want to try - in "L'art de la lingerie" (by M. de Garsault, 1769), it says you cut a 2" square and shape it into a heart, fold the edges under and stitch it to the bottom of the slit (see image at http://www.marquise.de/de/1700/howto/maenner/18hemd.jpg - if the top edge was just straight in the middle it would be stronger than a true heart shape, though).
Ohh, yes! I remember seeing that on a shirt diagram once. I'd forgotten about it. Thank you for reminding me!
DeleteI think I'll add one.
Nice looking shirt. And you really are getting good at the buttons. I guess practice at just about anything does that.
ReplyDeleteLooks fantastic, and you look handsome in it! :D
ReplyDeleteThanks!
Delete