
I'm almost caught up on 2021 blogging! I wrote that sentence a few weeks ago and this post is still saved in drafts and now it's February, alas.
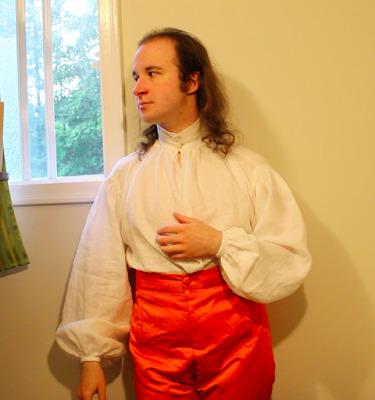
I made this shirt around the end of last summer.
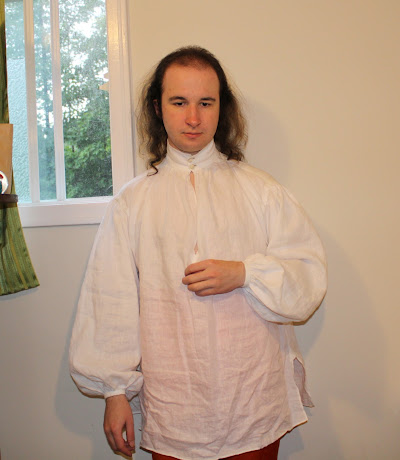
It's made of white featherlight linen from Pure Linen Envy. I only had 158 cm, so it's a bit shorter than I would have made it otherwise.
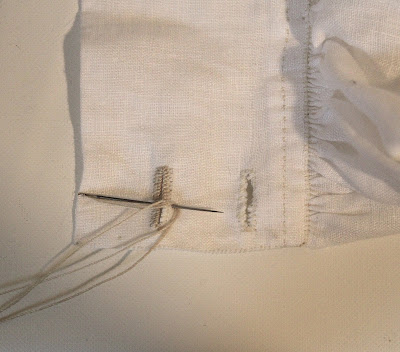
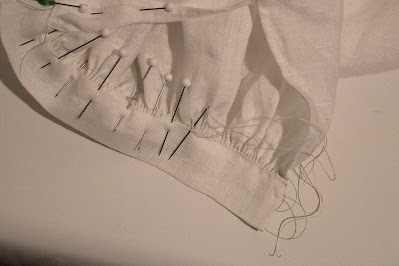
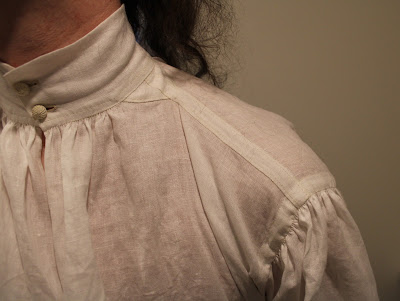
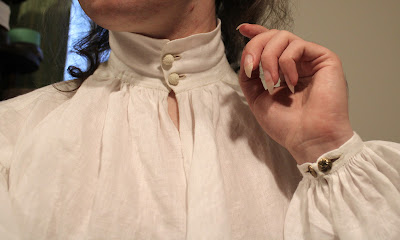
After all the shirts I've made over the years I thought I finally had the construction down pretty good, but no! It turns out I'd been doing the gathers wrong all this time. I was looking at some closeup pictures of an extant shirt shortly after I started this one and I noticed that the gathers were sewn from the outside using a whipstitch, with one stitch going through each gather.
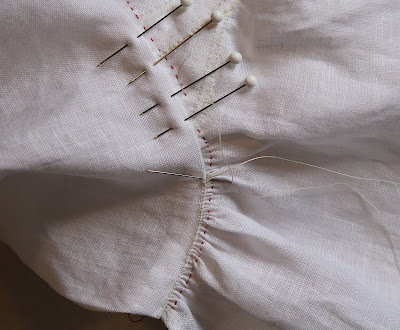
I tried it and found it was so much easier getting them even and neat. No wonder mine always looked awful when I backstitched them from the inside like a normal seam.I did the gathers like this for the collar, sleeve heads, and cuffs.
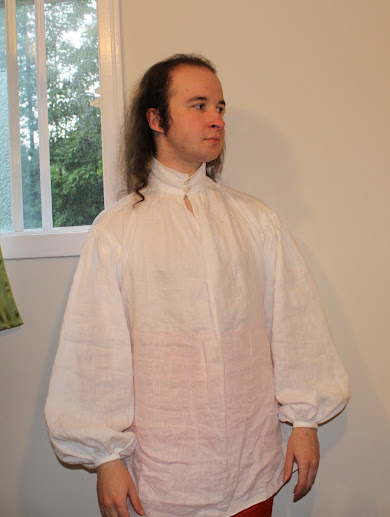
 The rest of the construction is mainly the same as described in my shirt construction post, aside from the fact that it's all done by hand. Originally I had intended to do some seams by machine, but I was so happy about the gathers that I just kept on hand sewing.
It's all sewed with fine linen thread from Burnley & Trowbridge.
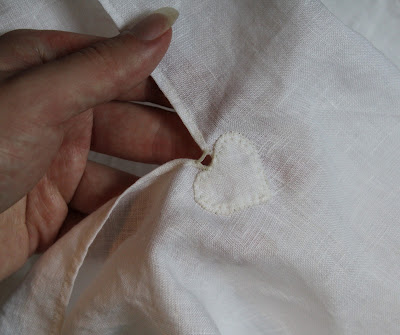 |
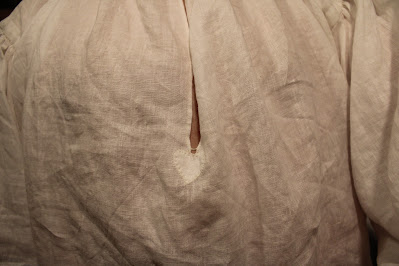
| The front slit reinforcement. |
Because the fabric was so fine I was able to get quite narrow seams.
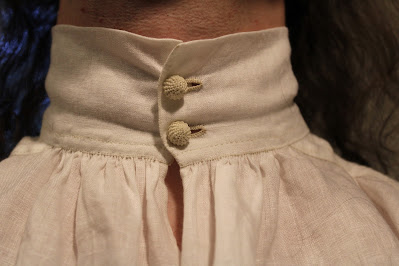
I usually use DMC cotton pearl for buttonholes, but for this one I remembered I had some vintage crochet cotton, so I tried using some of that instead. It snapped at one point, but seemed to be in mostly good condition and fairly strong.
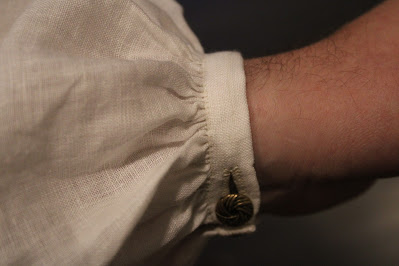
 I did Dorset knob buttons. I still wasn't sure if I was doing them "correctly", since all I had to go on the first time I made them was a diagram of the stitching with no information on the base. There still isn't much information on the internet about them, but I looked again and found a picture of the underside of one where a horn base is clearly visible. It looks like it's covered a bit differently, but I like mine better because the fabric goes all the way around. I describe how I made mine in more detail in this post.
(The extant one linked above has a spiderweb pattern of threads, but I've also seen ones with detached buttonhole stitches like the ones I'm making.)
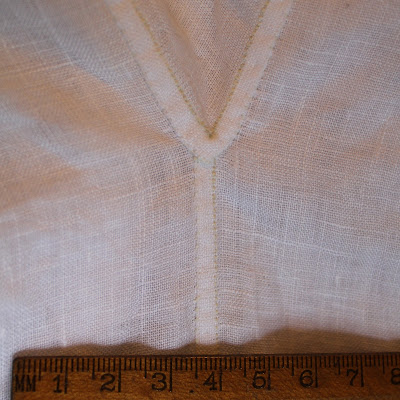 |
| Half a centimetre! Not the tiniest ever, but not bad. |
 |
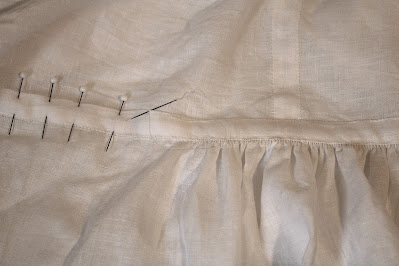
| Attaching the cuff. |
 |
| Hemming the open bit at the side. |
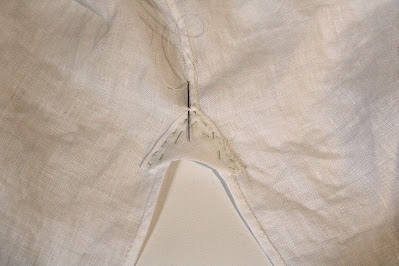 |
| Sewing on the reinforcement gusset, which I'd basted in place. |
(The extant one linked above has a spiderweb pattern of threads, but I've also seen ones with detached buttonhole stitches like the ones I'm making.)


Body - 75 x 158 cm (would have been at least 180 cm long if I'd had more fabric)
Sleeves - 60.5 x 60.5 cm
Collar - 43 x 14 cm
Armhole binding - 44 x 3.5 cm
Underarm gussets - 13 x 13 cm
Cuffs - 19 x 5 cm
Shoulder strips - 21 x 3 cm
Neck gussets - 8 x 8 cm
Hem gussets - 5 x 5 cm

This is the only thing I entered in the Historical Sew Monthly challenge last year.
What the item is: A man’s shirt
The Challenge: Zero Waste. The pattern is all squares and rectangles, so there were only a few small geometric scraps, which I saved and can use for any number of things.
My thread clippings and teeny tiny scraps and trimmings were also set aside for my parents, who have a fireplace and can use them as kindling. (I keep a paper bag near my sewing area and put all my useless tiny cotton and linen scraps in it.)
Fabric: White "featherlight” linen from Pure Linen Envy
Pattern: More or less the same set of dimensions I use for all my shirts. Exact measurements are written above.
Year: It’s so plain and basic and shirts change so little for most of the 18th century that I think it could work from at least the 1710’s-70’s. If I were to add ruffles the width and placement of them would narrow the date down considerably.
Notions: Linen thread, vintage crochet cotton for the buttonholes, two small bone button blanks.
How historically accurate is it? The most accurate shirt I’ve ever made! It’s completely hand sewn, and I’ve learned a lot of new things since I last did one all by hand. Just a few tiny nitpicks - I didn’t do a laundry mark on the corner, and I’m not sure if I did the Dorset knob buttons correctly. It also came out a bit short because of the aforementioned smallish amount of fabric. It was the end of the bolt.
Hours to complete: I neglected to track the time for this one, but based on previous shirts I’m guessing 40-something.
First worn: September 6th, 2021
Total cost: About $25 (Canadian)
Yay for getting caught up in your 2021 blogging. You are such a perfectionist in your sewing even when you have to make do with what you have. I'm glad that you found out how to make the gathers the right way. I never saw anything wrong with how you did it before.
ReplyDeleteHugs, Mamoo